ESP8266之Arduino初用
1.硬件,ESP8266的CP2102版本,带2个LED灯
市面上还有种CH340版本,价格更低,部分功能可能受限,一般不特别推荐。
2.驱动下载:https://www.silabs.com/interface/usb-bridges/classic/device.cp2102?tab=softwareandtools
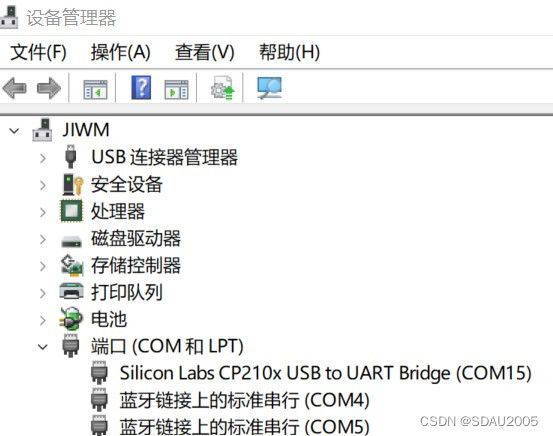
安装后一切正常的话,设备管理器会出现如下图所示的COM15,根据电脑不同,序号会有所差异:
3.Arduino软件下载:https://www.arduino.cc/en/software,下一页面选择JUST DOWNLOAD即可,当然也可以donate支持他们一下。截止到2022年11月19日,最新版本是2.0.2。
4.文件-首选项-设置-其他开发板管理器地址输入以下,点击确认:
https://arduino.esp8266.com/stable/package_esp8266com_index.json
5.工具-开发板-开发板管理器,输入esp8266,如图,点击安装最新版本,截止到2022年11月19日是3.0.2.

6.工具-端口-COM15;
工具-开发板-esp8266,选择NodeMCU 1.0(ESP-12E Moudle)

7.文件-示例-NodeMCU 1.0(ESP-12E Moudle)的示例-ESP8266-Blink

点击“上传”,等待1-2分钟在“输出”对话框里会出现Writing进程,否则说明没有与ESP8266建立通信连接。


成功后会有一个LED灯会按照亮1秒、暗2秒的频率闪烁。
8.另外一个LED连接16引脚,pinMode(16, OUTPUT)设置为输出后,通过digitalWrite(16, LOW)和digitalWrite(16, HIGH)的方式点亮或者熄灭,实现两个LED交替闪烁。完整代码如下:
void setup() {
  pinMode(LED_BUILTIN, OUTPUT);     // Initialize the LED_BUILTIN pin as an output
  pinMode(16, OUTPUT);              //另外led,16脚
}

// the loop function runs over and over again forever
void loop() {
  digitalWrite(LED_BUILTIN, LOW);   // Turn the LED on (Note that LOW is the voltage level
  // but actually the LED is on; this is because
  // it is active low on the ESP-01)
  digitalWrite(16, HIGH);           //交替闪烁
  delay(1000);                      // Wait for a second
  digitalWrite(LED_BUILTIN, HIGH);  // Turn the LED off by making the voltage HIGH
  digitalWrite(16, LOW);            //交替闪烁
  delay(2000);                      // Wait for two seconds (to demonstrate the active low LED)
}