Springboot整合canal
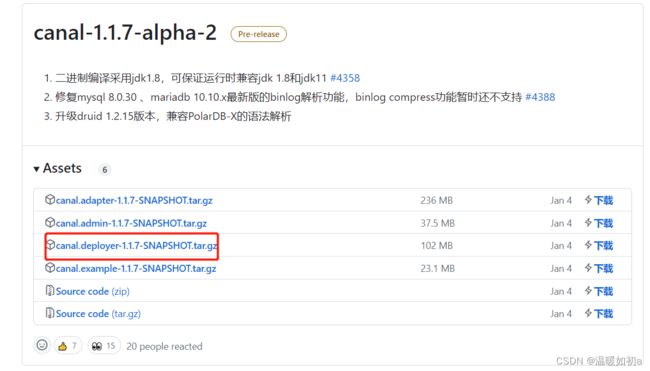
1.下载canal 配置
下载地址:Releases · alibaba/canal · GitHub
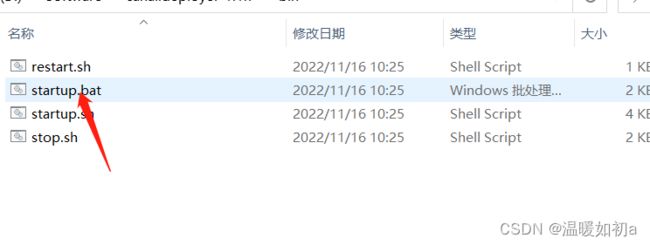
解压文件到windows下
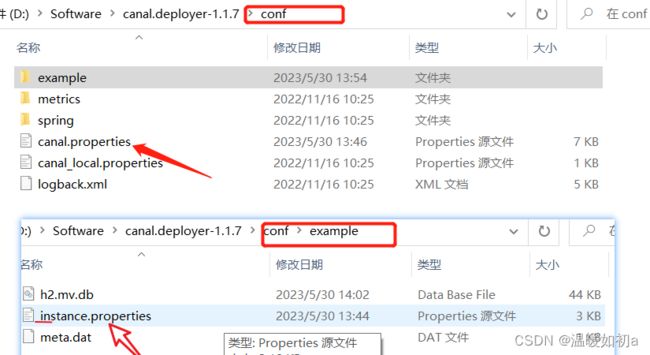
修改解压文件的文件下面箭头指向的这两个文件(注意这两个文件不在一个目录下)
修改canal.properties文件 (其他根据自己需求修改)
# 端口默认的改不改都可以
canal.port = 11111
# 这个example 就指向conf文件夹下的example文件夹
canal.destinations = example
# 这个根据自己需求修改 tcp, kafka, rocketMQ, rabbitMQ, pulsarMQ
canal.serverMode = tcp
修改 example/instance.properties 文件信息(其他信息根据自己需求)
canal.instance.mysql.slaveId=20 //不要重复

canal.instance.master.address=127.0.0.1:3306// 数据库地址
canal.instance.dbUsername=root //连接自己数据库的账号密码
canal.instance.dbPassword=password
注意 example 可以有多个 名字必须不一样,可以配置监听多个数据库 比如默认的是example 你可以创建一个 exampl01 ,检测另一个数据库 把exampl目录下的东西复制到exampl0,修改instance.properties 文件 根据需求 然后更改canal.properties 文件 canal.destinations = example01
2.mysql配置 在mysql的my.ini文件下添加
[mysqld]
# 打开binlog 设置生成文件的地址根据自己的选择
log-bin=C:/xxx/xxx/mysql-bin.log
# 选择ROW(行)模式
binlog-format=ROW
# 监控的数据库,不配置监控所有库的变化
binlog-do-db=ajax
# 配置MySQL replaction需要定义,不要和canal的slaveId重复
server_id=1
配置完 mysql配置 重启mysql服务,必须重启,否则不生效
然后查看mysql数据库 log_bin 是ON 才行,否则canal检测不到
执行此命令(mysql设置中设置了binlog-do-db=ajax 则在ajax数据库下执行命令)
SHOW VARIABLES LIKE 'log_bin';执行上面的命令后查看 的路径 log-bin=C:/xxx/xxx/mysql-bin.log 【 mysql设置 的设置中路径】文件下是否出现mysql-bin.xxx文件 出现则配置成功
3整合springboot
1.下载canal依赖
            top.javatool
            canal-spring-boot-starter
            1.2.1-RELEASE
2.配置application.properties
#canal安装地址
canal.server=127.0.0.1:11111
canal.destination=example
#控制台刷新时间,每隔5秒检查一下数据库数据是否更新 根据需求设置其他时间
canal.timeout=5

spring.datasource.driver-class-name=com.mysql.cj.jdbc.Driver
spring.datasource.username=账号
spring.datasource.password=密码
spring.datasource.url=jdbc:mysql://ip:端口/数据库?autoReconnect=true&useUnicode=true&characterEncoding=utf8&zeroDateTimeBehavior=CONVERT_TO_NULL&useSSL=false&serverTimezone=CTT&allowMultiQueries=true
其他按照springboot项目正常写mybatis-plus(entity层) 次层不变 (为测试从而简写)
多加一层handler 实现 implements EntryHandler
@Component
@CanalTable(value = "user") //数据库 表的名字
public class UserEntityHandler
      implements EntryHandler { // UserEntity为数据库表的实体层(记得改成自己的实体层)
    @Override
    public void insert(UserEntity userEntity) {
        // 根据需求写业务逻辑
        System.out.println("新增 ---> " + userEntity);
    }
    @Override
    public void update(UserEntity before, UserEntity after) {
        System.out.printf("更新前 --->[%s] , 更新后 --->{%s} ", before, after);
    }
    @Override
    public void delete(UserEntity userEntity) {
        System.out.println("删除 ---> " + userEntity);
    }
}
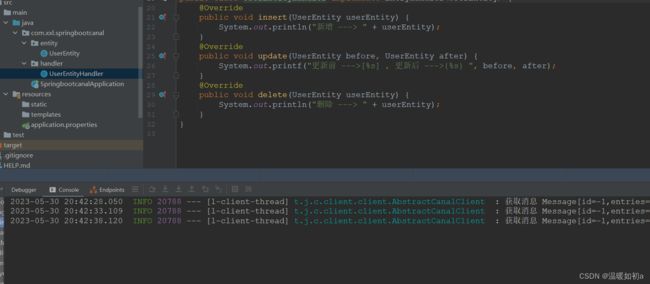
运行项目发现每隔5秒就输出信息 ,检查数据库变化 (canal项目运行没问题)
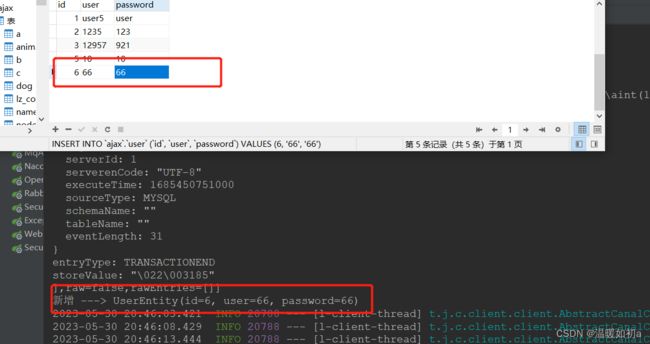
修改数据库的值
新增一条数据没问题
