Ubuntu22.04.3安装 MySQL 8.0 和远程连接数据库
一到三是虚拟机的安装过程
MySQL 8.0 和远程连接数据库可以直接跳转到四
目录
一到三是虚拟机的安装过程
MySQL 8.0 和远程连接数据库可以直接跳转到四
一、下载虚拟机软件VMware Workstation Pro
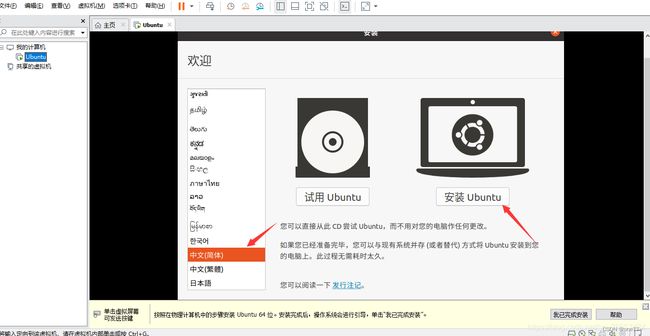
二、下载安装Ubuntu
编辑
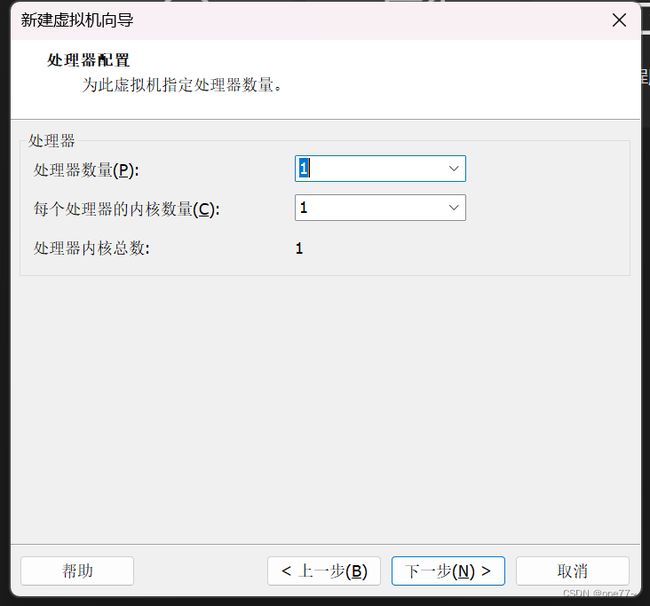
三、创建虚拟机
四、在ubuntu上安装和配置mysql
1)安装MySQL
1、右键打开终端
2、使用以下命令更新服务器上的包索引apt:
3、安装默认包:
2)配置MySQL
3)调整用户身份验证和权限
1、从终端打开MySQL:
2、使用以下命令检查每个MySQL账户使用的身份验证方法:
3、切换到MySQL数据库:
4、将root项的host由“localhost”改为“%”:
5、查看修改:
6、自定义root密码:
7、退出:
4)测试MySQL
1、检查安装状态:
5)修改MySQL远程连接配置
1、检查端口
2、编辑MySQL配置文件
3、重启 MySQL 服务:
4、设置MySQL用户的远程访问权限
5、在终端找到ubuntu的ip地址
一、下载虚拟机软件VMware Workstation Pro
下载链接:Download VMware Workstation Pro
 安装包下载完成点击exe文件下载
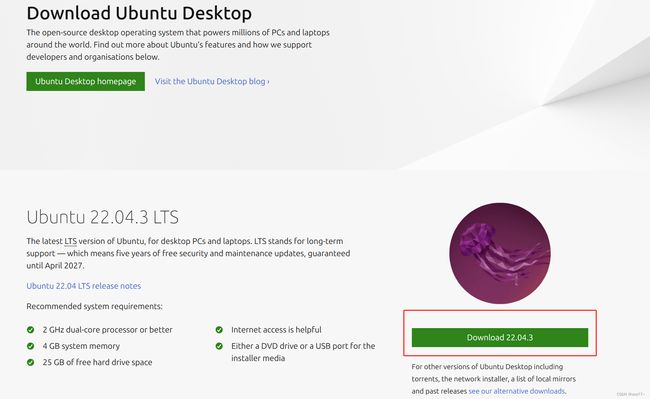
二、下载安装Ubuntu
下载连接:https://ubuntu.com/download/desktop
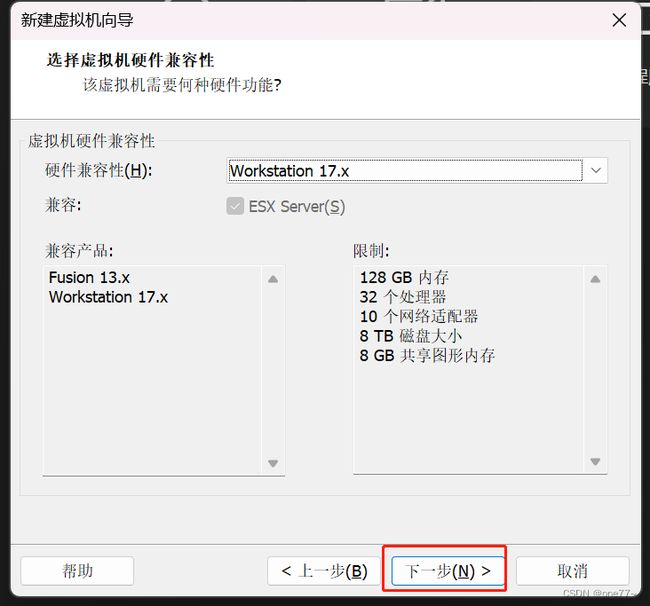
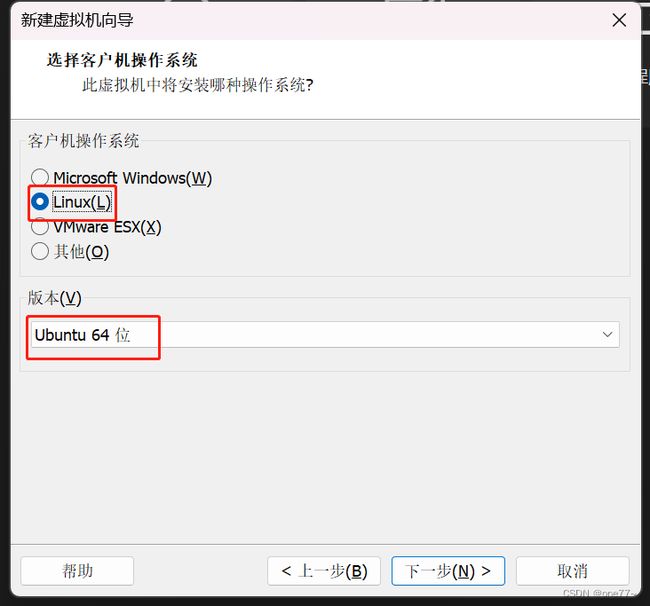
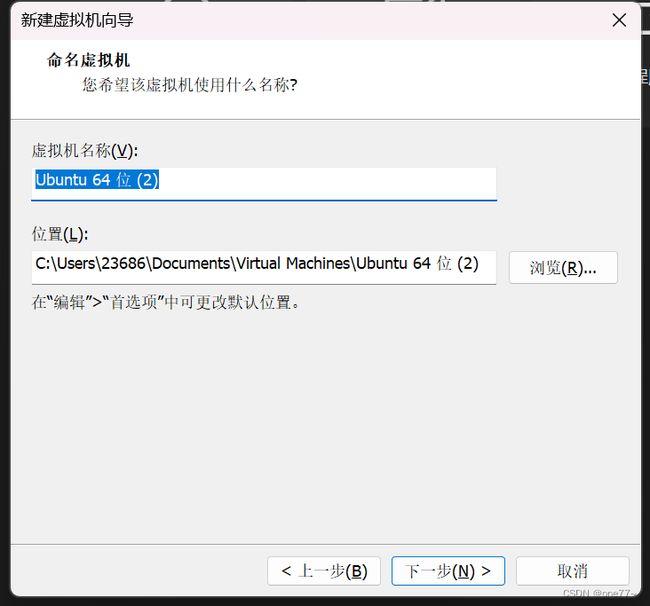
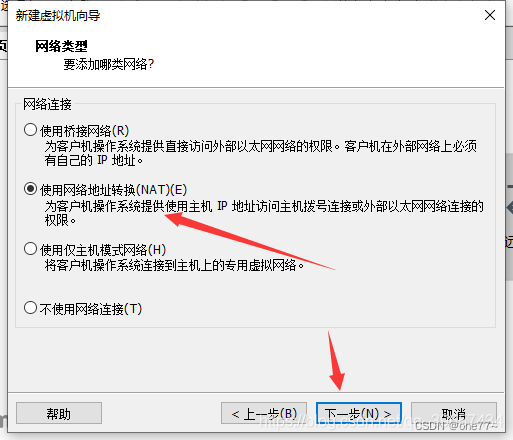
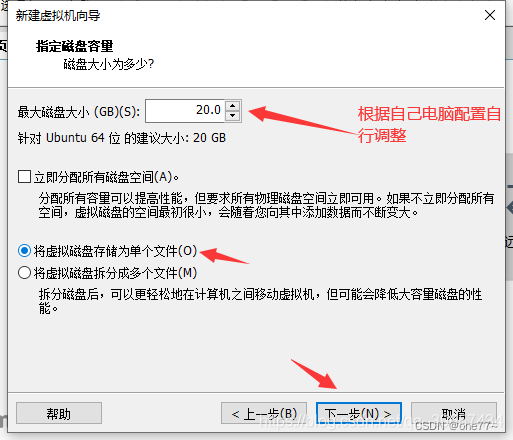
三、创建虚拟机


 、
、


四、ubuntu配置镜像源
【阿里云镜像】切换阿里巴巴开源镜像站镜像——Ubuntu镜像_51CTO博客_阿里云 镜像站
五、配置静态ip
VMware中配置Ubuntu22的静态ip_小飞屋学编程的博客-CSDN博客
六、在ubuntu上安装和配置mysql
1)安装MySQL
1、右键打开终端

2、使用以下命令更新服务器上的包索引apt:
sudo apt update

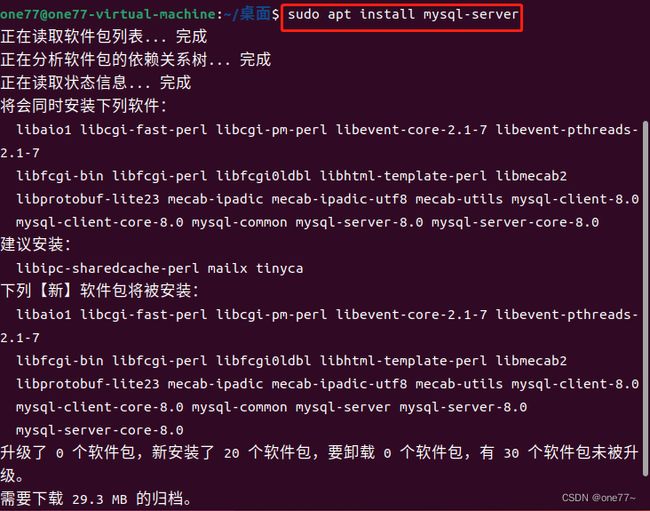
3、安装默认包:
sudo apt install mysql-server
使用 systemctl start 命令确保服务器正在运行
sudo systemctl start mysql.service
2)配置MySQL
运行安全脚本,更改默认选项
运行安全脚本:
sudo mysql_secure_installation

根据自己需求选择
- 删除匿名用户?(按y|Y表示是,任何其他键表示否):n
- 禁止远程root登录?(按y|Y表示是,任何其他键表示否):n
- 删除测试数据库并访问它?(按y|Y表示是,任何其他键表示否):y
- 现在重新加载权限表?(按y|Y表示是,任何其他键表示否):y
Remove anonymous users? (Press y|Y for Yes, any other key for No) : n
... skipping.
Normally, root should only be allowed to connect from
'localhost'. This ensures that someone cannot guess at
the root password from the network.Disallow root login remotely? (Press y|Y for Yes, any other key for No) : n
... skipping.
By default, MySQL comes with a database named 'test' that
anyone can access. This is also intended only for testing,
and should be removed before moving into a production
environment.
Remove test database and access to it? (Press y|Y for Yes, any other key for No) : y
- Dropping test database...
Success.- Removing privileges on test database...
Success.Reloading the privilege tables will ensure that all changes
made so far will take effect immediately.Reload privilege tables now? (Press y|Y for Yes, any other key for No) : y
Success.All done!
3)调整用户身份验证和权限
在运行 MySQL 5.7(及更高版本)的 Ubuntu 系统中,root MySQL 用户auth_socket默认设置为使用插件而不是密码进行身份验证。。在许多情况下,这允许更高的安全性和可用性,但是当您需要允许外部程序(例如,phpMyAdmin)访问用户时,它也会使事情复杂化。
为了使用密码以root身份连接到 MySQL ,需要将其身份验证方法从 切换auth_socket到mysql_native_password。
1、从终端打开MySQL:
sudo mysql
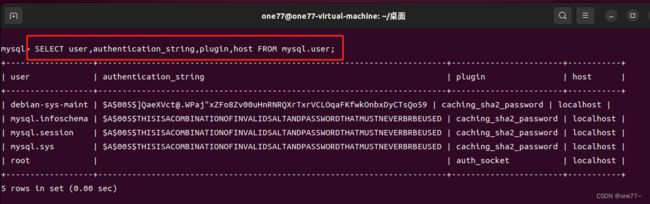
2、使用以下命令检查每个MySQL账户使用的身份验证方法:
SELECT user,authentication_string,plugin,host FROM mysql.user;
3、切换到MySQL数据库:
use mysql
4、将root项的host由“localhost”改为“%”:
update user set host = '%' where user = 'root';
5、查看修改:
select host, user from user;

6、自定义root密码:
ALTER USER 'root'@'%' IDENTIFIED WITH MYSQL_NATIVE_PASSWORD BY '12345678';
7、退出:
exit
4)测试MySQL
无论您如何安装它,MySQL 都应该自动开始运行。要对此进行测试,请检查其状态。
1、检查安装状态:
systemctl status mysql

如果出于某种原因,它没有自动启动,请使用以下命令启动并使其在系统启动时启动
systemctl enable mysql
5)修改MySQL远程连接配置
1、检查端口
MySQL默认绑定了3306端口,可以通过端口占用检查MySQL的网络状态
sudo netstat -anp | grep 3306
![]()
2、编辑MySQL配置文件
打开终端并使用文本编辑器(如 nano 或 vim)打开 MySQL 的配置文件 /etc/mysql/mysql.conf.d/mysqld.cnf
sudo vim /etc/mysql/mysql.conf.d/mysqld.cnf
按 i 进入插入模式,移动光标,找到bind-address行,如果你想允许远程连接,将 bind-address 行注释掉(在行前添加 #)或者修改为服务器的 IP 地址,例如:

注释完成后,保存并关闭配置文件:
按Esc键退出插入模式,在vim编辑其中输入":wq"按回车键关闭编辑器(在 nano 编辑器中,按下 Ctrl + O 键保存文件,然后按下 Ctrl + X 键关闭编辑器。)
3、重启 MySQL 服务:
在终端中执行以下命令以重新启动 MySQL 服务,使配置更改生效。
sudo service mysql restart
4、设置MySQL用户的远程访问权限
进入mysql
mysql -u root -p
创建账户
create user 'root'@'%' identified by 'password';
赋予权限
grant all privileges on *.* to 'root'@'%' with grant option;
防火墙设置:如果有防火墙,确保服务器端口 3306 对外开放,允许远程连接
exit退出
5、在终端找到ubuntu的ip地址
输入指令:
ifconfig

6、navicat中编辑连接

按确定
完成!!!!