gogs搭建git仓库
文章目录
-
-
- 安装宝塔面板
- 安装git
- 创建用户(组)
- 运行gogs
- 宝塔配置
- 首次配置
- 注册为系统服务
- 配置本地钩子
- 配置web钩子
-
- 配置ssh
- gogs页面配置
- push代码
-
安装宝塔面板
yum install -y wget && wget -O install.sh http://download.bt.cn/install/install.sh && sh install.sh
安装git
yum install -y git
创建用户(组)
groupadd git
useradd -g git git
passwd git
运行gogs
#切换到git用户
su git
cd ~
wget -c "https://dl.gogs.io/0.11.66/gogs_0.11.66_linux_amd64.zip" -O gogs.zip
unzip gogs.zip
cd gogs
./gogs web
宝塔配置
首次配置
打开链接: http://ip:3000
可以选择sqlite,也可以选择mysql,
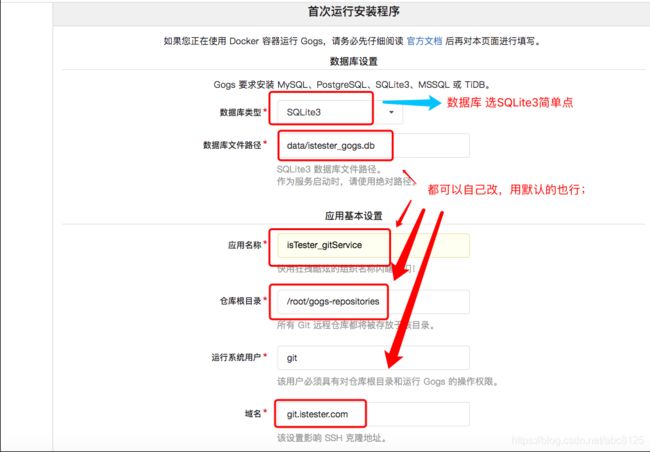
点击展开下面的配置,可以新建用户,默认第一个用户为系统管理员。
注册为系统服务
切回root,自己修改路径
vim /lib/systemd/system/gogs.service

[Unit]
Description=Gogs
After=syslog.target
After=network.target
After=mysqld.service

[Service]
# Modify these two values and uncomment them if you have
# repos with lots of files and get an HTTP error 500 because
# of that
###
#LimitMEMLOCK=infinity
#LimitNOFILE=65535
Type=simple
User=git
Group=git
WorkingDirectory=/home/git/gogs
ExecStart=/home/git/gogs/gogs web
Restart=always
Environment=USER=git HOME=/home/git

[Install]
WantedBy=multi-user.target

# 开机启动
systemctl enable gogs.service

#手动启动
systemctl start gogs
配置本地钩子
修改网站目录的权限为git的777
chown git:git /www/wwwroot/test -R
在仓库位置配置
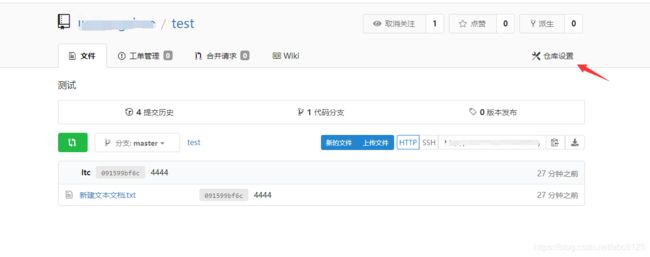
仓库和网站在一台服务器上可以使用内置的钩子,如果不在一台服务器上要使用web钩子
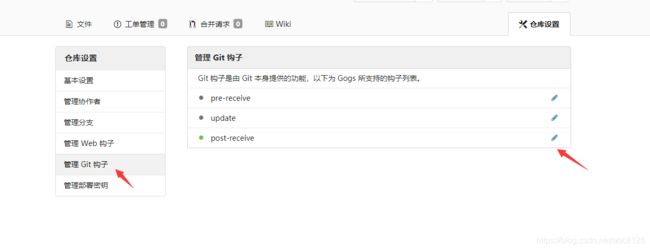
修改如下:

#!/bin/sh
unset $(git rev-parse --local-env-vars);
export GIT_WORK_TREE=/www/wwwroot/test
export GIT_DIR=${GIT_WORK_TREE}/.git
cd ${GIT_WORK_TREE}
git pull
配置web钩子
配置ssh
在需要拉取代码的机器上执行: 提示ssh-keygen不是可用命令,需要添加git安装目录的usr/bin 到环境变量,
这里的手机号要和用户中心保持一致。
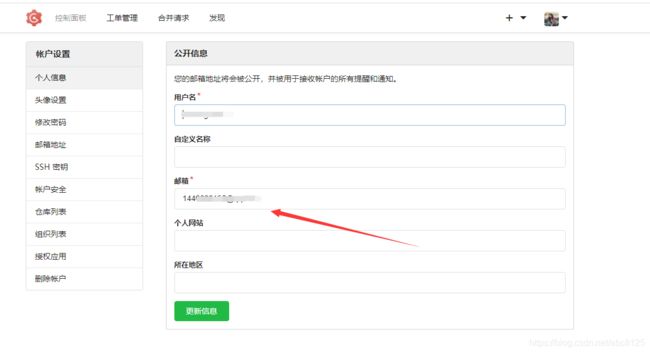
ssh-keygen -t rsa -C "[email protected]"
一路回车,得到ssh的公钥和私钥,路径在命令行都有,这里以windows为例:

把得到的公钥也就是pub结尾的拷贝到这里,不要拷贝错位置。仓库那里还有一个密钥配置。
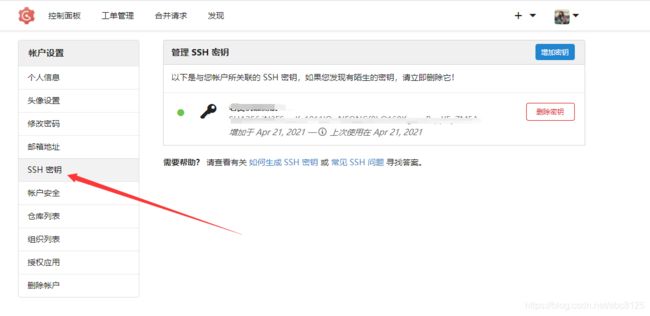
注意git clone 的时候要选择ssh的,否则配置了ssh还是会提示输入密码

gogs页面配置
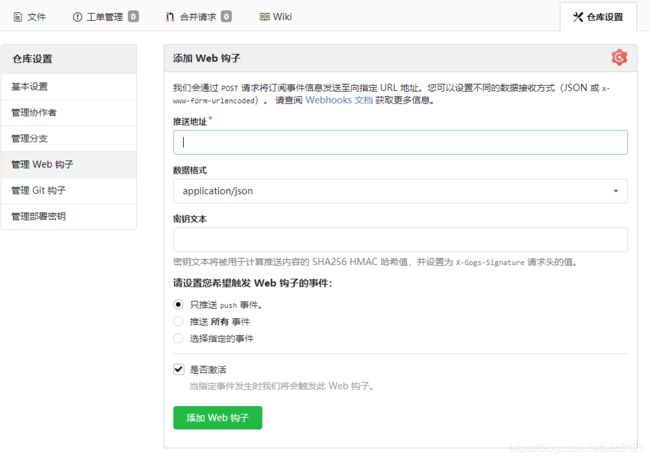
需要配置推送地址和密文,密文需要在以下的push代码中使用到。
push代码
//秘钥(项目添加webhook时填写的秘钥文本,添加webhook必须是gogs类型)
define('SECRET', 'fBoa8li9ScpolpsK2Twn');

//合法IP(不添加则不验证)
$ip_arr = [];

/* * ****************************repository config start *************************************** */
//只对下边列出的git版本库以及指定分支生效
//格式: array('ssh_url'=>'版本库地址','branch'=>'分支名称','wwwroot'=>'部署路径')(版本库地址填写 ssh_url)
$job_repository = [
    'ssh_url' => '[email protected]:luotongchao/test.git', //ssh版本库地址,必填
    'branch' => 'master', //需要更新的分支,必填
    'wwwroot' => 'C:/wwwroot/test', //部署路径,必填
];

$ip = isset($_SERVER['REMOTE_ADDR']) ? $_SERVER['REMOTE_ADDR'] : ''; //IP
$signature = isset($_SERVER['HTTP_X_GOGS_SIGNATURE']) ? $_SERVER['HTTP_X_GOGS_SIGNATURE'] : ''; //签名
$event = isset($_SERVER['HTTP_X_GOGS_EVENT']) ? $_SERVER['HTTP_X_GOGS_EVENT'] : ''; //事件

if (empty($ip) || empty($signature) || empty($event)) {
    echo 'error 403';
    exit();
}

//"========================================webhook start========================================";

//获取json数据
$json_data = file_get_contents("php://input");
$data = json_decode($json_data, true);

if (empty($data)) {
    echo '无效数据';
    exit();
}

$branch = @end(explode("/", $data['ref'])); //分支
$repository_url = $data['repository']['ssh_url']; //版本库地址(ssh_url)

echo '地址: ' . $repository_url . ', 分支: ' . $branch . ', 事件: ' . $event;
echo "RAW DATA: \r\n" . var_export($data, true);

//验证签名
$re_sign = hash_hmac('sha256', $json_data, SECRET);
if ($re_sign != $signature) {
    echo 'signature签名错误';
    exit();
}

if (!empty($ip_arr) && (empty($ip) || !in_array($ip, $ip_arr))) {
    echo '不合法IP';
    exit();
}

if (strtolower($event) != 'push') {
    echo '非push操作';
    exit();
}

//拼接cmd命令,window下执行多个命令使用 && 连接
$cmd = "cd {$job_repository['wwwroot']} && git pull origin {$branch}";

echo $cmd;

//执行命令
$output = array();
exec($cmd, $output, $return_var);
if ($return_var == 0) {
    exit(json_encode(['msg'=>$output]));
} else {
    exit(json_encode(['msg'=>$output]));
}

