Teamcenter10 step-by-step installation in Linux env-Teamcenter Server Installation
Introduction
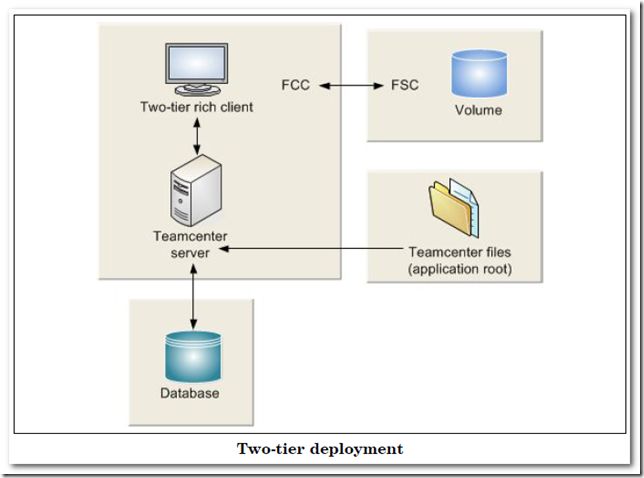
In the post, we will start to deploy two-tier Teamcenter env step by step.
We will use the following two Teamcenter installation tools which enable you to build and manage your Teamcenter installation.
- Teamcenter Environment Manager (TEM) : a tool that installs Teamcenter servers and two-tier and four-tier rich clients.
- Web Application Manager (WAM): a tool that installs thin client and rich client solutions and builds Teamcenter J2EE Web application.
In this post, we will focus on TEM to finish 2-tier deployment.
Steps
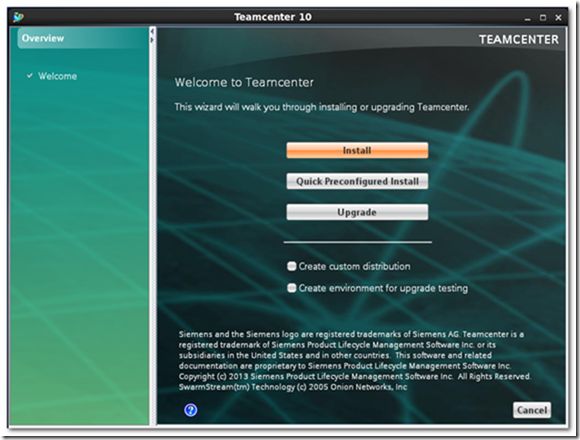
1) You launch TEM using the tem.sh command.
You need to specify the JRE home when installing Teamcenter10 first time. And the version of JRE needs to be above 1.7.0_17
2) Select [Install]
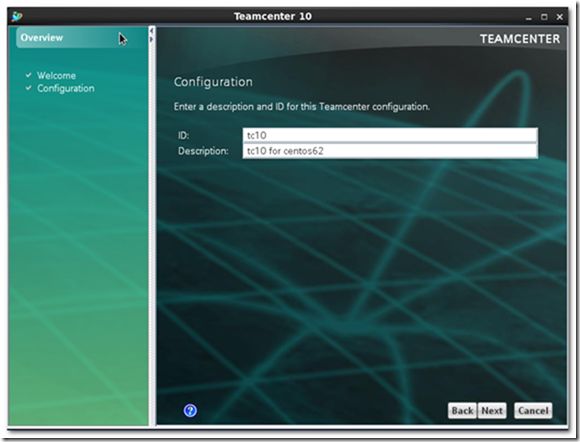
3) Enter ID and description for Teamcenter configuration.
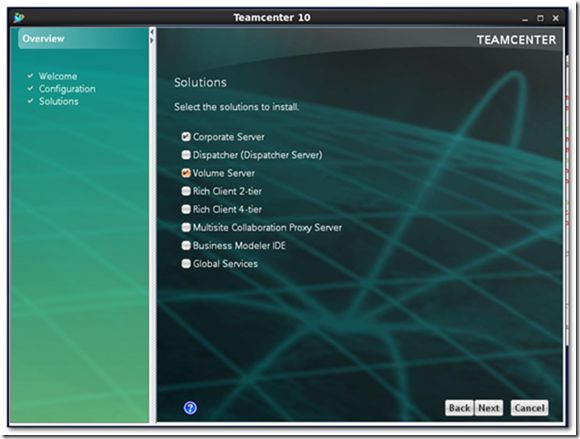
4) Select the solutions to install
You can install different types of Teamcenter servers according to the features you use. For demo purpose, we select all-in-one corporate server.
A Teamcenter corporate server installation includes the following components:
- Teamcenter shared binary executables and files
- Teamcenter shared data subdirectories and files
- Database connection
- Teamcenter volume
- Additional optional Teamcenter features such as File Management System (FMS)
It is obvious that I made a little mistake to select both corporate server and volume server in the below snapshot.
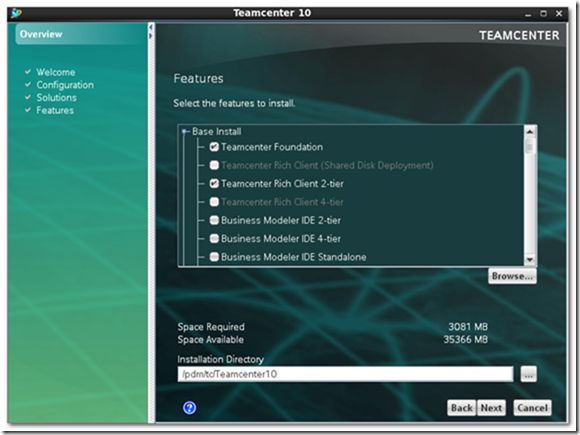
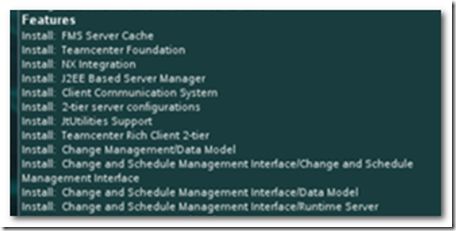
5) Click the features to install and specify TC_ROOT directory.
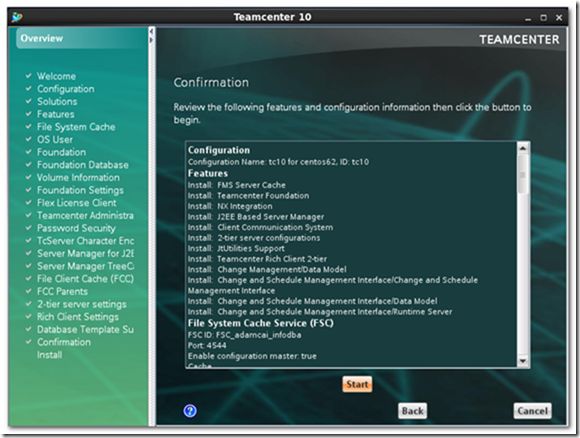
I select the following 12 features to install.
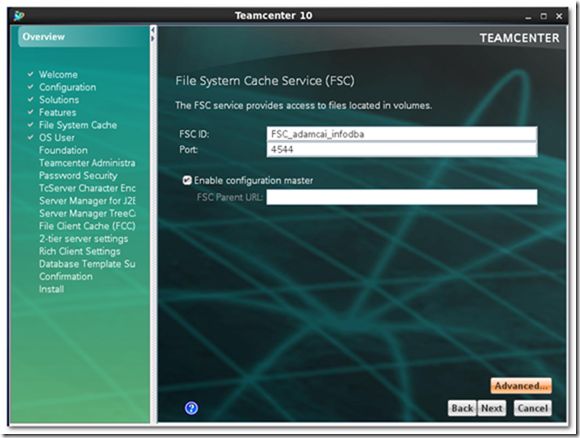
6) Specify FSC ID and port. Default setting is OK.
The default FSC ID is FSC_{hostname}_{current OS user name}.
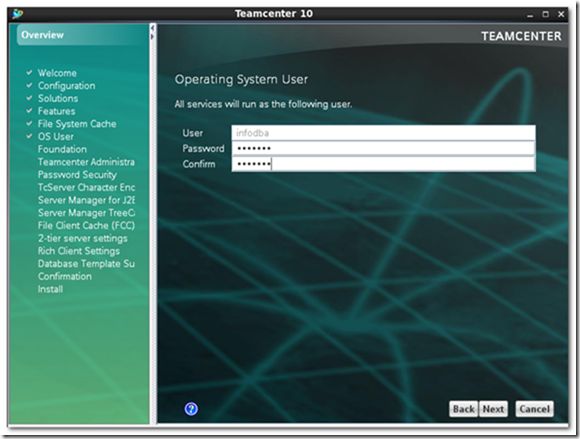
7) Input OS user and password. All TC related services will run as the user.
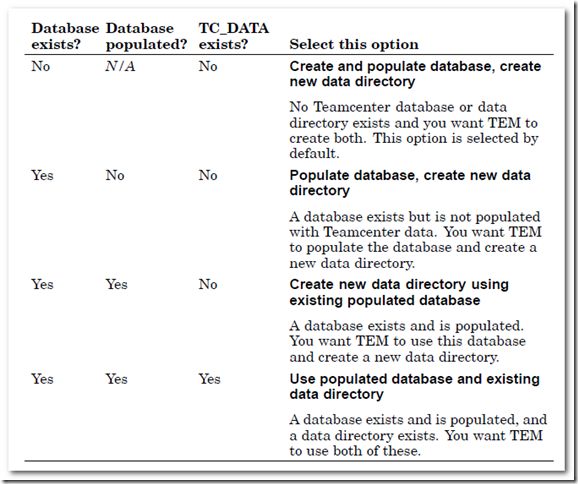
8) Because the Oracle instance for Teamcenter has been created through DBCA, select [populate database, create new data directory] option.
Extended info
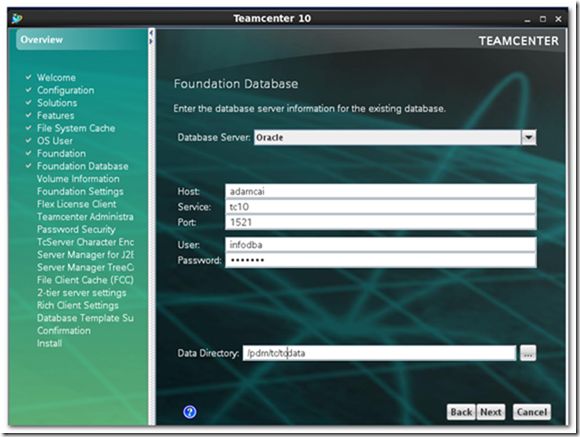
9) Specify database server info and TC_DATA directory.
10) Specify volume name and directory.
11) Set transient volume directory and options about generating server and client cache.
12) Specify license info.
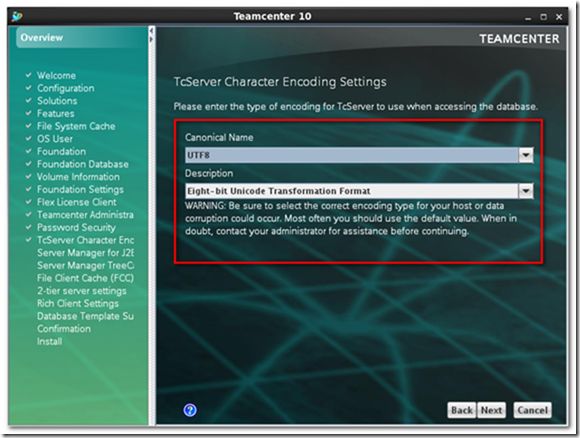
13) Specify TcServer character encoding settings. From Tc10 on, it supports UTF8 fully and select UTF8 as canonical name.
14) Configure server manager for J2EE. Default setting is OK for demo purpose.
15) Configure treecache.
Extended info
All clients even where they do not need to maintain their state get a performance benefit from maintaining the same TcServer process because information is cached and there is no overhead of starting a process or connection to the database.
Both the Web Tier and the Enterprise Tier need to be aware of which client is mapped to which TcServer processes to allow for the correct routing. This is achieved using a in-memory table which is shared between all Server Pool Managers and Web Application Servers. The mapping is done based on user id.
The Shared Cache or Tree Cache is key to the failure tolerance and horizontal scalability properties of the architecture. All Server Pool Managers and all Web Application Servers have a copy of the cache which is updated regularly. When a client connects , the cache is consulted to establish if there is an existing TcServer process that can be used for connection, if not a new one is initiated.
16) Set FCC
17) Specify FCC parents
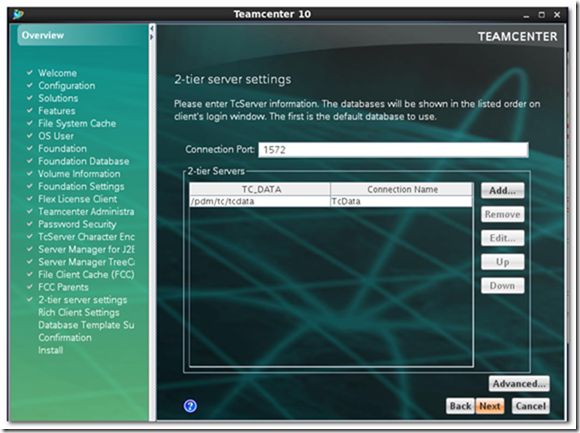
18) Specify 2-tier server settings.
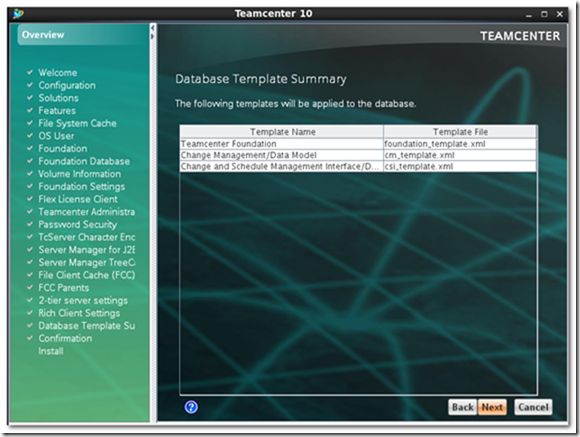
19) Summarize the templates to be applied to Tc database.
20) Click the [Start] button if the configuration is OK.






![Tree_Cache_01_306[1] Tree_Cache_01_306[1]](http://img.e-com-net.com/image/product/fcfea5bb49584b85810d904ad003ec51.jpg)


