使用JPDA调试Tomcat(一)
在本文中,我将使用JPDA调试Tomcat中的BUG。在这篇文档中,我会用Step by Step的方式来进行描述。所以,你必须要从头按顺序读到尾,并照着动手做一遍才可以。
下载Tomcat 6.0.32
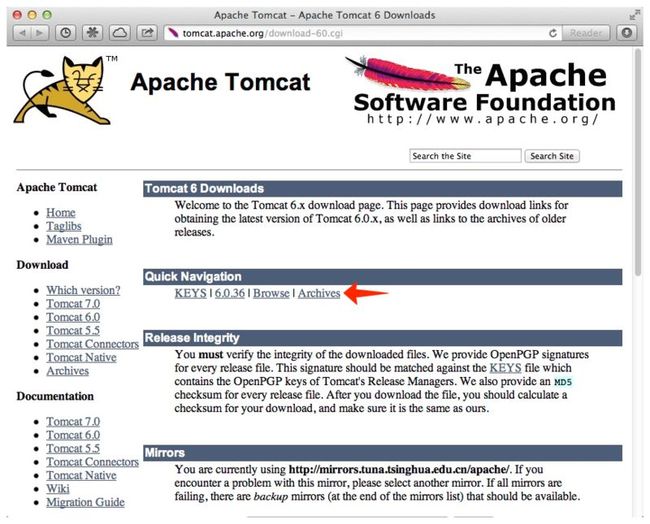
首先访问Tomcat的下载地址: http://tomcat.apache.org/download-60.cgi
点击Archive:
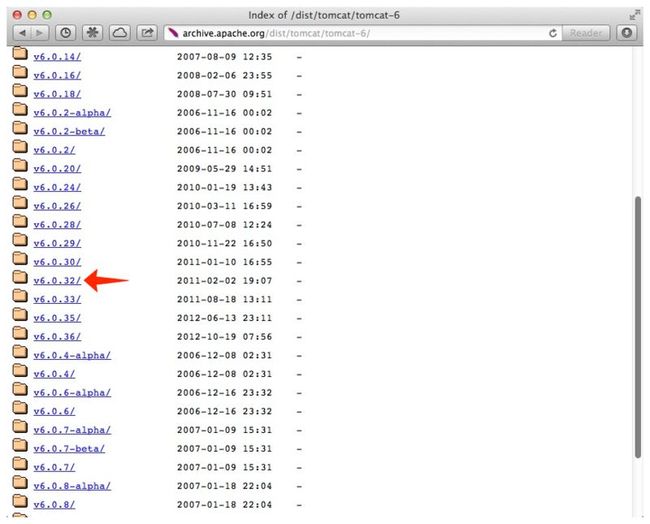
选择6.0.32:
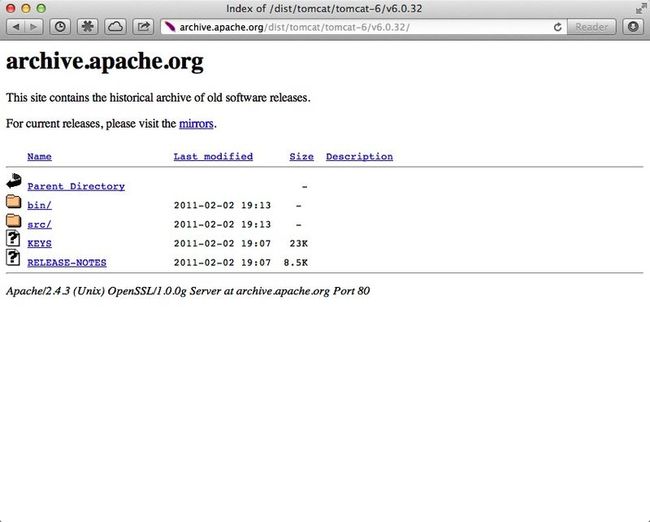
分别在bin和src目录中下载程序包和源码包:
下载的ZIP如下:
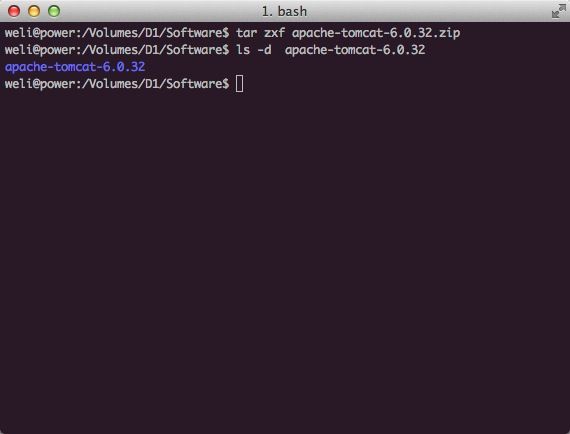
解压缩apache-tomcat-6.0.32.zip:
解压后,将Tomcat启动试试看:
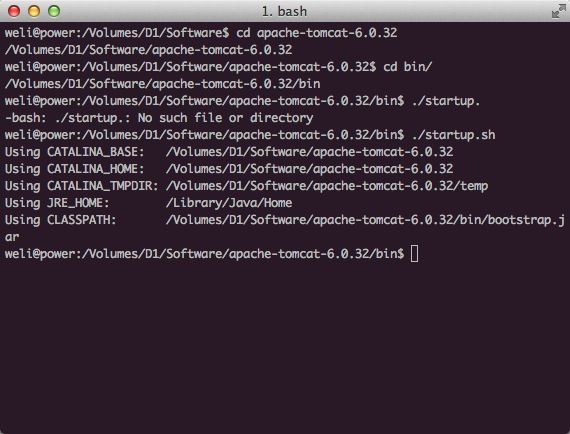
看看启动后是否可以正常访问:
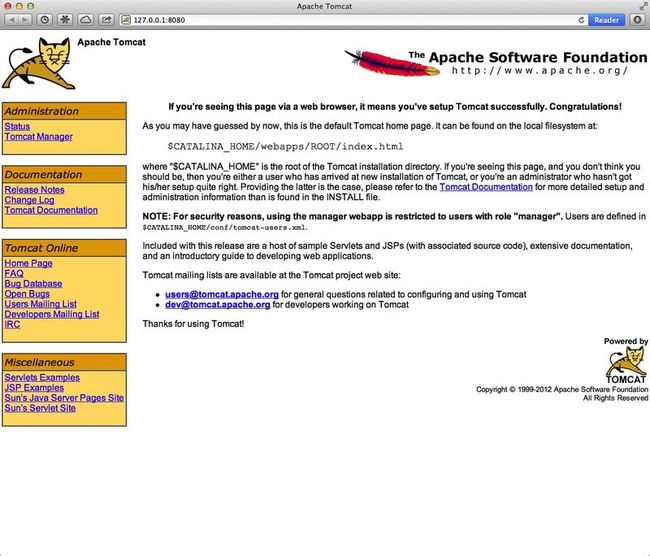
然后我们要下载jstl-1.2.jar,在稍后的实验中,项目依赖个这个jar。从这里下载:
http://repo1.maven.org/maven2/javax/servlet/jstl/1.2/jstl-1.2.jar
下载完成后将其放到tomcat的lib目录当中:

这样Tomcat这边的准备工作就算完成了。
下载测试项目
我们要在Tomcat里部署这个项目:
https://github.com/liweinan/secured-webapp-template
从github中clone这个项目:
然后使用maven编译它:
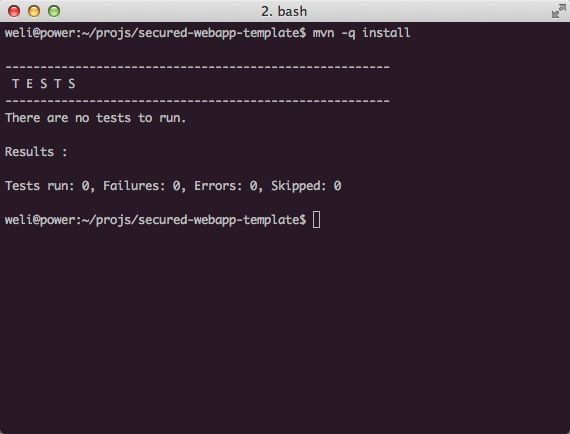
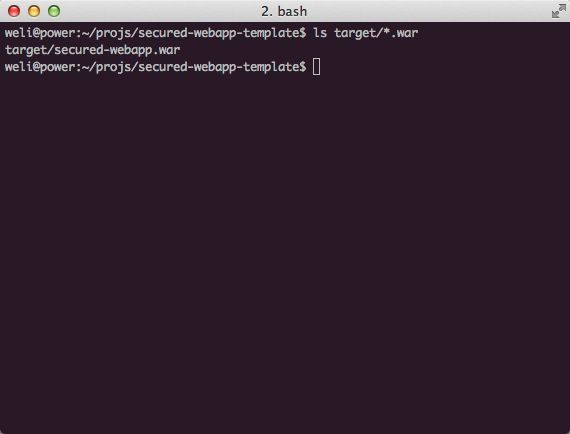
检查一下项目是否被正确打包了:
理解测试项目
打开项目的web.xml,看一下配置:

可以看到在web.xml中两种角色:User和Admin。其中User角色的用户可以访问/users/*页面,而Admin角色的用户可以访问/admin/*和/user/*页面。
这是一个很简单的项目,我们主要用它来展示Tomcat 6.0.32中一个关于权限认证的BUG。接下来我们要在Tomcat中做些配置:
配置Tomcat
首先在server.xml中打开Single Sign On Valve:

然后我们要添加对用户的定义,编辑conf/tomcat-users.xml如下:
我们定义了"Admin"和"User"两种角色,以及"admin“及"user"两个用户,并赋予了这两个用户相关角色。
这样,准备工作就算完成了,我们重启Tomcat:
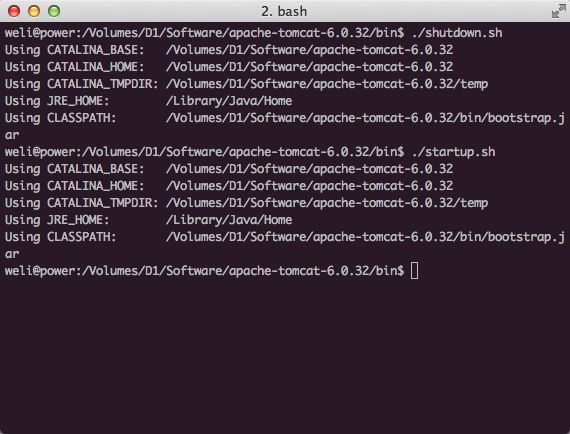
接下来,我们要将项目部署至Tomcat:
部署并访问实验项目
部署非常简单,将生成的WAR拷贝到Tomcat的webapps目录:
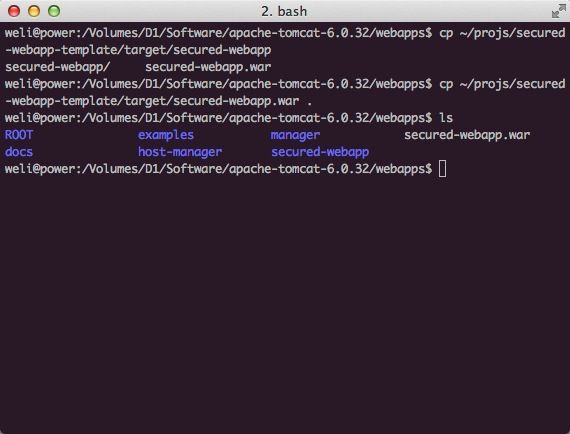
可以看到secured-webapp.war被Tomcat展开成了secured-webapp目录。接下来访问一下应用:
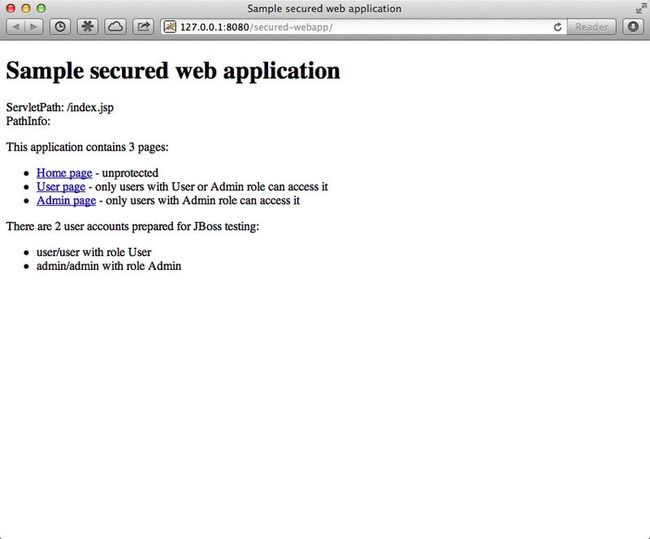
如果之间的步骤正确,则可以看到上面的页面。接下来我们来做实验:
实验
首先访问user页面:
http://127.0.0.1:8080/secured-webapp/user/
因为这个页面受到权限保护,因此会要求你输入账号密码,我们使用定义的user用户,账号名和密码均为user:
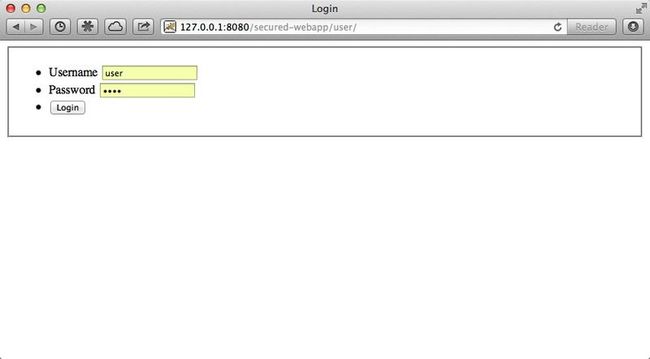
点击'Login',可以看到用户成功登入了user页面:
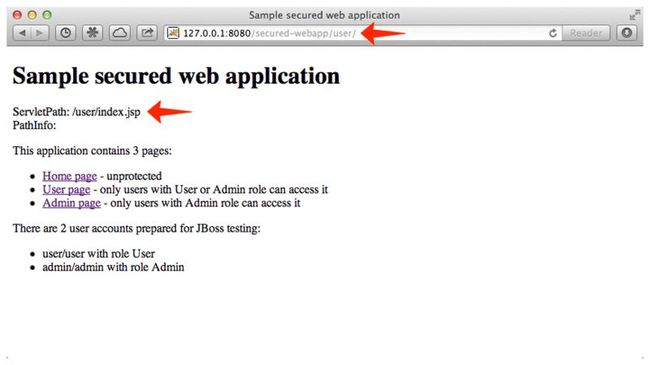
然后我们试着访问admin页面: http://127.0.0.1:8080/secured-webapp/admin/
结果如下:
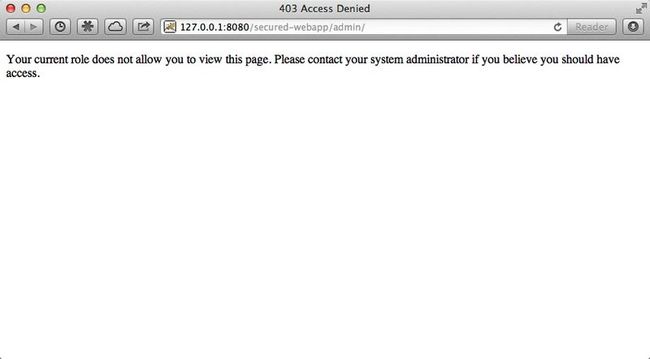
可以看到,user用户没有权限访问这个页面, 一切和预期的一样。
接下来我们关掉浏览器,重新打开,清除了已登录状态,然后访问admin页面: http://127.0.0.1:8080/secured-webapp/admin/
这次我们改用admin登录:
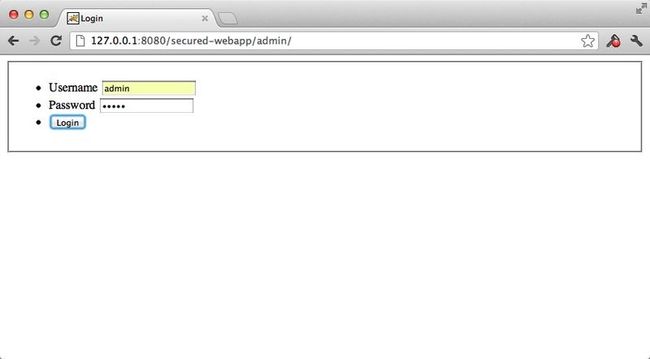
可以看到,admin用户能够访问受限页面了:

那么,Tomcat在这一点上一切正常,有什么BUG呢?接下来我们试试看:
发现BUG
首先退出浏览器,重新打开,然后访问: http://127.0.0.1:8080/secured-webapp/admin/
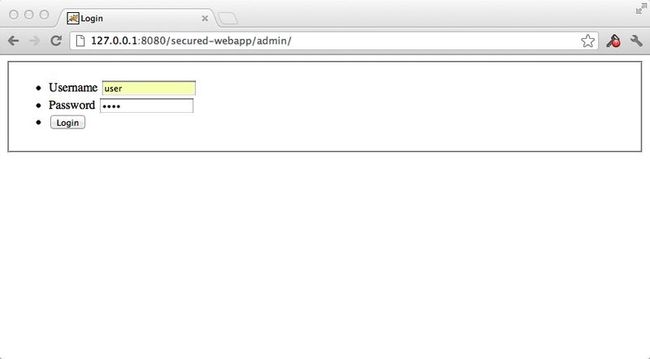
点击"Login",结果如下:
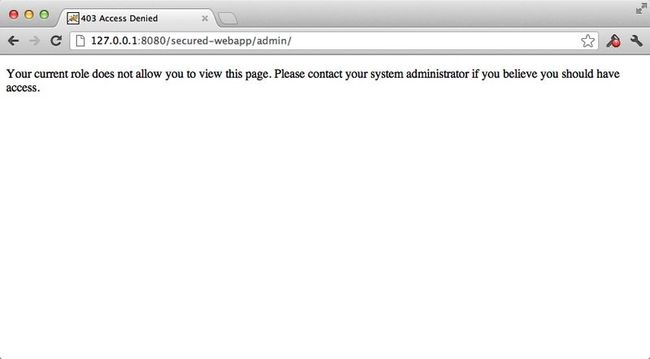
很显然,我们没有权限用user用户访问admin页面。。。真的吗?试试看访问这个地址: http://127.0.0.1:8080/secured-webapp/admin/j_security_check

BOOM!我们进到了admin的页面空间。很显然,这是Tomcat 6.0.32版本中的BUG。本文的上篇就写到这里,在下篇当中,我们将用JPDA调试Tomcat6,并着手修复这个BUG。
下载Tomcat 6.0.32
首先访问Tomcat的下载地址: http://tomcat.apache.org/download-60.cgi
点击Archive:

选择6.0.32:

分别在bin和src目录中下载程序包和源码包:

下载的ZIP如下:
apache-tomcat-6.0.32-src.zip
apache-tomcat-6.0.32.zip
解压缩apache-tomcat-6.0.32.zip:

解压后,将Tomcat启动试试看:

看看启动后是否可以正常访问:

然后我们要下载jstl-1.2.jar,在稍后的实验中,项目依赖个这个jar。从这里下载:
http://repo1.maven.org/maven2/javax/servlet/jstl/1.2/jstl-1.2.jar
下载完成后将其放到tomcat的lib目录当中:

这样Tomcat这边的准备工作就算完成了。
下载测试项目
我们要在Tomcat里部署这个项目:
https://github.com/liweinan/secured-webapp-template
从github中clone这个项目:
git clone git://github.com/liweinan/secured-webapp-template.git
然后使用maven编译它:

检查一下项目是否被正确打包了:

理解测试项目
打开项目的web.xml,看一下配置:

可以看到在web.xml中两种角色:User和Admin。其中User角色的用户可以访问/users/*页面,而Admin角色的用户可以访问/admin/*和/user/*页面。
这是一个很简单的项目,我们主要用它来展示Tomcat 6.0.32中一个关于权限认证的BUG。接下来我们要在Tomcat中做些配置:
配置Tomcat
首先在server.xml中打开Single Sign On Valve:
<Valve className="org.apache.catalina.authenticator.SingleSignOn" />

然后我们要添加对用户的定义,编辑conf/tomcat-users.xml如下:
<?xml version='1.0' encoding='utf-8'?>
<!--
  Licensed to the Apache Software Foundation (ASF) under one or more
  contributor license agreements.  See the NOTICE file distributed with
  this work for additional information regarding copyright ownership.
  The ASF licenses this file to You under the Apache License, Version 2.0
  (the "License"); you may not use this file except in compliance with
  the License.  You may obtain a copy of the License at

      http://www.apache.org/licenses/LICENSE-2.0

  Unless required by applicable law or agreed to in writing, software
  distributed under the License is distributed on an "AS IS" BASIS,
  WITHOUT WARRANTIES OR CONDITIONS OF ANY KIND, either express or implied.
  See the License for the specific language governing permissions and
  limitations under the License.
-->
<tomcat-users>
<!--
  NOTE:  By default, no user is included in the "manager-gui" role required
  to operate the "/manager/html" web application.  If you wish to use this app,
  you must define such a user - the username and password are arbitrary.
-->
<!--
  NOTE:  The sample user and role entries below are wrapped in a comment
  and thus are ignored when reading this file. Do not forget to remove
  <!.. ..> that surrounds them.
-->

  <role rolename="tomcat"/>
  <role rolename="role1"/>
  <role rolename="Admin"/>
  <role rolename="User"/>

<!-- Remove comments to enable -->
<!--  <role rolename="manager"/> -->
<!--  <role rolename="admin"/> -->
<!-- The host manager webapp is restricted to users with role "admin" -->
<!-- <user name="tomcat" password="password" roles="admin" /> -->
<!-- The manager webapp is restricted to users with role "manager" -->
<!-- <user name="tomcat" password="password" roles="manager" /> -->

  <user username="admin" password="admin" roles="Admin"/>
  <user username="user" password="user" roles="User"/>
  <user username="tomcat" password="tomcat" roles="tomcat"/>
  <user username="both" password="tomcat" roles="tomcat,role1"/>
  <user username="role1" password="tomcat" roles="role1"/>

</tomcat-users>
我们定义了"Admin"和"User"两种角色,以及"admin“及"user"两个用户,并赋予了这两个用户相关角色。
这样,准备工作就算完成了,我们重启Tomcat:

接下来,我们要将项目部署至Tomcat:
部署并访问实验项目
部署非常简单,将生成的WAR拷贝到Tomcat的webapps目录:

可以看到secured-webapp.war被Tomcat展开成了secured-webapp目录。接下来访问一下应用:

如果之间的步骤正确,则可以看到上面的页面。接下来我们来做实验:
实验
首先访问user页面:
http://127.0.0.1:8080/secured-webapp/user/
因为这个页面受到权限保护,因此会要求你输入账号密码,我们使用定义的user用户,账号名和密码均为user:

点击'Login',可以看到用户成功登入了user页面:

然后我们试着访问admin页面: http://127.0.0.1:8080/secured-webapp/admin/
结果如下:

可以看到,user用户没有权限访问这个页面, 一切和预期的一样。
接下来我们关掉浏览器,重新打开,清除了已登录状态,然后访问admin页面: http://127.0.0.1:8080/secured-webapp/admin/
这次我们改用admin登录:

可以看到,admin用户能够访问受限页面了:

那么,Tomcat在这一点上一切正常,有什么BUG呢?接下来我们试试看:
发现BUG
首先退出浏览器,重新打开,然后访问: http://127.0.0.1:8080/secured-webapp/admin/

点击"Login",结果如下:

很显然,我们没有权限用user用户访问admin页面。。。真的吗?试试看访问这个地址: http://127.0.0.1:8080/secured-webapp/admin/j_security_check

BOOM!我们进到了admin的页面空间。很显然,这是Tomcat 6.0.32版本中的BUG。本文的上篇就写到这里,在下篇当中,我们将用JPDA调试Tomcat6,并着手修复这个BUG。