Skype for Business Server 2015-13-IISARR-2-发布-1-OWA-ECP
申明:文章中部分内容有涉及官方帮助或者网上资源整合,如有违权,请速与作者联系,谢谢!
作者:316191099@qq.com
培训:Skype for Business Server 2015-项目实战-培训-QQ群:65235615。(学员群,非所有人员都加。)
参照:
Part 1: Reverse Proxy for Exchange Server 2013 using IIS ARR
http://blogs.technet.com/b/exchange/archive/2013/07/19/reverse-proxy-for-exchange-server-2013-using-iis-arr-part-1.aspx
DNS Name=mail.i-x-cloud.com
DNS Name=AutoDiscover.i-x-Cloud.com
DNS Name=i-x-Cloud.com
DNS Name=UC.i-x-Cloud.com
DNS Name=OWAS01.i-x-Cloud.com
DNS Name=Mail01.i-x-Cloud.com
DNS Name=SFBFE01.i-x-Cloud.com
DNS Name=Admin.i-x-Cloud.com
DNS Name=Meet.i-x-Cloud.com
DNS Name=Dialin.i-x-Cloud.com
DNS Name=SFBFEPool01.i-x-Cloud.com
DNS Name=LyncDiscoverInternal.i-x-Cloud.com
DNS Name=Lyncdiscover.i-x-Cloud.com
DNS Name=SFBEdge01.i-x-Cloud.com
DNS Name=sip.i-x-Cloud.com
DNS Name=SFBEdgePool01.i-x-Cloud.com
DNS Name=SP01.i-x-Cloud.com
DNS Name=Scheduler.i-x-Cloud.com
DNS Name=SFBPC01.i-x-Cloud.com
DNS Name=SFBPCPool01.i-x-Cloud.com
DNS Name=DC01.i-x-Cloud.com
DNS Name=ADFS01.i-x-Cloud.com
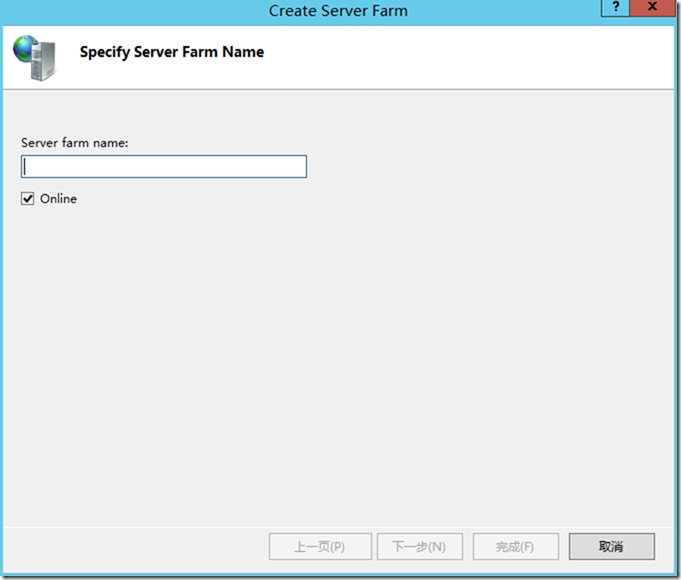
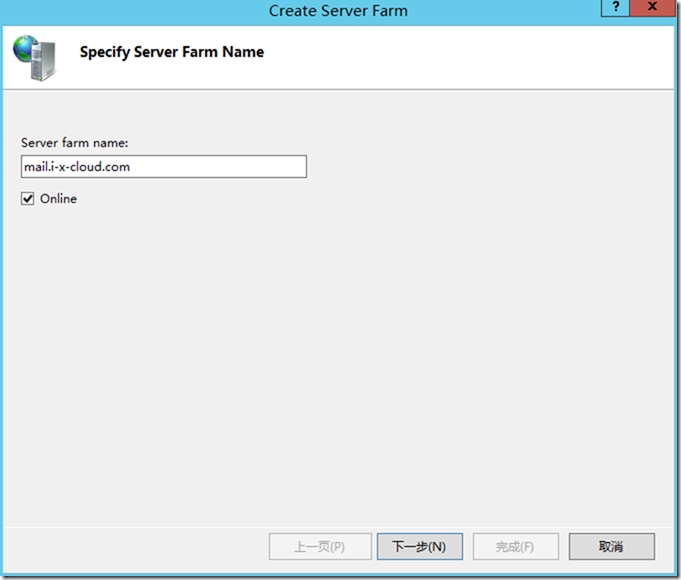
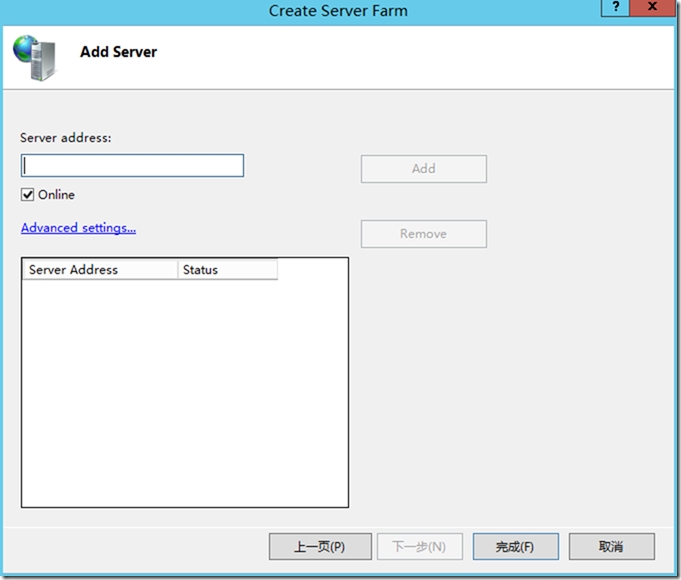
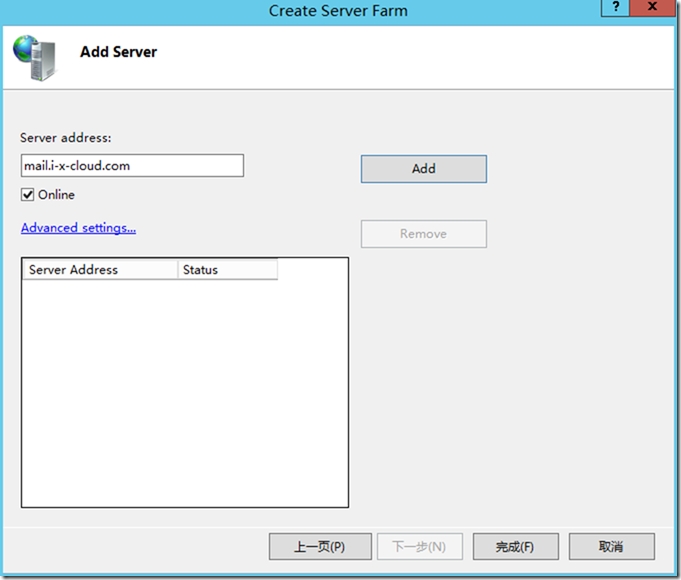
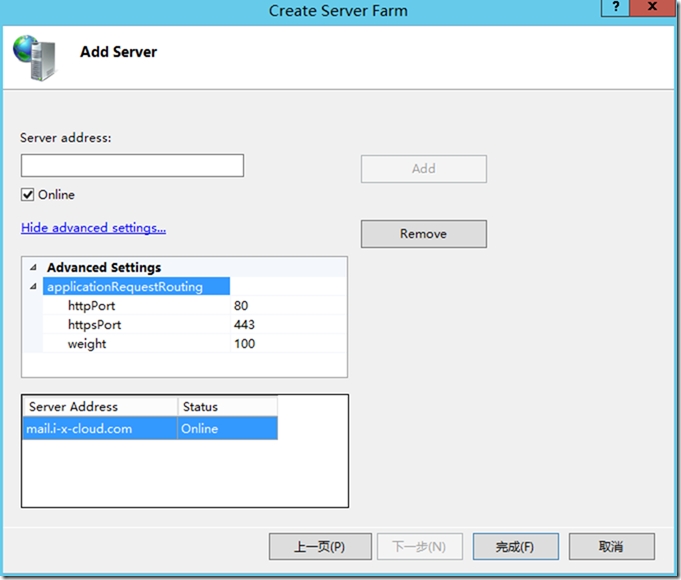
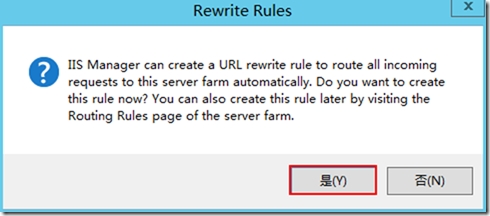
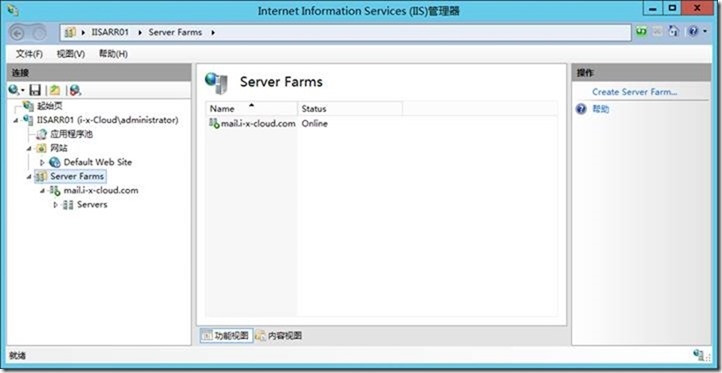
Setup 1 : 创建-服务器场-mail.i-x-cloud.com
Setup 2 : Server Farm Configuration Changes
On the Server Farm settings node make the configuration changes as detailed below:
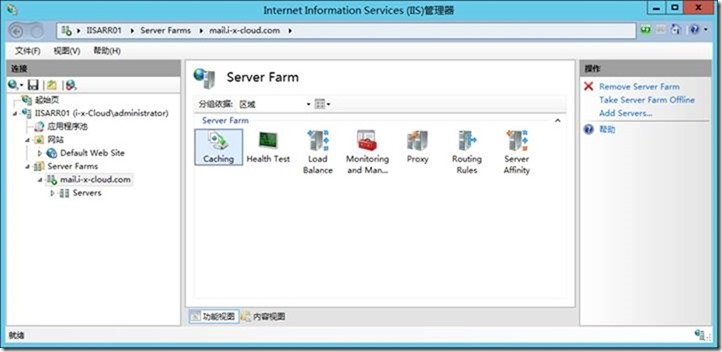
1. Select Caching and choose Disable Disk Cache.
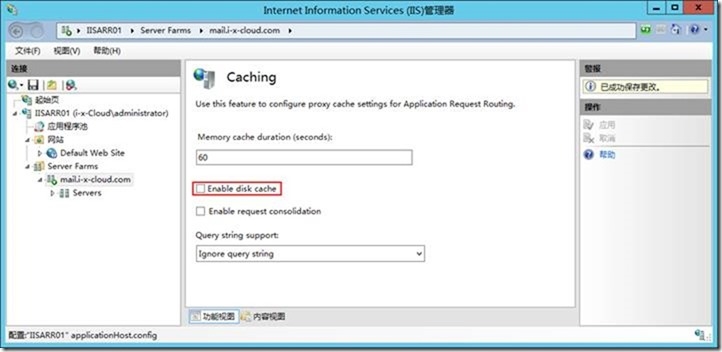
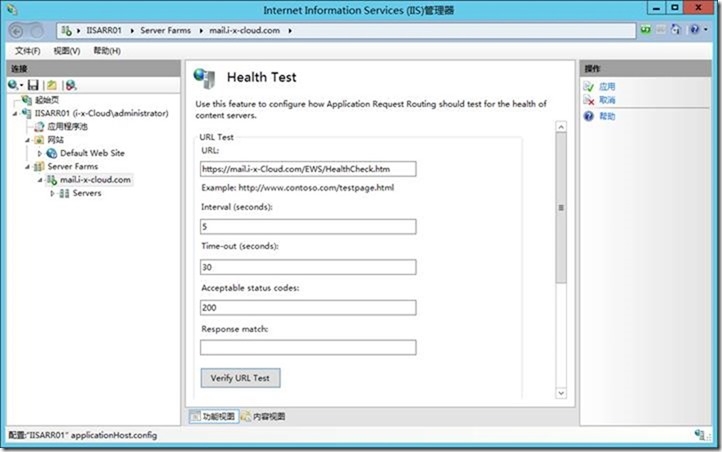
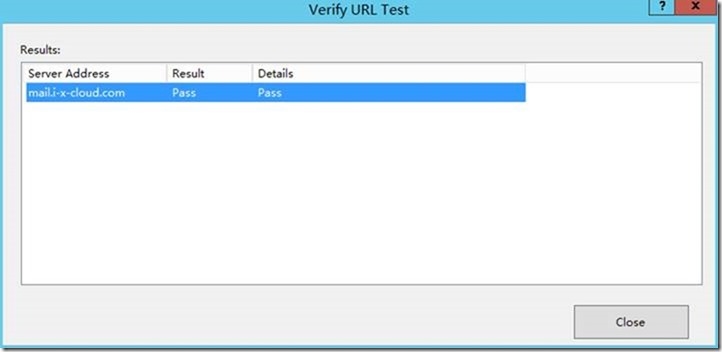
2. Select Health Test. This is used to make sure that a particular application is up and running. It is similar to a Load Balancer’s service availability test.
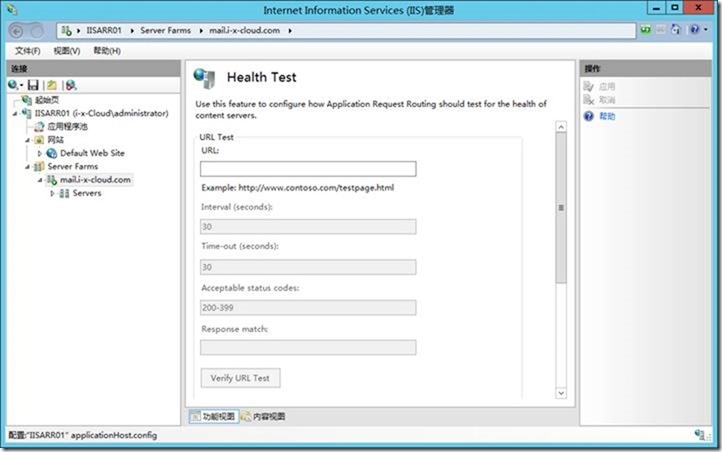
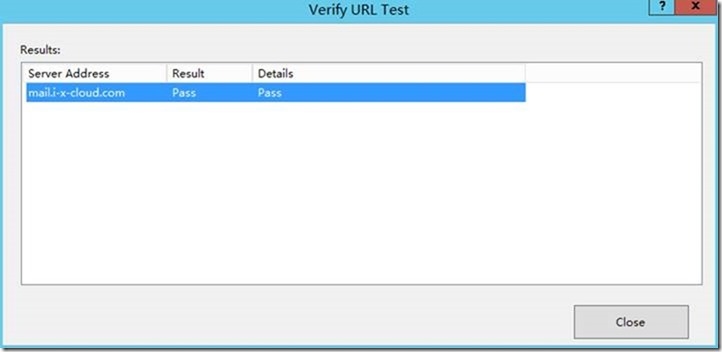
In Exchange 2013 there is a new component called Managed Availability and it uses various checks to make sure that each of the protocols (OA, OWA, EWS, etc.) are up and running. If any protocol fails this check then an appropriate action is automatically taken. (This was just a very simple explanation as to what Managed availability is of course, but if you can take it, and want a more detailed understanding watch Ross Smith IV’s TechEd 2013 Session). We are going to leverage one of these checks to make sure that the service/protocol is available.
https://<fqdn>/<protocol>/HealthCheck.htm is the default web page present in Exchange 2013. These URL’s are specific for each protocol and do not have to be created by the administrator.
Examples:
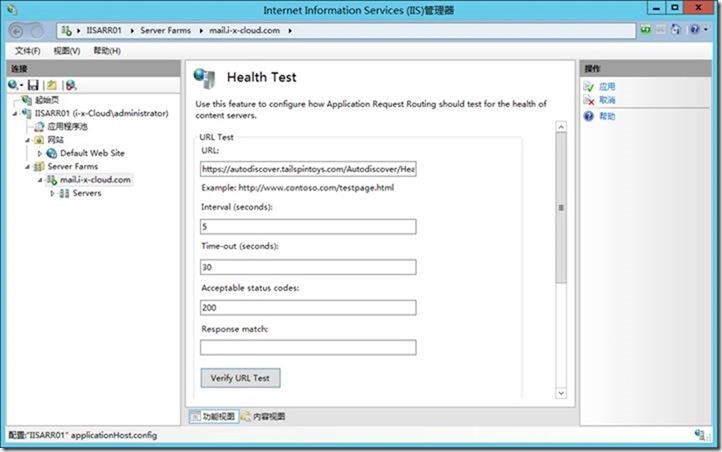
https://autodiscover.tailspintoys.com/Autodiscover/HealthCheck.htm
https://mail.tailspintoys.com/EWS/HealthCheck.htm
https://mail.tailspintoys.com/OAB/HealthCheck.htm
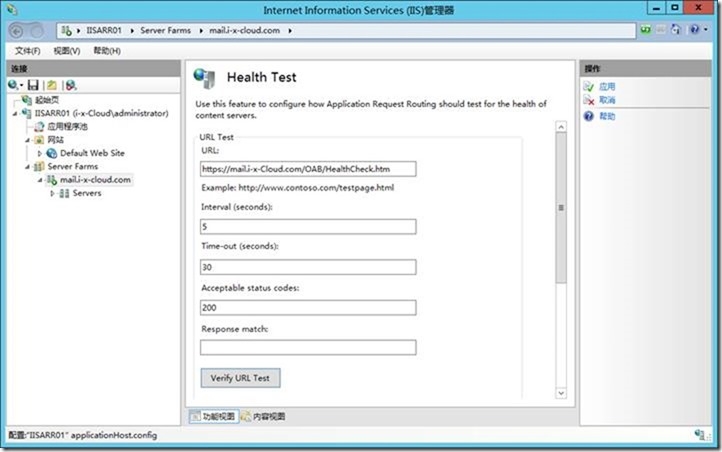
Configure the Health Test with the following settings:
URL: https://mail.tailspintoys.com/OWA/HealthCheck.htm
Interval: 5 seconds
Time-Out: 30 seconds
Acceptable Status Code: 200
https://autodiscover.i-x-Cloud.com/Autodiscover/HealthCheck.htm
https://mail.i-x-Cloud.com/EWS/HealthCheck.htm
https://mail.i-x-Cloud.com/OAB/HealthCheck.htm
![clip_image018[1] clip_image018[1]](http://s3.51cto.com/wyfs02/M00/6F/99/wKiom1WikgmjpgbRAACyPf87v7U311.jpg)
3. Select Load Balance and choose Least Current Request. There are other options, but for this scenario, we find this to be simple and effective. (不做,是针对高可用。)
4. Select Monitoring and Management. This shows the current state of the CAS that are part of this Server Farm. The Health Status is based on the output of the Health Test mentioned above. (不做。)
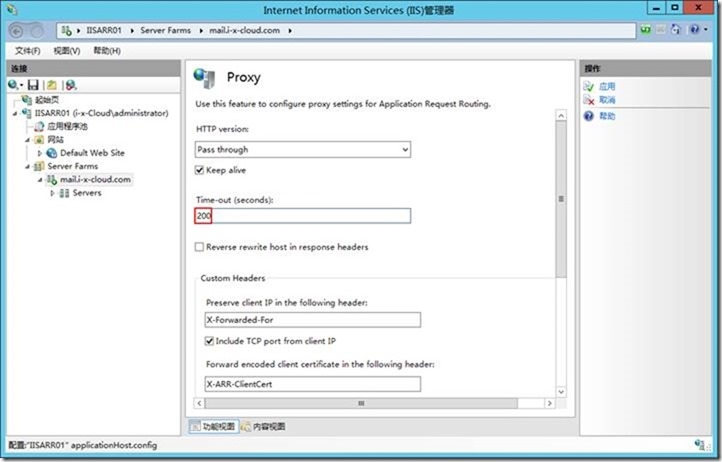
5. Select Proxy. Change the below two values. The actual value for these settings may need to be tweaked for your deployment, but these usually work well as a starting point.
Time-Out: 200 seconds
Response Buffer threshold: 0
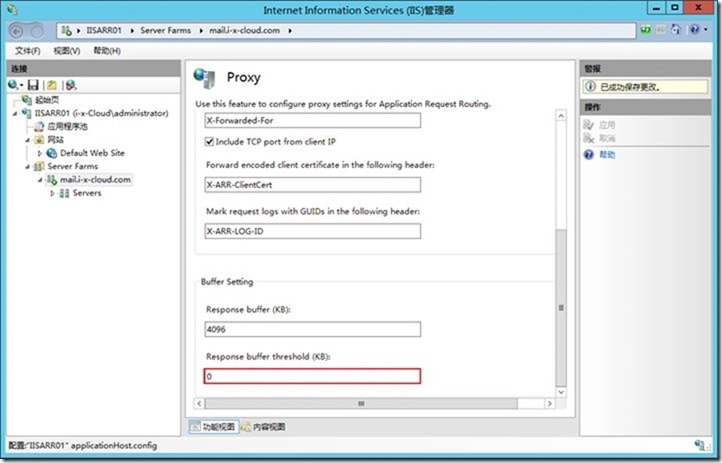
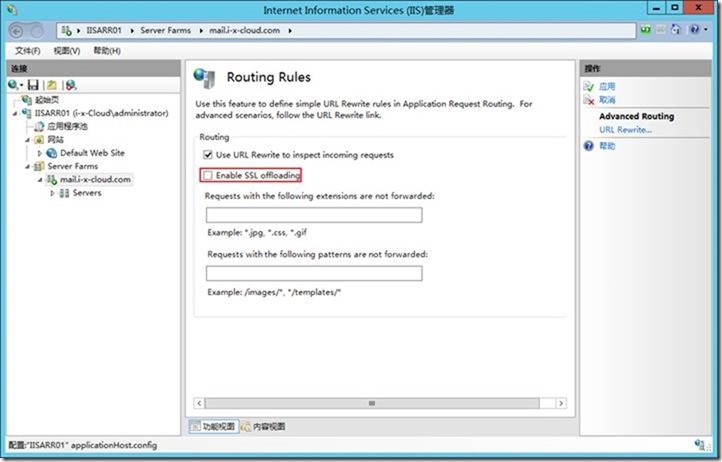
6. Select Routing Rules and uncheck Enable SSL Offloading as it is not supported in Exchange 2013.
7. Select Server Affinity. Due to major architectural changes in the way CAS works in Exchange 2013 we do not need to maintain session affinity. As long as you can get to a CAS server, you will be able to access your mailbox. Thus leave this setting as is. Which means, no changes required. (不做。)
Step 3: Create URL Rewrite Rules
1. At the IIS Root (this is the root and not the properties of the Default Web Site) click on URL Rewrite.
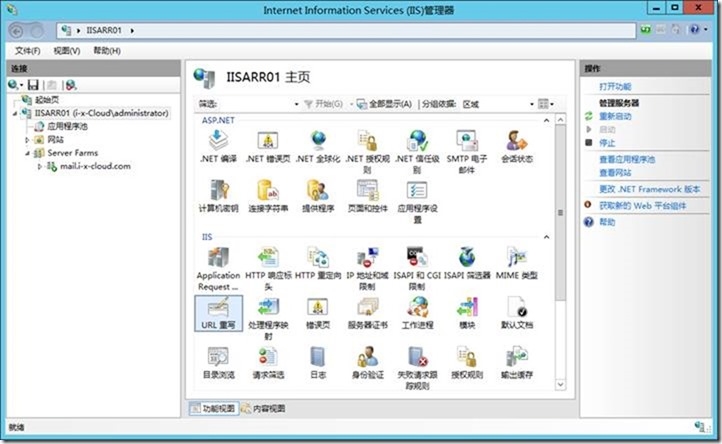
2. You should see two URL Rewrite rules already created (these were created when you selected “Yes” at the end of Server Farm creation).
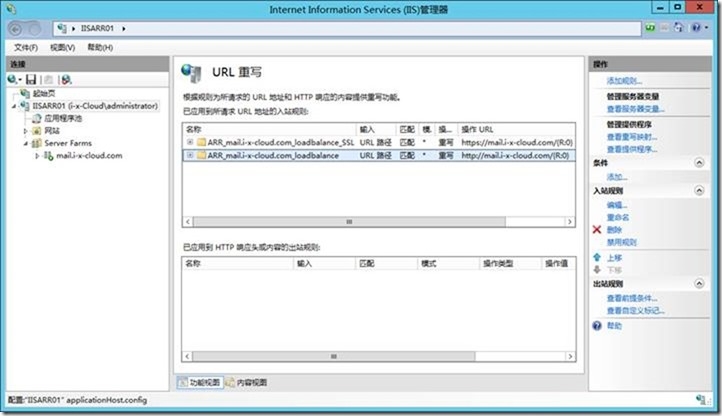
3. Deletethe one for HTTP .
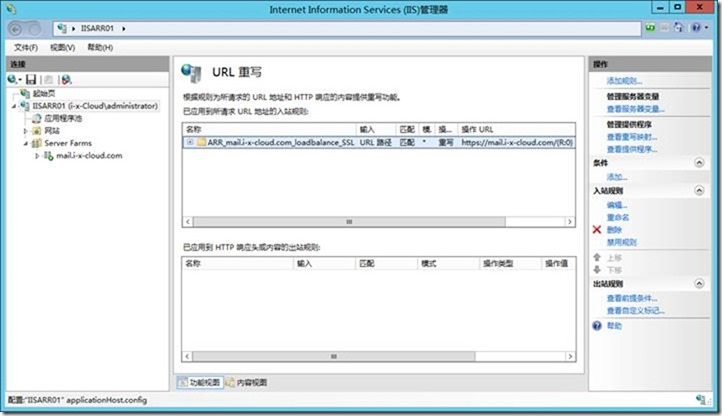
4. Open the properties of the HTTPS rule and make the changes as below;
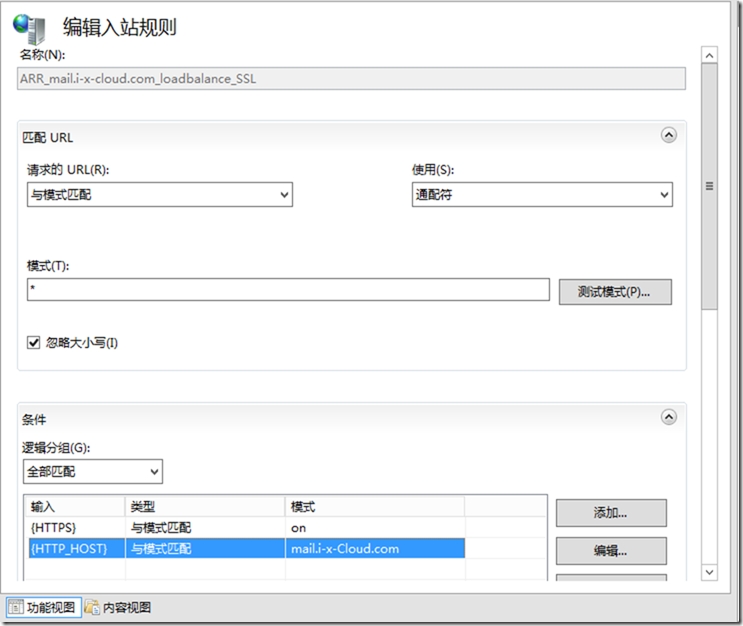
1. Under Conditions add a condition for {HTTP_HOST} and make sure it looks like this:
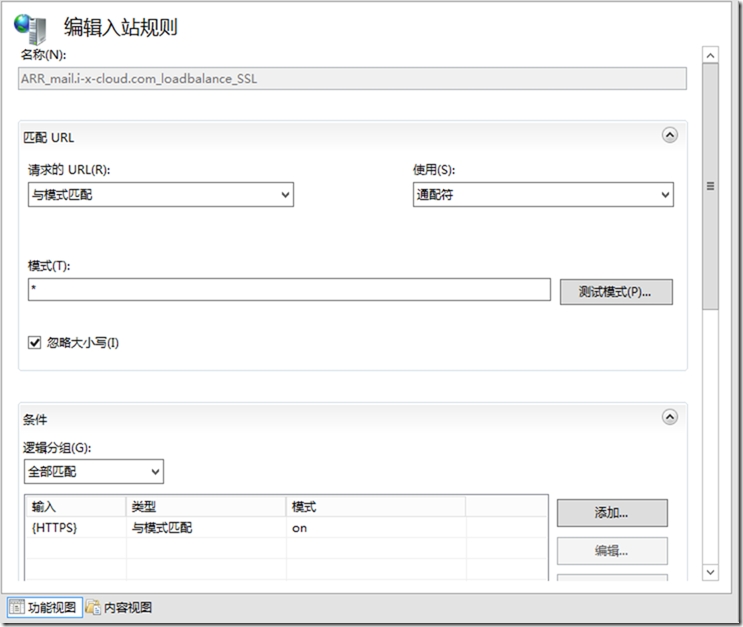
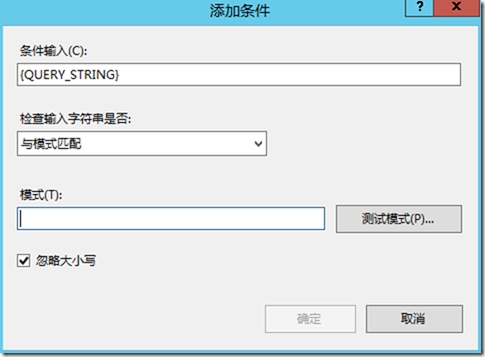
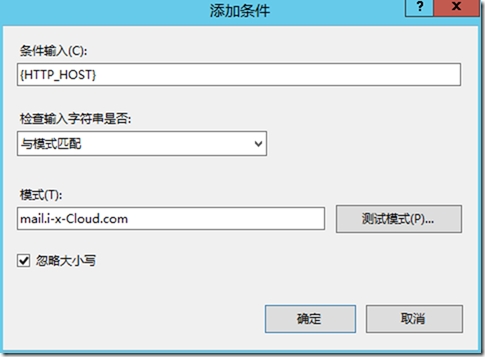
2. Under Action make sure that you have the below options set i.e.: choose the appropriate Server Farm from the drop down menu.
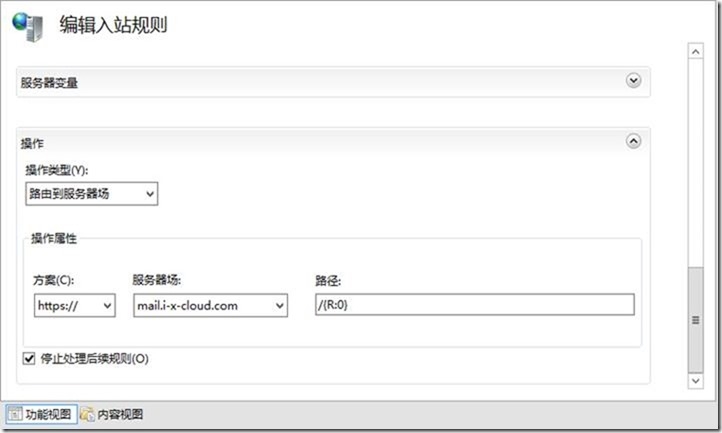
Note: Make sure the option “Stop processing of subsequent rules” is selected. This is to make sure that the validation process stops once the requested URL finds a match.
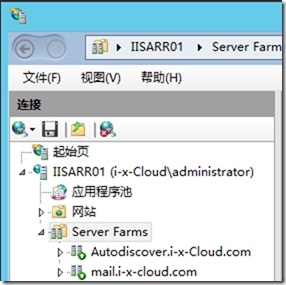
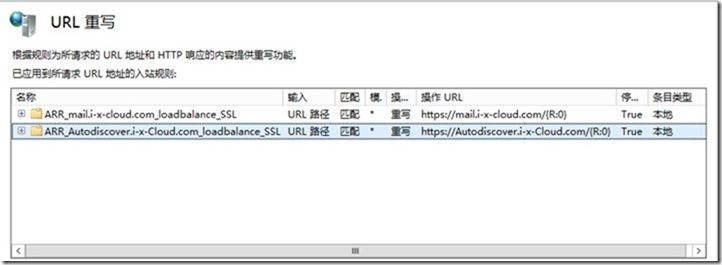
3. Repeatthe same steps of creating a Server Farm and URL Rewrite rule for your AutoDiscover URL (i.e., autodiscover.tailspintoys.com). The final result is as shown below.
Autodiscover.i-x-Cloud.com
Step 4: 测试
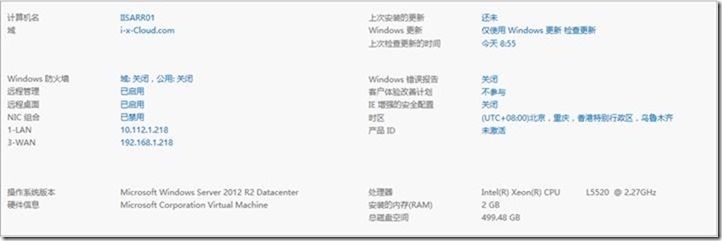
1. 计算机名-IP

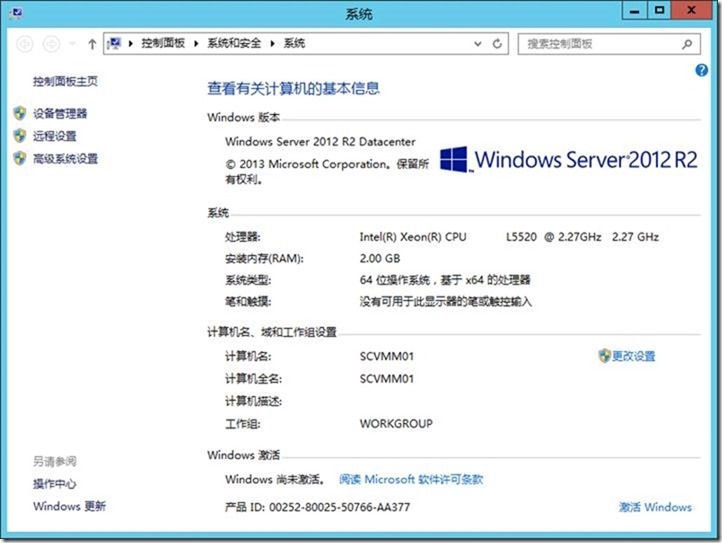
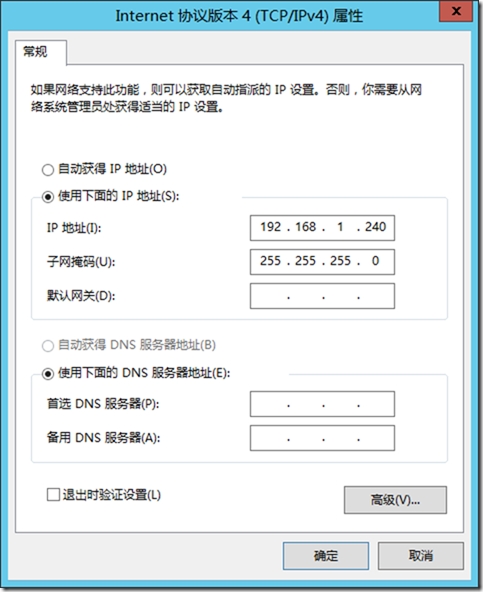
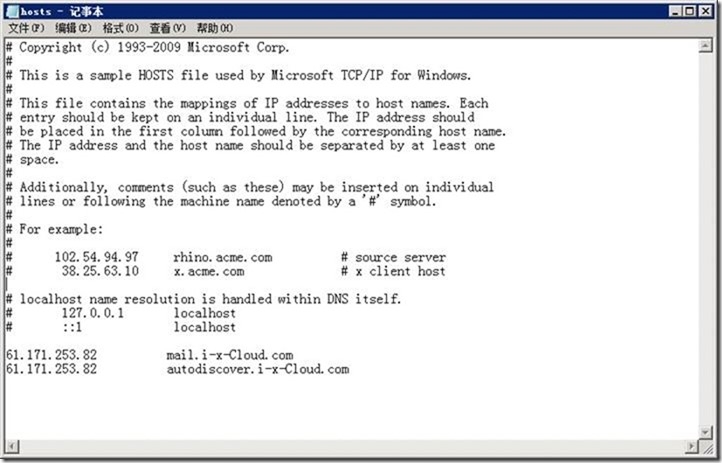
2. 添加-Hosts
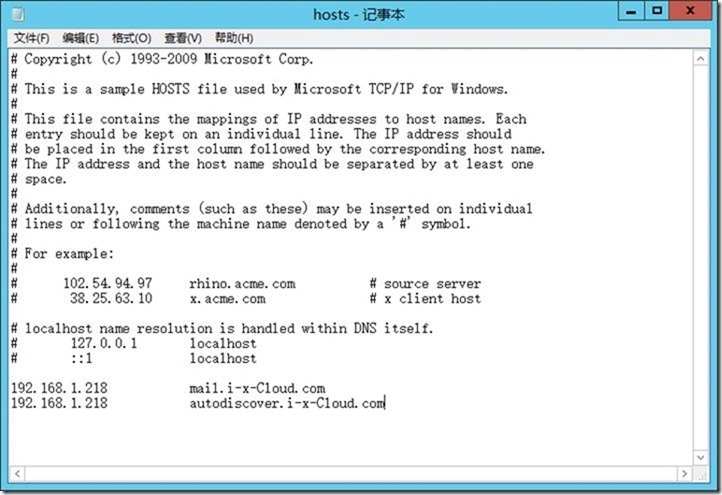
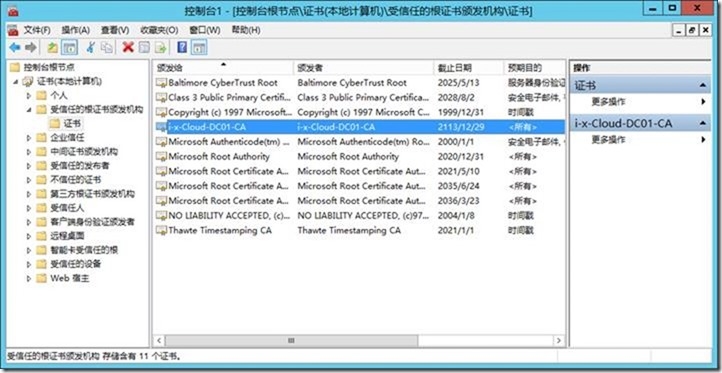
3. 导入-证书信任链
4. 安装-Office 2013
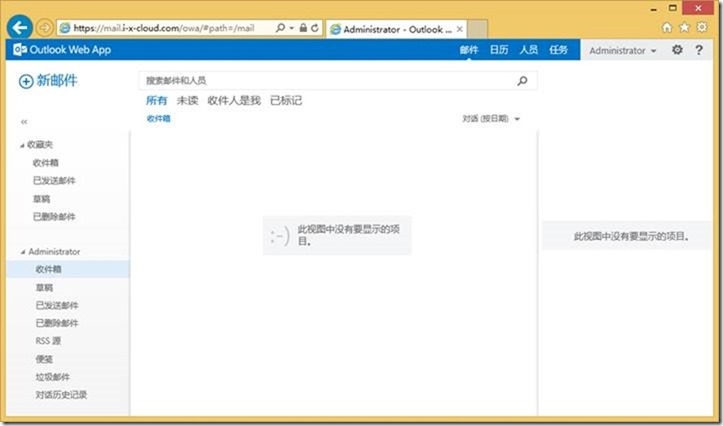
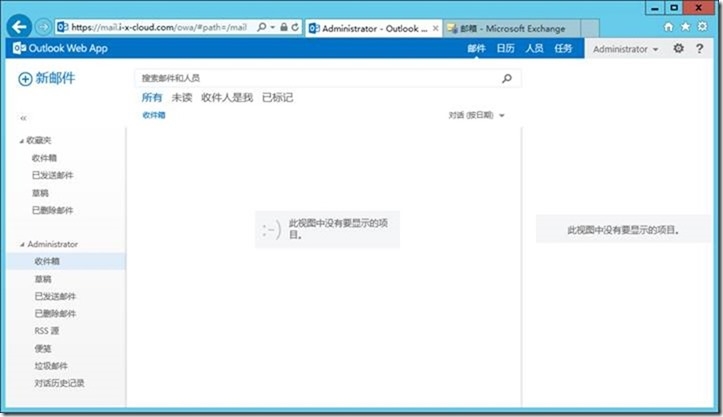
5. 测试-OWA
https://mail.i-x-Cloud.com/OWA
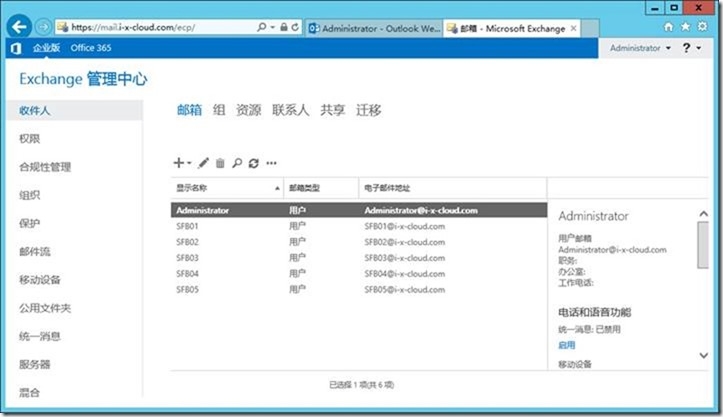
6. 测试-ECP
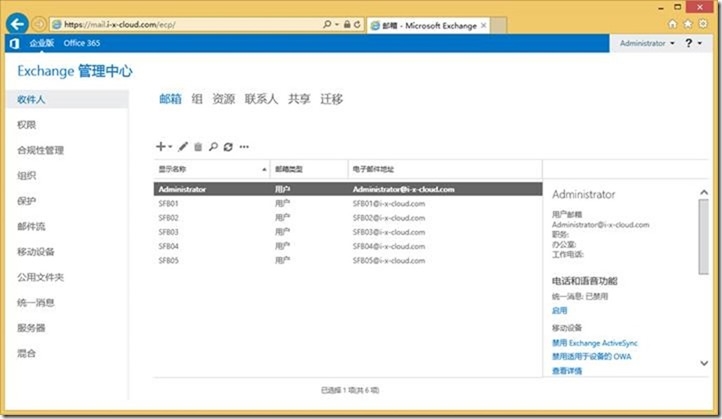
https://mail.i-x-Cloud.com/ECP
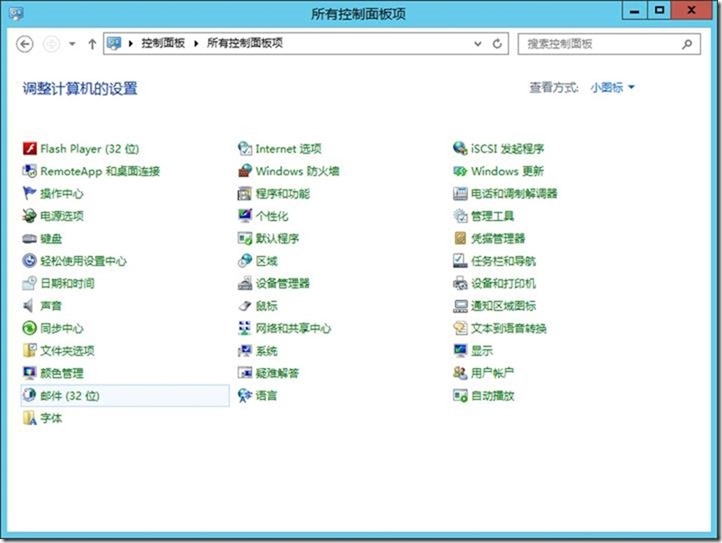
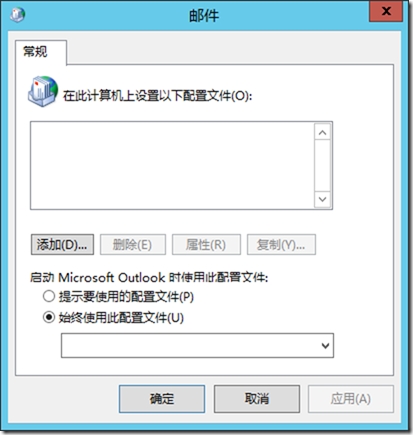
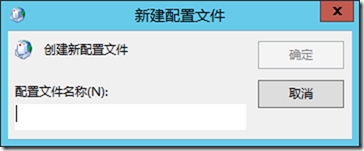
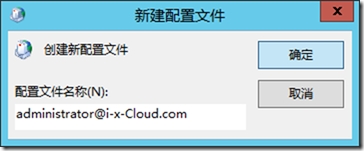
7. 测试-Outlook Anywhere
administrator@i-x-Cloud.com
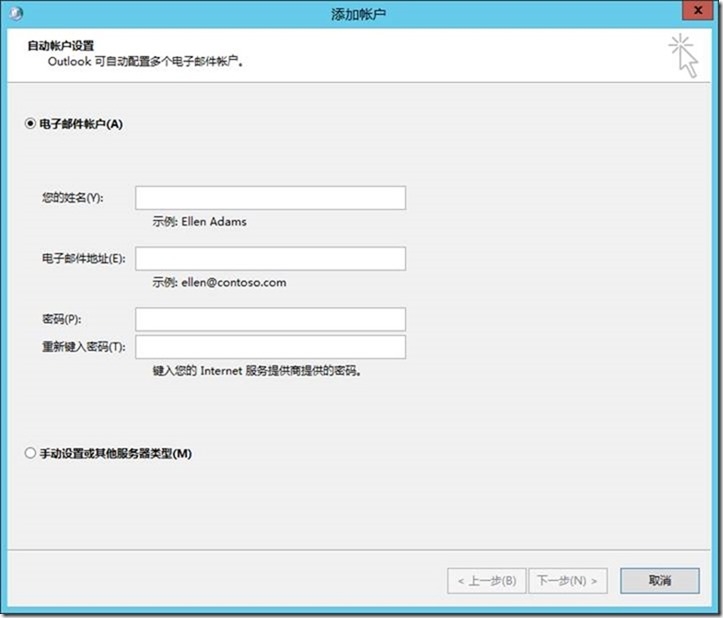
administrator@i-x-Cloud.com
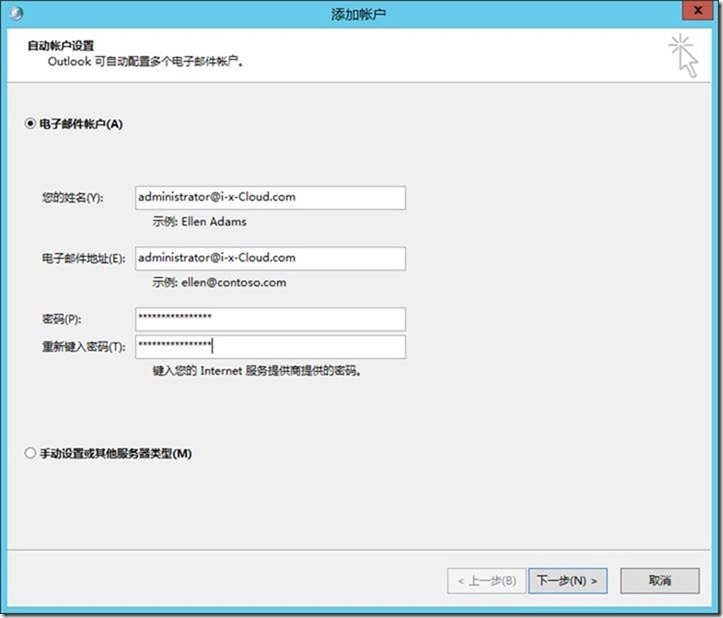
Aa123456Aa!@#$%^
8. 修改-路由器
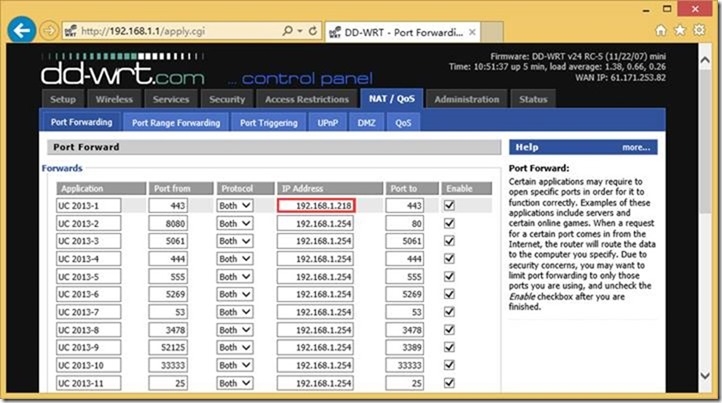
9. 查看-公网IP
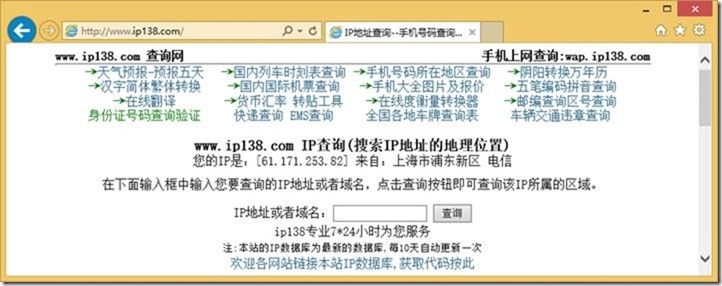
10. 在internet测试
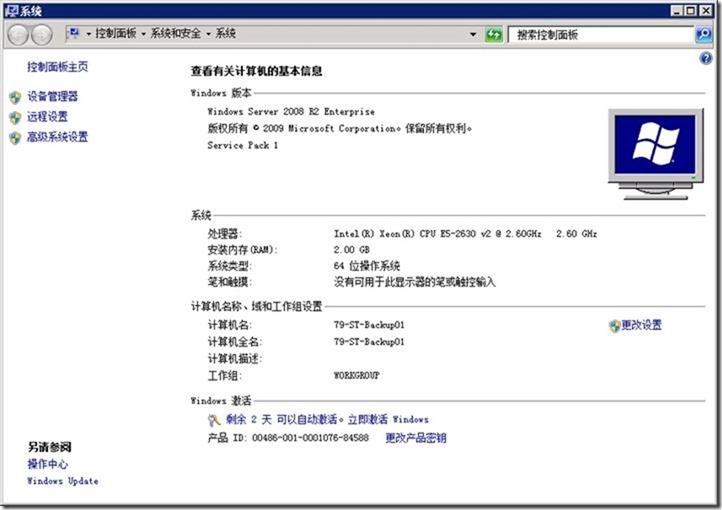
A. 计算机名
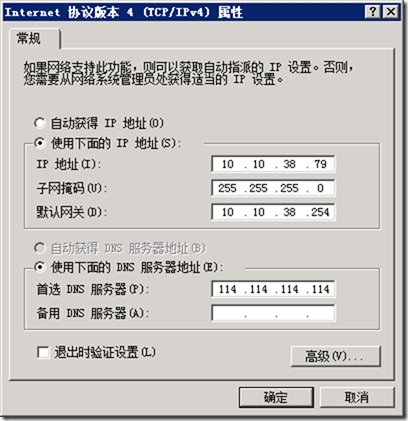
B. IP
C. 添加-HOSTS
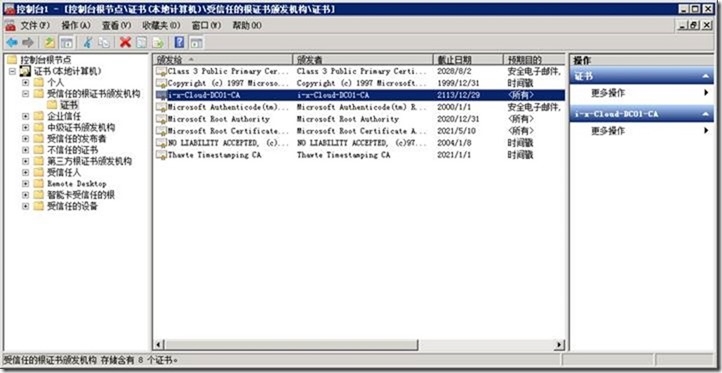
D. 导入-证书链
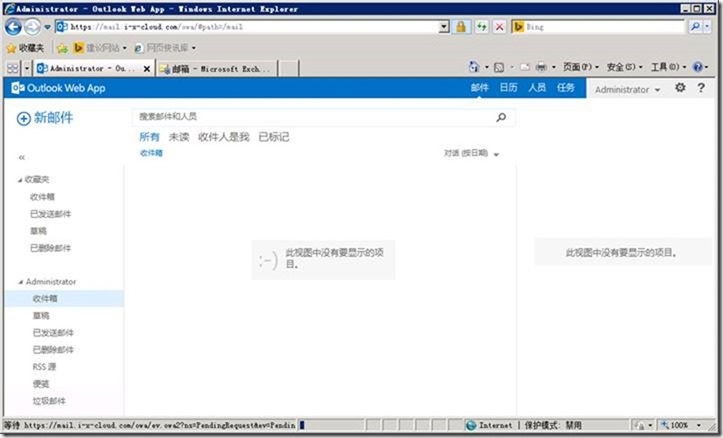
E. 测试-OWA
https://mail.i-x-cloud.com/owa
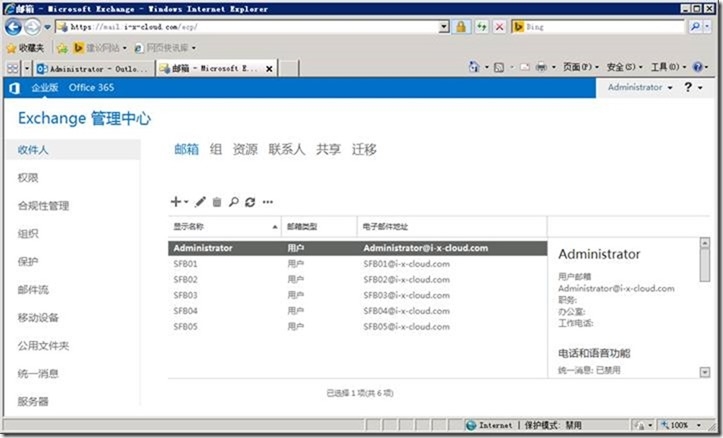
F. 测试-ECP
https://mail.i-x-cloud.com/ECP
G. 测试-Outlook Anywhere
That’s it!!!! ....You are now all set and have a reverse-proxy-with-load-balancing solution for your Exchange 2013 environment!
Give it a try and see how it works. Make sure DNS for mail.tailspintoys.com resolves to your reverse proxy and try connecting a client. And if it doesn’t work, go back through the steps and see where you went wrong. And if it still doesn’t work, post a comment here, or wait for Part 3, Troubleshooting (so please don’t do all this for the first time in a production environment! Really, we mean it!).
Finally, here are a couple of additional changes we recommend you review and optionally consider making to your IIS ARR configuration.
1. Implement the changes (Step3 and Step4) from Install Application Request Routing Version 2.
2. For optimization of RPC-HTTP traffic make the changes as stated. Click on the root of IIS and open the properties for Request Filtering. Then click on “Edit Feature Settings” and change the settings for “Maximum allowed content length” to the below.
We've spent time testing this configuration and found it to work as we hoped and expected. Note that support for IIS ARR is provided by the Windows/IIS team, not Exchange. That's no different than support for TMG or UAG (if you use either of these products to publish Exchange).
We would really appreciate any feedback on your implementation and/or any configuration where this doesn’t seem to work.
Keep your eyes peeled for the next set of articles where we’ll talk about slightly complex and interesting implementations of IIS ARR for Exchange 2013.
I would like to thank Greg Taylor (Principal PM Lead) for his help in reviewing this article.