Postfix邮箱(十四):备份还原、邮箱转移、主从热备
1、备份与恢复
(1)备份
创建备份目录
[root@mail ~]# mkdir /home/bak
MYSQL备份
[root@mail ~]# mysqldump -uroot -p123456 extmail> /home/bak/extmail.sql
邮件备份
[root@mail ~]# tar -zcvf /home/bak/yourmail.tar.gz /home/domains/yourmail.com
[root@mail ~]# tar -zcvf /home/bak/seconed.tar.gz /home/domains/seconed.cn
WEB备份
[root@mail ~]# tar -zcvf /home/bak/extsuite.tar.gz /var/www/extsuite
DSPAM备份
[root@mail ~]# mysqldump -uroot -p123456 dspam>  /home/bak/dspam.sql
[root@mail ~]# tar -zcvf /home/bak/dspam_data.tar.gz /usr/local/dspam/var/dspam/data
配置备份
[root@mail ~]# cp /etc/postfix/*.cf /home/bak/
[root@mail ~]# cp /etc/httpd/conf.d/ /home/bak/
打包备份文件,可转储至其他地方
[root@mail ~]# tar -zcvf /home/bak20141229.tar.gz /home/bak
(2)还原
MYSQL恢复
[root@mail ~]# mysql -uroot -p123456 extmail< /home/bak/extmail.sql
邮件恢复
[root@mail ~]# tar zxvf /home/bak/yourmail.tar.gz -C /home/domains
[root@mail ~]# tar zxvf /home/bak/seconed.tar.gz -C /home/domains
修改权限
[root@mail ~]# chown -R vmail.vmail /home/domains
(3)远程备份
说明:scp命令基于SSH,可以在linux之间复制文件和目录。
在远程服务器上创建备份目录
[root@mail ~]# mkdir /home/mailbak
在主服务器复制备份文件到远程服务器
[root@mail ~]# scp /home/bak/yourmail.tar.gz root@10.188.1.86:/home/mailbak/
或者将所有备份的压缩包复制过去
[root@mail ~]# scp /home/bak20141229.tar.gz root@10.188.1.86:/home/mailbak/
也可以直接将原目录复制过去,但原目录文件正在被操作的话就不好了
[root@mail ~]# scp -r /home/domains/yourmail.com root@10.188.1.86:/home/mailbak/
看到这里,就有人会想添加计划任务实现定时备份了,下文有更好的实时备份方案。
2、邮箱转移
说明:在前面的各种测试了,已经提到了另一个邮箱服务器 mail.eplantstore.com(10.188.1.86);
同样使用postfix+extmail搭建的,不需要太复杂,完成前台+后台+多域名配置就行了。
任务:将原服务器1.83中的seconed.cn域转移到1.86上。
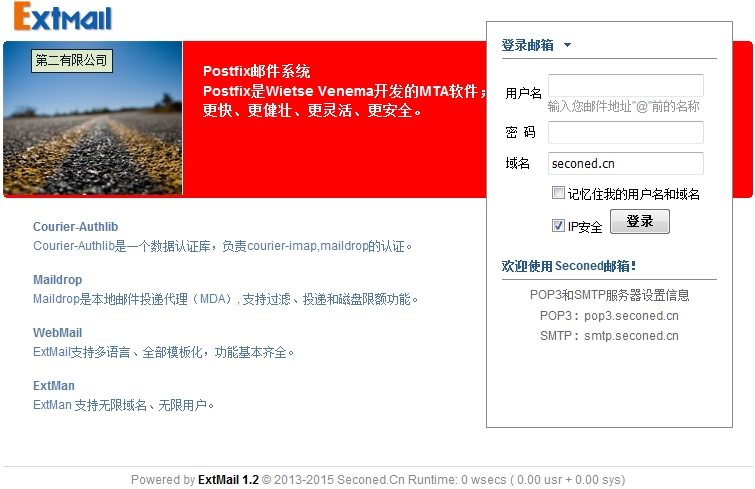
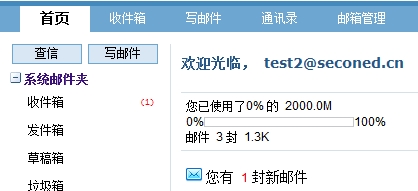
(1)先来看看原服务器上的seconed.cn


结论:目前seconed.cn域中只有一个test2用户,有3封邮件。
(2)转移用户账号
[root@mail ~]# mysqldump -uroot -p123456 -t -w "domain='seconed.cn'" extmail > /home/seconed.sql
mysqldump: Couldn't execute 'SELECT /*!40001 SQL_NO_CACHE */ * FROM `manager`
WHERE domain='seconed.cn'': Unknown column 'domain' in 'where clause' (1054)
说明:
-t表示不增加create table和drop table语句,导入时只新增备份中的数据;
-w表示添加条件 where,筛选出domain列的值为seconed.cn的数据;
报错意思是manager表中没有domain列,没关系,不用理会;
可以查看seconed.sql文件内容,确定没有drop table,且数据都是seconed.cn域的。
远程复制到目标服务器上:
[root@mail ~]# scp /home/seconed.sql root@10.188.1.86:/home/
root@10.188.1.86's password:
seconed.sql                                   100% 2208     2.2KB/s   00:00
(以下是1.86上的操作)
谨慎起见,先备份下目标服务器上的数据库:
[root@mail ~]# mysqldump -uroot -p123456 extmail> /home/extmail.sql
在目标服务器上导入数据:
[root@mail ~]# mysql -uroot -p123456 extmail < /home/seconed.sql
了解原理并清楚的知道不会破坏目标服务器的数据库后,可以一步到位的转移:
[root@mail ~]# mysqldump -uroot -p123456 -t -w "domain='seconed.cn'" extmail | mysql --host=10.188.1.86 -C extmail
说明:-C表示压缩传输,目标服务器数据库extmail必须已存在。
(3)登陆eplantstore.com后台页面检查结果

结论:账号转移成功,如果你想再次导入seconed.sql是不行的,因为已经存在,除非先删除。
(4)转移邮件目录
[root@mail ~]# scp -r /home/domains/seconed.cn root@10.188.1.86:/home/domains/
(5)转移配置文件
前提是目标服务器配置了多域名访问,参考我前面的博文:
http://ywzhou.blog.51cto.com/2785388/1595764
主要是目标服务器的CGI文件替换:
[root@mail ~]# cd /var/www/extsuite/extmail
[root@mail extmail]# wget http://www.mzone.cc/wp-content/uploads/2011/04/extmail-cgi-ModifyBy-www.mzone_.cc.zip
[root@mail extmail]# unzip extmail-cgi-ModifyBy-www.mzone_.cc.zip
[root@mail extmail]# mv cgi cgi-bak
[root@mail extmail]# mv extmail-cgi-ModifyBy-www.mzone.cc  cgi
[root@mail extmail]# chmod 755 -R cgi
原服务器进行配置文件转移:
[root@mail ~]# scp /var/www/extsuite/extmail/seconed.cf root@10.188.1.86:/var/www/extsuite/extmail/
[root@mail ~]# scp /var/www/extsuite/extmail/globabook-seconed.cf root@10.188.1.86:/var/www/extsuite/extmail/
[root@mail ~]# scp -r /var/www/extsuite/extmail/lang/seconed root@10.188.1.86:/var/www/extsuite/extmail/lang/
[root@mail ~]# scp -r /var/www/extsuite/extmail/html/seconed root@10.188.1.86:/var/www/extsuite/extmail/html/
说明:如果没有配置多域名访问就不用转移配置文件了,一切使用默认配置。
(6)修改目标服务器文件属主
如果目标服务器上的用户不是vmail,而是vuser.vgroup或其他的,请修改成正确的。
[root@mail ~]# chown vmail.vmail -R /var/www/extsuite/extmail/cgi
[root@mail ~]# chown vmail.vmail -R /home/domains/seconed.cn
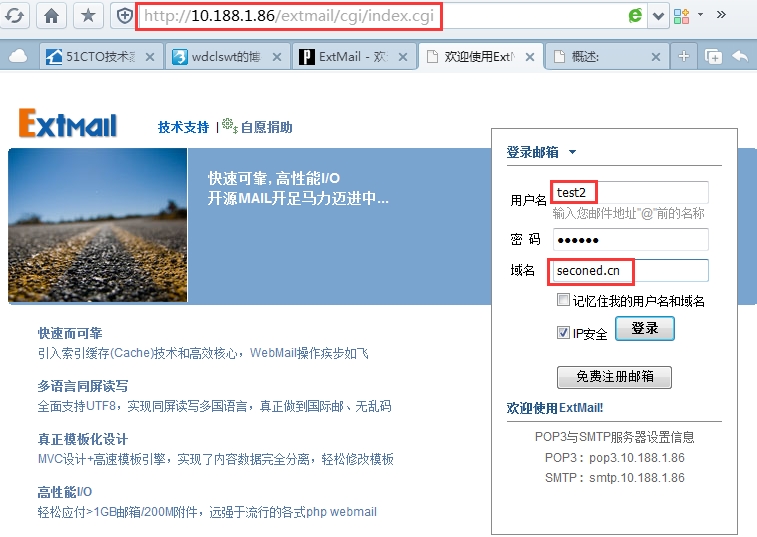
(7)测试访问结果


说明:通过IP访问只会应用默认配置。
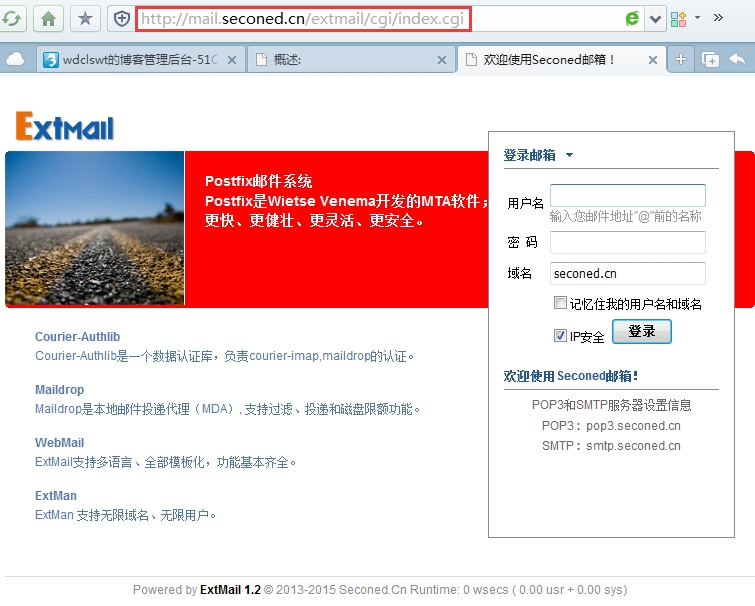
(8)修改域名解析
我用的是内部DNS服务器,你如果没有可以修改你的电脑HOST文件。


结论:只有通过域名访问才能应用到指定配置文件,在CMD中执行nslookup mail.seconed.cn以确认解析是否指向目标服务器10.188.1.86。
3、主从热备(rsync)
rsync的特点:定时的同步目录的更新文件,而不是每次全部的同步;
保持文件的属主,时间,大小等属性;同步速度快。
(1)服务端(mail.yourmail.com 10.188.1.83)
安装rsync同步工具:
[root@mail ~]# yum install -y rsync
创建用于同步的系统用户:
[root@mail ~]# useradd beifen
[root@mail ~]# passwd  beifen
123456
创建同步配置文件:
[root@mail ~]# vi /etc/rsyncd.conf
uid = beifen
gid = beifen
use chroot = yes
max connections = 4
pid file = /var/run/rsyncd.pid
lock file = /var/run/rsync.lock
log file = /var/log/rsyncd.log
[domains]
#同步邮件目录
path = /home/domains/
auth users = beifen
uid = root
gid = root
secrets file = /etc/rsyncd.secrets
read only = no
hosts allow = 10.188.1.86
[mysql]
#同步mysql的extmail数据库文件(账号信息)
path = /var/lib/mysql/extmail/
auth users = beifen
uid = root
gid = root
secrets file = /etc/rsyncd.secrets
read only = no
hosts allow = 10.188.1.86
说明:在模块[]中设置的uid\gid必须对path定义的目录有权限,否则日志中报错:
rsync: change_dir "/" (in mysql) failed: Permission denied (13)
创建rsyncd的密码文件:
[root@mail ~]# vi /etc/rsyncd.secrets
beifen:123456
修改密码文件权限:
[root@mail ~]# chmod 600 /etc/rsyncd.secrets
如果是root用户运行rsync进程,该文件属主必须是root,否则报错
secrets file must be owned by root when running as root (see strict modes)
添加域名解析:
[root@mail ~]# echo "10.188.1.86 mail.eplantstore.com" >> /etc/hosts
不添加域名解析会报错
name lookup failed for 10.188.1.86: Name or service not known
设置防火墙:
[root@mail ~]# iptables -I INPUT -p tcp --dport 873 -j ACCEPT
[root@mail ~]# service iptables save
启动程序:
[root@mail ~]# /usr/bin/rsync --daemon --config=/etc/rsyncd.conf
[root@mail ~]# echo "/usr/bin/rsync --daemon --config=/etc/rsyncd.conf" >> /etc/rc.d/rc.local
[root@mail ~]# ps aux|grep rsync
root     43015  0.0  0.0 107616   672 ?        Ss   11:22   0:00 /usr/bin/rsync --daemon --config=/etc/rsyncd.conf
root     43017  0.0  0.0 103248   836 pts/1    S+   11:22   0:00 grep rsync
[root@mail ~]# netstat -tnlp |grep 873
tcp        0      0 0.0.0.0:873                 0.0.0.0:*                   LISTEN      43015/rsync
tcp        0      0 :::873                      :::*                        LISTEN      43015/rsync
(2)客户端(mail.eplantstore.com 10.188.1.86)
安装rsync同步工具:
[root@mail ~]# yum install -y rsync
创建密码文件:
[root@mail ~]# vi /etc/rsync.secrets
#只存放了一个密码
123456
[root@mail ~]# chmod 600 /etc/rsync.secrets
设置计划任务,每10分钟更新:
[root@mail ~]# crontab -e
*/10 * * * *  rsync -vzrtopg --progress --password-file=/etc/rsync.secrets beifen@mail.yourmail.com::domains /home/domains
*/10 * * * *  rsync -vzrtopg --progress --password-file=/etc/rsync.secrets beifen@mail.yourmail.com::mysql /var/lib/mysql/extmail
参数说明:
-v表示verbose详细显示
-z表示压缩
-r表示recursive递归
-t表示保持原文件创建时间
-o表示保持原文件属主
-p表示保持原文件的参数
-g表示保持原文件的所属组
这里使用的用户是beifen,和服务端配置文件中设置的一致,如果写成其他的会报错:
auth failed on module domains from mail.eplantstore.com (10.188.1.86): unauthorized user
(3)手动执行同步
[root@mail extmail]# rsync -vzrtopg --progress --password-file=/etc/rsync.secrets beifen@mail.yourmail.com::domains /home/domains
#显示一大堆文件传输过程
sent 4104 bytes  received 9643567 bytes  1135020.12 bytes/sec
total size is 14251668  speedup is 1.48
可以看到第一次同步传输了9643567字节。
[root@mail extmail]# rsync -vzrtopg --progress --password-file=/etc/rsync.secrets beifen@mail.yourmail.com::domains /home/domains
receiving incremental file list
yourmail.com/test/Maildir/tmp/
sent 140 bytes  received 14820 bytes  2720.00 bytes/sec
total size is 14251668  speedup is 952.65
可以看到第二次同步只更新了test用户的临时目录,确认是增量备份。
(4)查看日志
[root@mail ~]# tailf /var/log/rsyncd.log
2014/12/29 13:49:14 [43498] connect from mail.eplantstore.com (10.188.1.86)
2014/12/29 13:49:14 [43498] rsync on domains/ from beifen@mail.eplantstore.com (10.188.1.86)
2014/12/29 13:49:15 [43498] building file list
2014/12/29 13:49:17 [43498] sent 9643584 bytes  received 4105 bytes  total size 14251668
(5)检查同步结果
[root@mail extmail]# ll /home/domains/
总用量 0
drwx------. 4 vmail vmail  34 11月 26 15:15 eplantstore.com
drwxr-xr-x. 3 vmail vmail  18 12月 11 16:58 seconed.cn
drwxr-xr-x. 4 vmail vmail  34 12月  1 16:24 yourmail.com
数据库文件同步最好先删除客户端的再执行同步,否则会因为占用问题部分同步不过来:
[root@mail extmail]# rm -f /var/lib/mysql/extmail/*
同步完成后,extman后台就得用root@yourmail.com账号登陆了,且eplantstore.com域没有了;
现在完全跟服务器的数据一致了。
重要说明:最近发现邮件同步没问题,但数据库同步不行,还是得使用Mysql二进制文件同步的方法,接下来的文章将发布:Nginx负载均衡+(Nginx+FCGI)取代(Apahce+FCGI)(增加页面缓存功能)+Unison双向文件同步+Mysql同步,实现高性能、高可用性完美架构,有条件甚至可以邮箱和数据库分离。