redhad5 配置多用户同时登陆vnc各自界面
1.系统是Redhat5,它是系统安装是默认安装vnc的。Redhat6以上的可能需要自己安装vnc。
2.新建用户
[root@localhost~]# useradd tang
[root@localhost~]# useradd example
[root@localhost~]# useradd jake
[root@localhost~]# ls /home/
example jake tang
[root@localhost~]#
3.在个宿主目录新建 .vnc文件并设置vnc密码(必须先改权限,再设置密码):
[root@localhost~]# su - tang
[tang@localhost~]$ chmod 777 -R .vnc/
[tang@localhost~]$ cd .vnc
[[email protected]]$ ll -a
总计 12
drwxrwxrwx2 tang tang 4096 07-05 06:17 .
drwx------5 tang tang 4096 07-05 06:18 ..
-rwxrwxrwx1 tang tang 8 07-05 06:17 tang
[[email protected]]$ vncpasswd
Password:
Verify:
[[email protected]]$ ll -a
总计 16
drwxrwxrwx2 tang tang 4096 07-05 06:36 .
drwx------5 tang tang 4096 07-05 06:18 ..
-rw-------1 tang tang 8 07-05 06:36 passwd
-rwxrwxrwx1 tang tang 8 07-05 06:17 tang
[example@localhost~]$ mkdir .vnc
[example@localhost~]$ ll -a
总计 40
drwx------5 example example 4096 07-05 06:18 .
drwxr-xr-x5 root root 4096 07-05 06:14 ..
-rw-r--r--1 example example 33 07-05 06:14.bash_logout
-rw-r--r--1 example example 176 07-05 06:14.bash_profile
-rw-r--r--1 example example 124 07-05 06:14.bashrc
-rw-r--r--1 example example 515 07-05 06:14 .emacs
drwxr-xr-x3 example example 4096 07-05 06:14 .kde
drwxr-xr-x4 example example 4096 07-05 06:14 .mozilla
drwxrwxr-x2 example example 4096 07-05 06:18 .vnc
[example@localhost~]$ chmod 777 -R .vnc/
[example@localhost~]$ vncpasswd
Password:
Verify:
[example@localhost~]$ ll -a .vnc/
总计 16
drwxrwxrwx2 example example 4096 07-05 06:34 .
drwx------5 example example 4096 07-05 06:20 ..
-rwxrwxrwx1 example example 8 07-05 06:19example
-rw-------1 example example 8 07-05 06:34 passwd
[jake@localhost~]$ mkdir .vnc
[jake@localhost~]$ cd .vnc/
[jake@localhost~]$ chmod 777 -R .vnc/
[jake@localhost~]$ cd .vnc/
[[email protected]]$ vncpasswd
Password:
Verify:
[[email protected]]$ ll -a
总计 12
drwxrwxr-x2 jake jake 4096 07-05 06:20 .
drwx------5 jake jake 4096 07-05 06:20 ..
-rw-------1 jake jake 8 07-05 06:20 jake
[root@localhost~]# mkdir .vnc
[root@localhost~]# cd .vnc/
[[email protected]]# vncpasswd root
Password:
Verify:
[[email protected]]# ll -a
总计 16
drwxr-xr-x 2 root root 4096 07-05 06:21 .
drwxr-x---17 root root 4096 07-05 06:21 ..
-rw------- 1 root root 8 07-05 06:21 root
4.编辑vnc配置文件:
vim/etc/sysconfig/vncservers
#VNCSERVERS="2:myusername"
VNCSERVERS="1:root2:jake 3:example 4:tang"
VNCSERVERARGS[1]="-geometry800x600 -depth 24"
VNCSERVERARGS[2]="-geometry800x600 -depth 24"
VNCSERVERARGS[3]="-geometry800x600 -depth 24"
VNCSERVERARGS[4]="-geometry800x600 -depth 24"
5.启动vnc:
[[email protected]]# /sbin/service vncserver restart
关闭 VNC 服务器:1:root2:jake 3:example 4:tang [确定]
启动 VNC 服务器:1:root
New'localhost.localdomain:1 (root)' desktop is localhost.localdomain:
Startingapplications specified in /root/.vnc/xstartup
Logfile is /root/.vnc/localhost.localdomain:1.log
2:jake
New'localhost.localdomain:2 (jake)' desktop is localhost.localdomain:2
Startingapplications specified in /home/jake/.vnc/xstartup
Logfile is /home/jake/.vnc/localhost.localdomain:2.log
3:example
New'localhost.localdomain:3 (example)' desktop is localhost.localdomain:3
Startingapplications specified in /home/example/.vnc/xstartup
Logfile is /home/example/.vnc/localhost.localdomain:3.log
4:tang
New'localhost.localdomain:4 (tang)' desktop is localhost.localdomain:4
Startingapplications specified in /home/tang/.vnc/xstartup
Logfile is /home/tang/.vnc/localhost.localdomain:4.log
[确定]
6.测试:
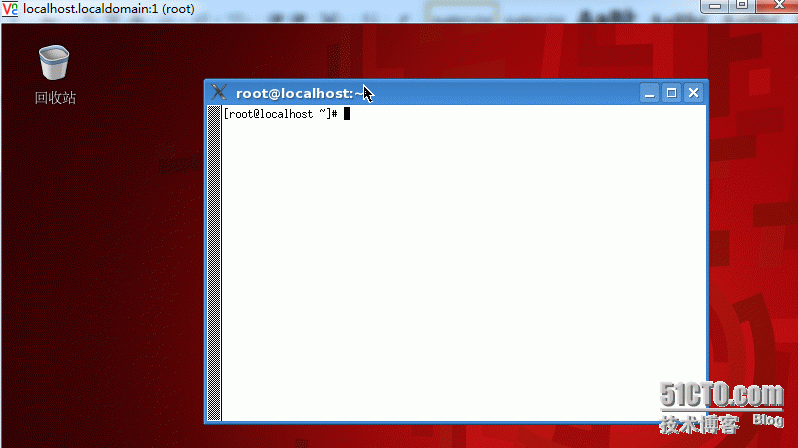
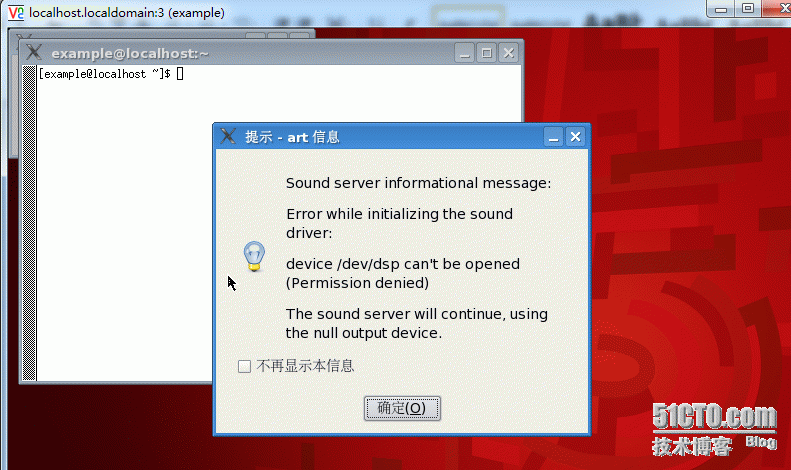
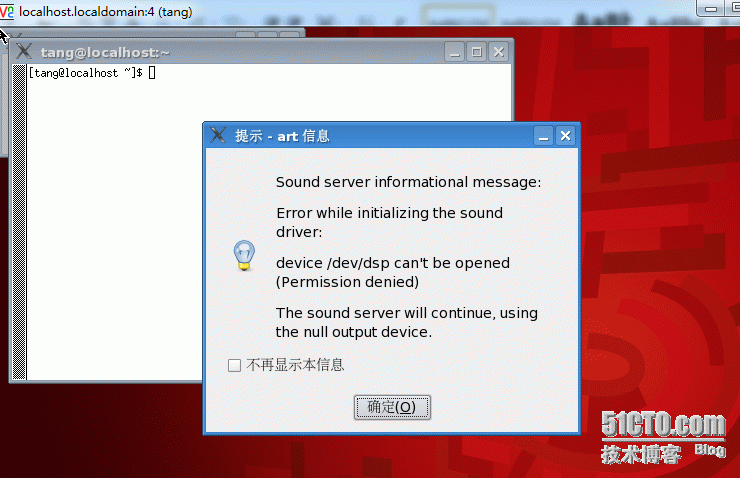
测试出现下面界面已经成功:


7.解决灰色背景:
把vnc配置文件的
#twm &改为
startkde &。
如下:
[jake@localhost ~]$ cd .vnc/
[jake@localhost .vnc]$ vim xstartup
#!/bin/sh
# Uncomment the following two lines fornormal desktop:
# unset SESSION_MANAGER
# exec /etc/X11/xinit/xinitrc
[ -x /etc/vnc/xstartup ] && exec/etc/vnc/xstartup
[ -r $HOME/.Xresources ] && xrdb$HOME/.Xresources
xsetroot -solid grey
vncconfig -iconic &
xterm -geometry 80x24+10+10 -ls -title"$VNCDESKTOP Desktop" &
#twm &
startkde &
重启vnc即可:


