Oracle Eneterprise Linux 5.8上安装Database 12c
下面不过多介绍,请阅读OEL6上安装Oracle 12c。
1、系统信息:
   [root@12c ~]# uname -a


   Linux 12c.luocs.com 2.6.32-300.10.1.el5uek #1 SMP Wed Feb 22 17:37:40 EST 2012 x86_64 x86_64 x86_64 GNU/Linux


   [root@12c ~]# grep MemTotal /proc/meminfo


   MemTotal:        3273192 kB


   [root@12c ~]# grep SwapTotal /proc/meminfo


   SwapTotal:       8285752 kB


   [root@12c ~]# df -h


   Filesystem            Size  Used Avail Use% Mounted on


   /dev/sda3              36G  3.8G   31G  12% /


   /dev/sda1              99M   22M   72M  24% /boot


   tmpfs                 1.6G     0  1.6G   0% /dev/shm


   /dev/sdb1             5.0G  5.0G     0 100% /usr/swap
这里简单说明下,我安装的OEL5 SWAP空间仍然不够大,因此我就扩展了下,扩展方法:
我在虚拟机新增一块儿5G的disk,启动后fdisk分区了下:
   [root@12c ~]# fdisk -l


   Disk /dev/sda: 42.9 GB, 42949672960 bytes


   255 heads, 63 sectors/track, 5221 cylinders


   Units = cylinders of 16065 * 512 = 8225280 bytes


      Device Boot      Start         End      Blocks   Id  System


   /dev/sda1   *           1          13      104391   83  Linux


   /dev/sda2              14         421     3277260   82  Linux swap / Solaris


   /dev/sda3             422        5221    38556000   83  Linux


   Disk /dev/sdb: 5368 MB, 5368709120 bytes


   255 heads, 63 sectors/track, 652 cylinders


   Units = cylinders of 16065 * 512 = 8225280 bytes


      Device Boot      Start         End      Blocks   Id  System


   /dev/sdb1               1         652     5237158+  83  Linux
ext3格式化:
   [root@12c ~]# mkfs.ext3 /dev/sdb1


   mke2fs 1.39 (29-May-2006)


   Filesystem label=


   OS type: Linux


   Block size=4096 (log=2)


   Fragment size=4096 (log=2)


   655360 inodes, 1309289 blocks


   65464 blocks (5.00%) reserved for the super user


   First data block=0


   Maximum filesystem blocks=1342177280


   40 block groups


   32768 blocks per group, 32768 fragments per group


   16384 inodes per group


   Superblock backups stored on blocks:


           32768, 98304, 163840, 229376, 294912, 819200, 884736


   Writing inode tables: done


   Creating journal (32768 blocks): done


   Writing superblocks and filesystem accounting information: done


   This filesystem will be automatically checked every 31 mounts or


   180 days, whichever comes first.  Use tune2fs -c or -i to override.
创建一个目录,准备将此文件系统挂载:
   [root@12c ~]# mkdir /usr/swap


   [root@12c ~]# mount /dev/sdb1 /usr/swap
在/usr/swap下dd出5GB的空间
   [root@12c ~]# dd if=/dev/zero of=/usr/swap/swapdisk bs=10240Kcount=500


   dd: writing `/usr/swap/swapdisk': No space left on device


   490+0 records in


   489+0 records out


   5128712192 bytes (5.1 GB) copied, 33.1548 seconds, 155 MB/s
创建新交换分区空间
   [root@12c ~]# mkswap /usr/swap/swapdisk


   Setting up swapspace version 1, size = 5128708 kB
查看原先的分区空间
   [root@12c ~]# free -m


                total       used       free     shared    buffers     cached


   Mem:          3196       2778        417          0         20       2502


   -/+ buffers/cache:        255       2941


   Swap:         3200          0       3200
启动新增加的swaptest的交换空间
[root@12c ~]# swapon /usr/swap/swapdisk
查看增加后的交换空间
   [root@12c ~]# free -m


                total       used       free     shared    buffers     cached


   Mem:          3196       3146         49          0          8       2885


   -/+ buffers/cache:        252       2944


   Swap:         8091          0       8091
将新增加交换分区空间添加进开机启动
   [root@12c ~]# vi /etc/fstab


   �C 添加一行


   /dev/sdb1               /usr/swap               ext3    defaults        0 0


   /usr/swap/swapdisk      swap                    swap    defaults        0 0
最后reboot重启验证
安装rlwrap
   [root@12c ~]# rpm -ivh /install/rlwrap-0.37-1.el5.x86_64.rpm


   warning: /install/rlwrap-0.37-1.el5.x86_64.rpm: Header V3 DSA signature: NOKEY, key ID 217521f6


   Preparing…                ########################################### [100%]


      1:rlwrap                 ########################################### [100%]
修改/etc/hosts
   [root@12c ~]# vi /etc/hosts


   # Do not remove the following line, or various programs


   # that require network functionality will fail.


   127.0.0.1               localhost.localdomain localhost


   ::1             localhost6.localdomain6 localhost6


   192.168.80.139  12c.luocs.com   12c
配置yum源,这里我参考了http://public-yum.oracle.com,其中有如下内容:
Getting Started
1. Download and Install Oracle Linux
2. Download and copy the appropriate yum configuration file in place, by running the following commands as root:
Oracle Linux 4, Update 6 or Newer
# cd /etc/yum.repos.d
# mv Oracle-Base.repo Oracle-Base.repo.disabled
# wget http://public-yum.oracle.com/public-yum-el4.repo
Oracle Linux 5
# cd /etc/yum.repos.d
# wget http://public-yum.oracle.com/public-yum-el5.repo
Oracle Linux 6
# cd /etc/yum.repos.d
# wget http://public-yum.oracle.com/public-yum-ol6.repo
Oracle VM 2
# cd /etc/yum.repos.d
# wget http://public-yum.oracle.com/public-yum-ovm2.repo
3. Enable the appropriate repository by editing the yum configuration file
○ Open the yum configuration file in a text editor
○ Locate the section in the file for the repository you plan to update from, e.g. [el4_u6_base]
○ Change enabled=0 to enabled=1
4. Begin using yum, for example:
yum list
yum install firefox
You may be prompted to confirm the import of the Oracle OSS Group GPG key.
首先下载linux 5 对应的yum配置文件
   [root@12c ~]# cd /etc/yum.repos.d/


   [root@12c yum.repos.d]# wget http://public-yum.oracle.com/public-yum-el5.repo


   �C2013-06-27 10:16:02�C  http://public-yum.oracle.com/public-yum-el5.repo


   Resolving public-yum.oracle.com… 137.254.56.43


   Connecting to public-yum.oracle.com|137.254.56.43|:80… connected.


   HTTP request sent, awaiting response… 200 OK


   Length: 4220 (4.1K) [text/plain]


   Saving to: `public-yum-el5.repo'


   100%[===============================================================================>] 4,220       11.8K/s   in 0.4s


   2013-06-27 10:16:03 (11.8 KB/s) �C `public-yum-el5.repo' saved [4220/4220]
配置文件中将enable全部启动,0改为1。
安装oracle-validated
[root@12c yum.repos.d]# yum install oracle-validated -y
安装完成之后,基本的预安装条件都已经满足了
   [root@12c ~]# id oracle


   uid=54321(oracle) gid=54321(oinstall) groups=54321(oinstall),54322(dba)
创建安装目录并授权
   [root@12c ~]# mkdir -p /u01/app/oracle/product/12.1.0/db_1


   [root@12c ~]# chown -R oracle:oinstall /u01


   [root@12c ~]# chmod -R 775 /u01
配置环境变量
   [oracle@12c ~]$ vi .bash_profile


   export PATH


   export TMP=/tmp


   export TMPDIR=$TMP


   export ORACLE_HOSTNAME=12c.luocs.com


   export ORACLE_UNQNAME=luocs12c


   export ORACLE_BASE=/u01/app/oracle


   export ORACLE_HOME=$ORACLE_BASE/product/12.1.0/dbhome_1


   export ORACLE_SID=luocs12c


   export PATH=/usr/sbin:$PATH


   export PATH=$ORACLE_HOME/bin:$PATH


   export LD_LIBRARY_PATH=$ORACLE_HOME/lib:/lib:/usr/lib


   export CLASSPATH=$ORACLE_HOME/jlib:$ORACLE_HOME/rdbms/jlib


   alias sqlplus="rlwrap sqlplus"


   alias rman="rlwrap rman"
解压介质
   [root@12c ~]# chown -R oracle.oinstall /install/


   [root@12c ~]# su �C oracle


   [oracle@12c ~]$ cd /install/


   [oracle@12c install]$ unzip linuxamd64_12c_database_1of2.zip


   [oracle@12c install]$ unzip linuxamd64_12c_database_2of2.zip
这里我先仅安装数据库软件,然后netca配置了监听器,略
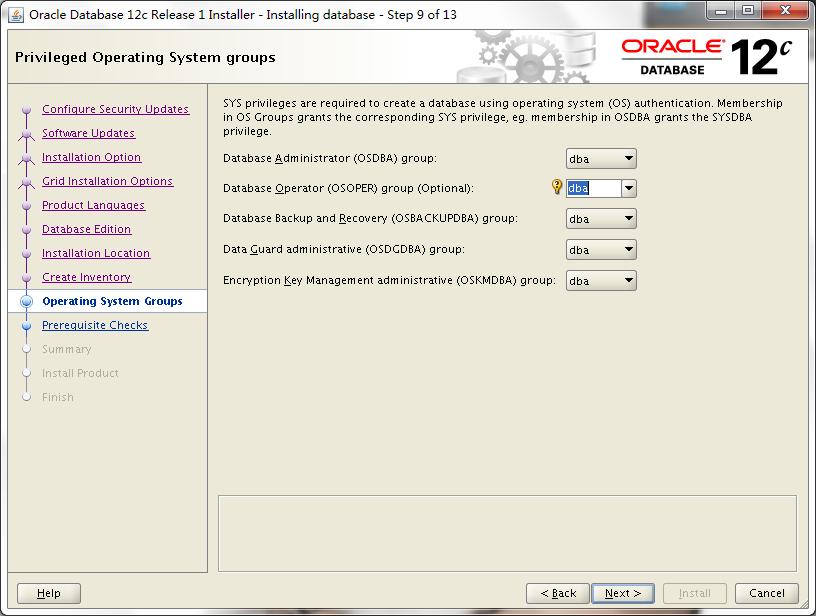
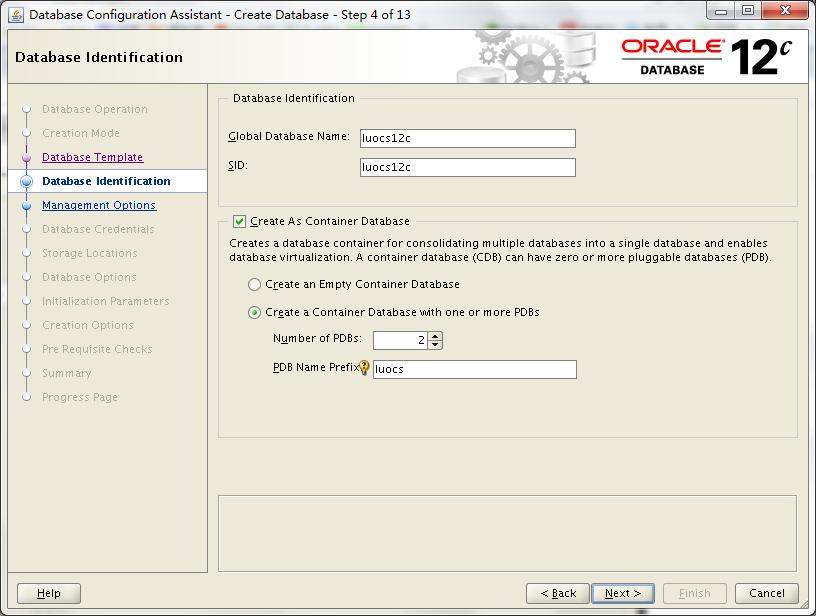
dbca建库,参考图为主
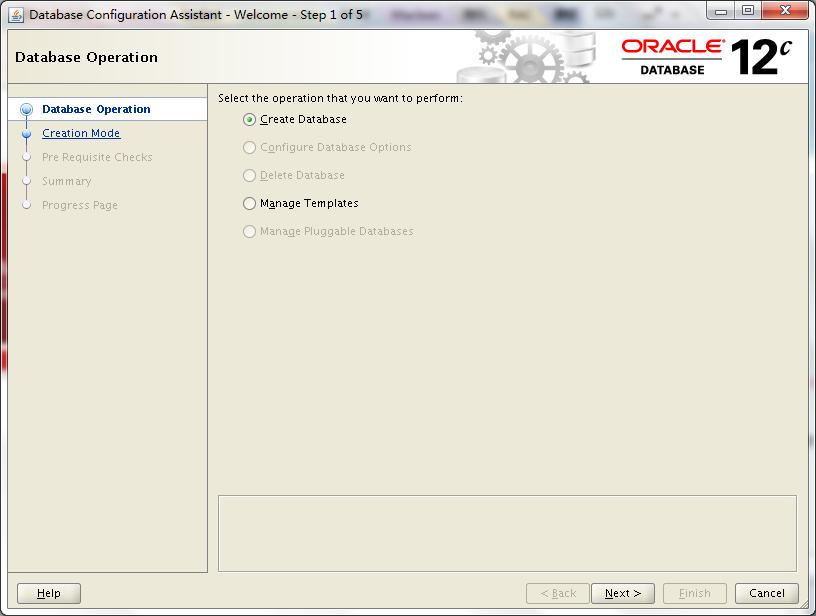
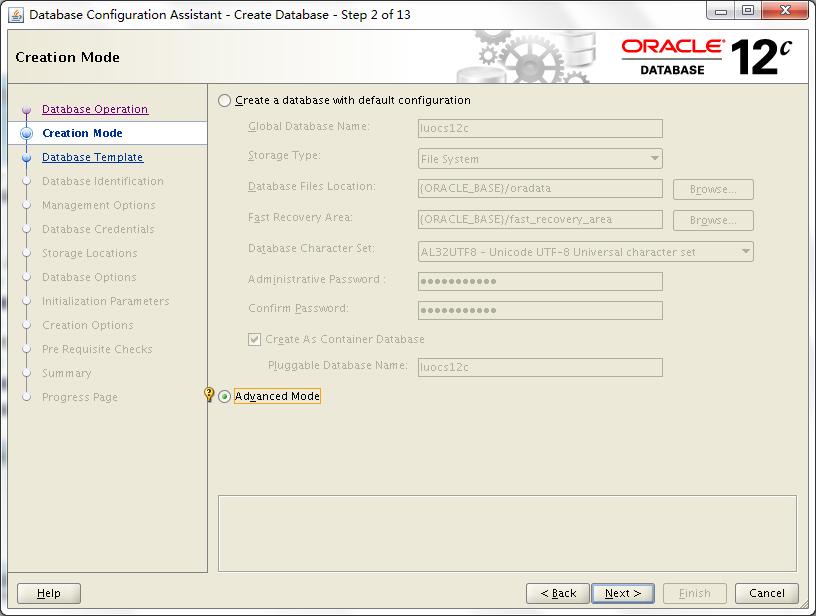
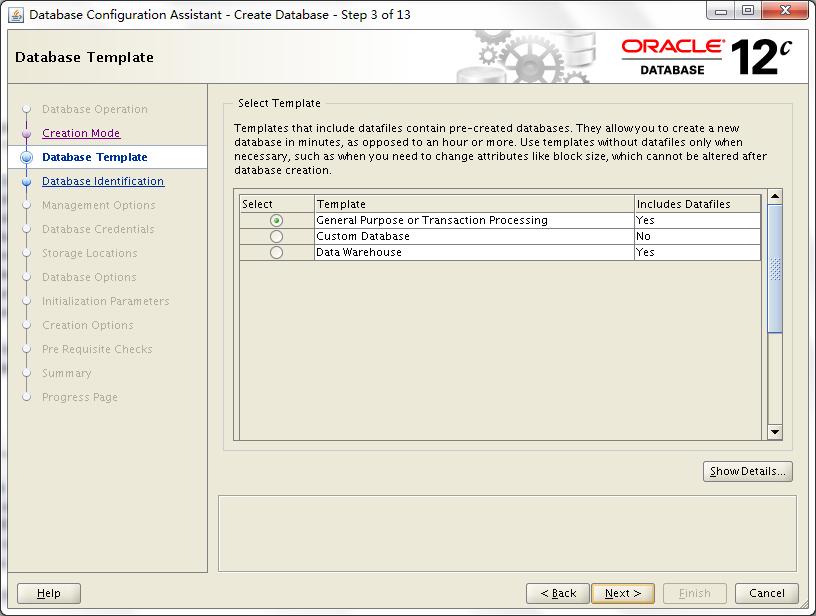
这里稍作解释,我勾选了Create As Container Database,然后选择了Create a Container Database with one or more PDBs,数量为2个,PDB Name为luocs,到时候就以luocs1、luocs2形式出现。当然,我们也可以在后续手动方式创建或者克隆出PDBs
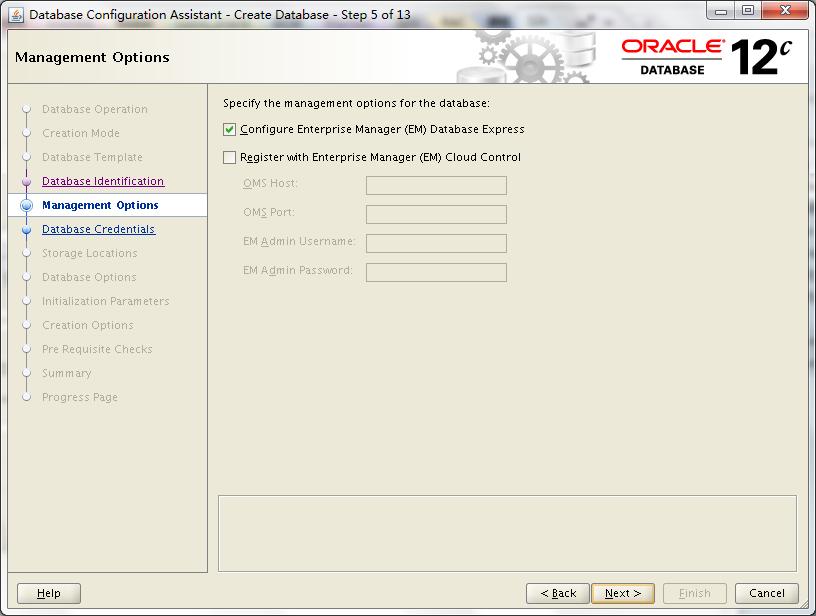
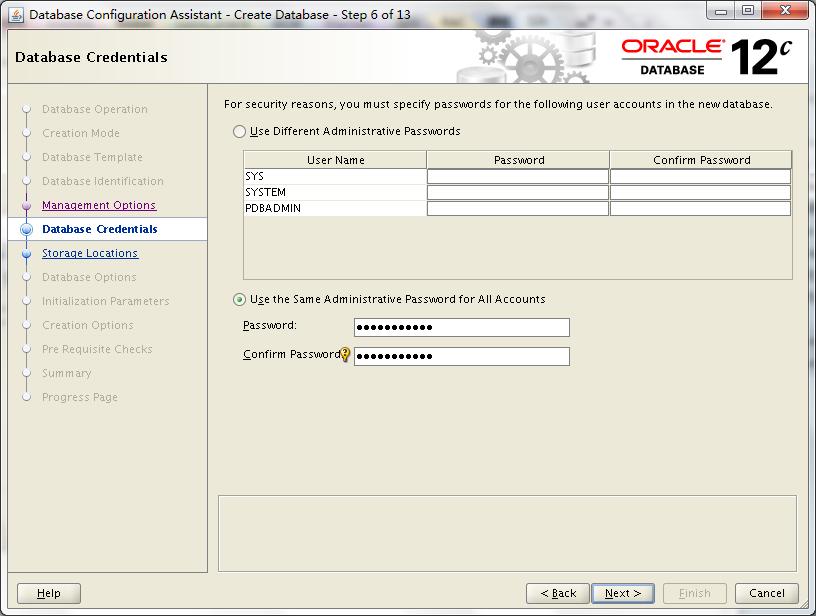
这里出现网络配置页面,可能在没有提前配置监听的情况下在这里进行配置,这个我没有尝试过
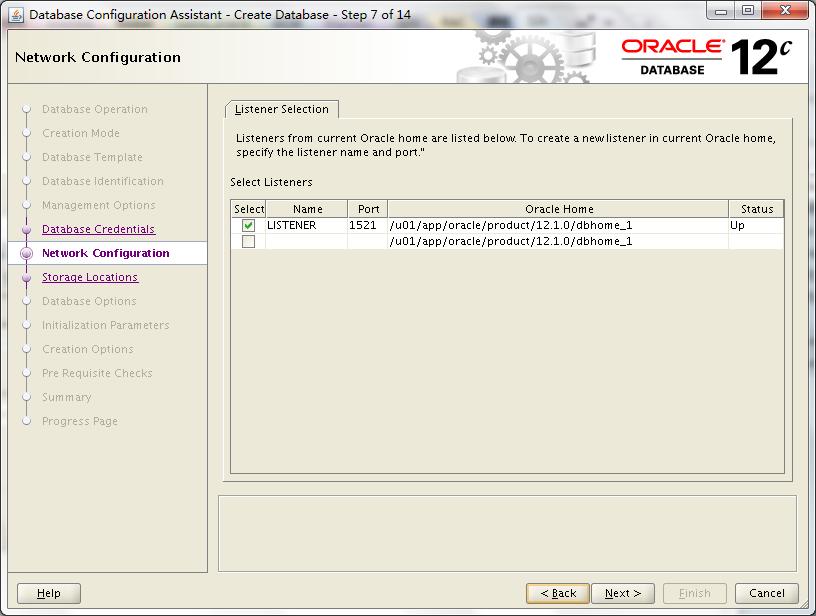
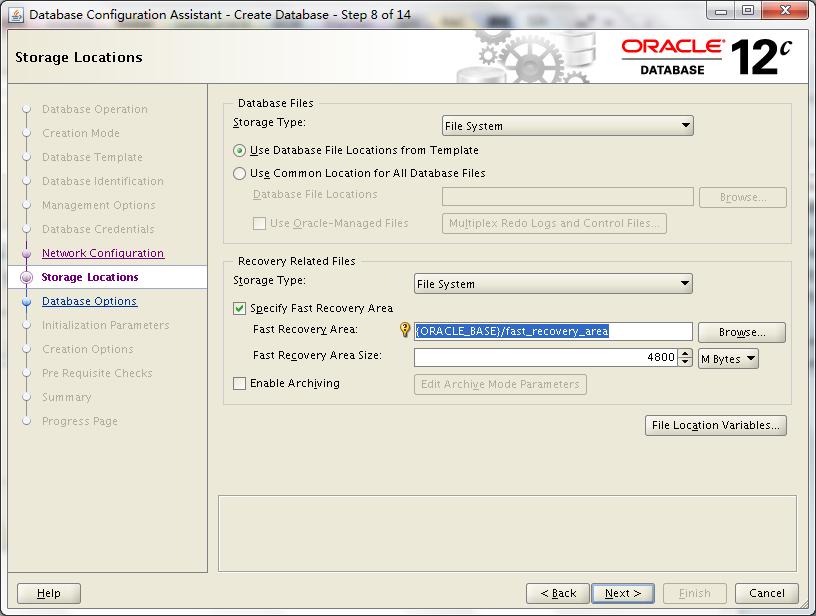
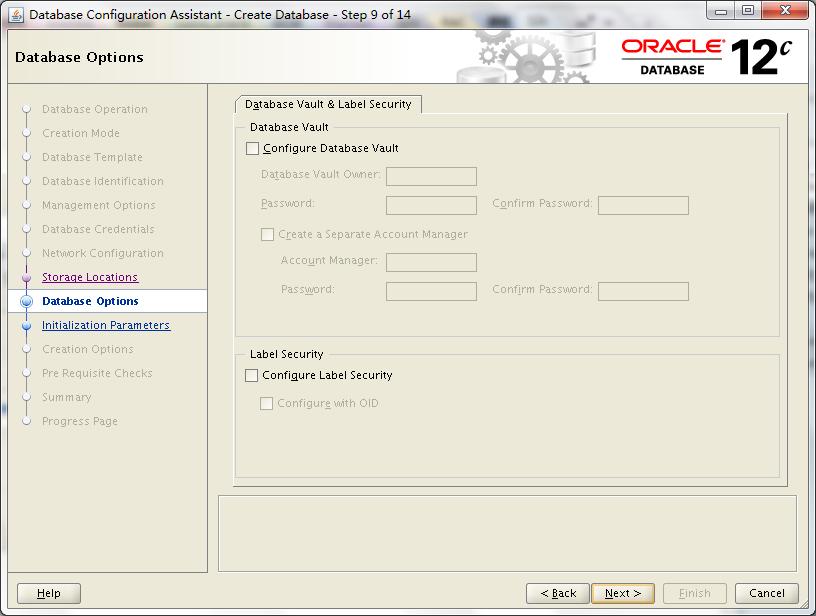
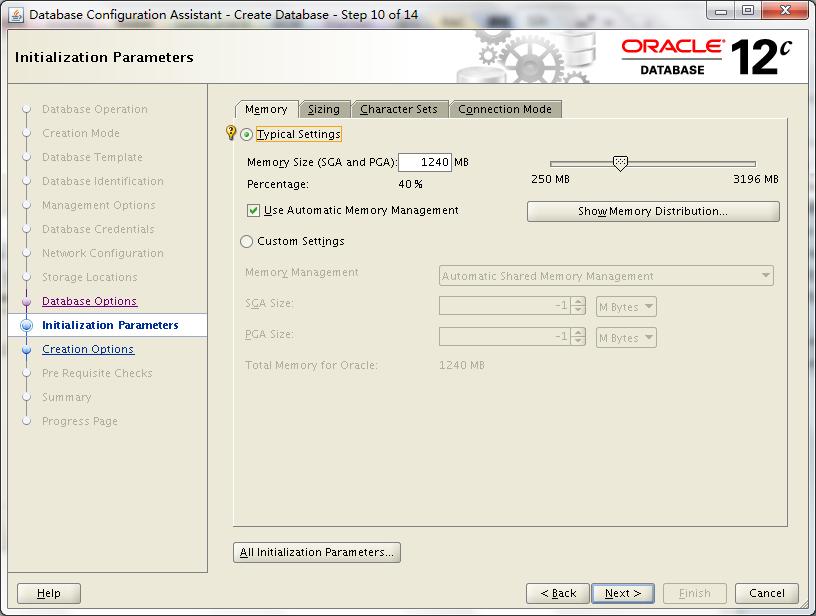
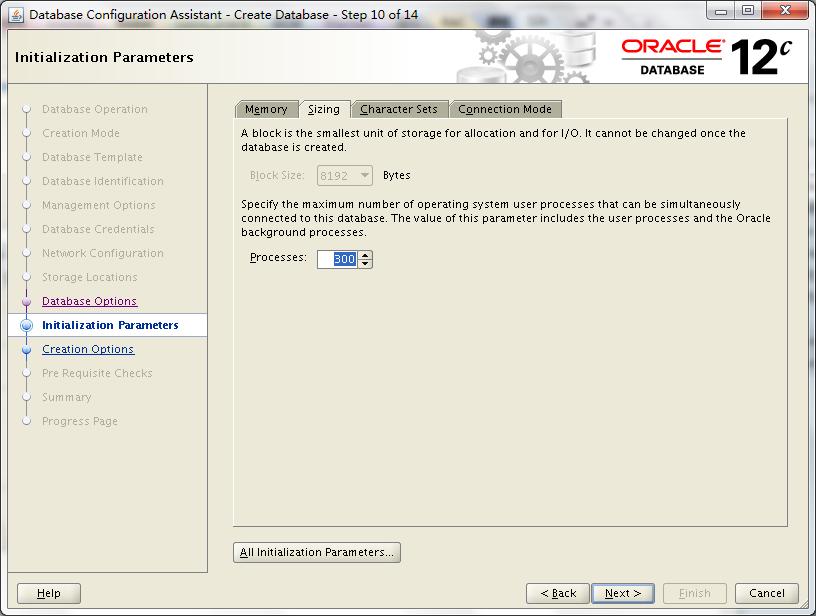
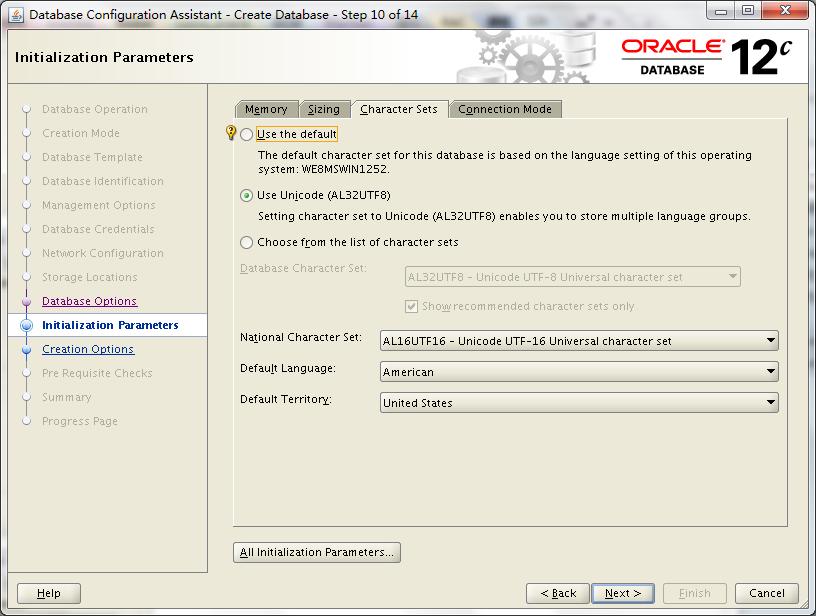
这里备份出脚本来,供手动建库参考
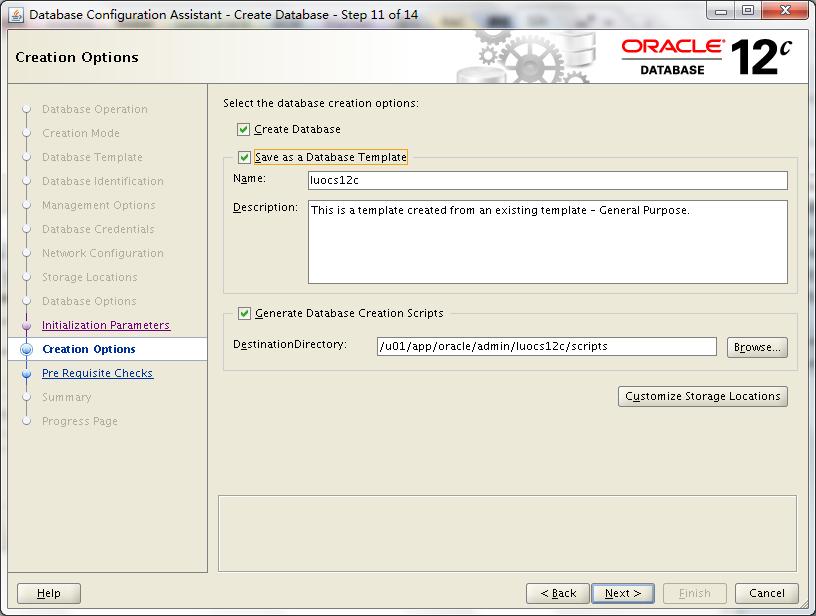
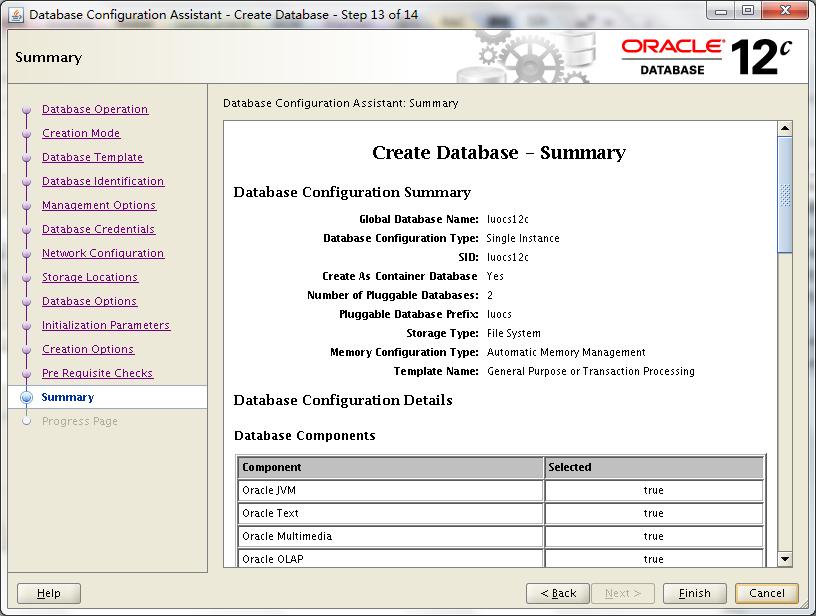
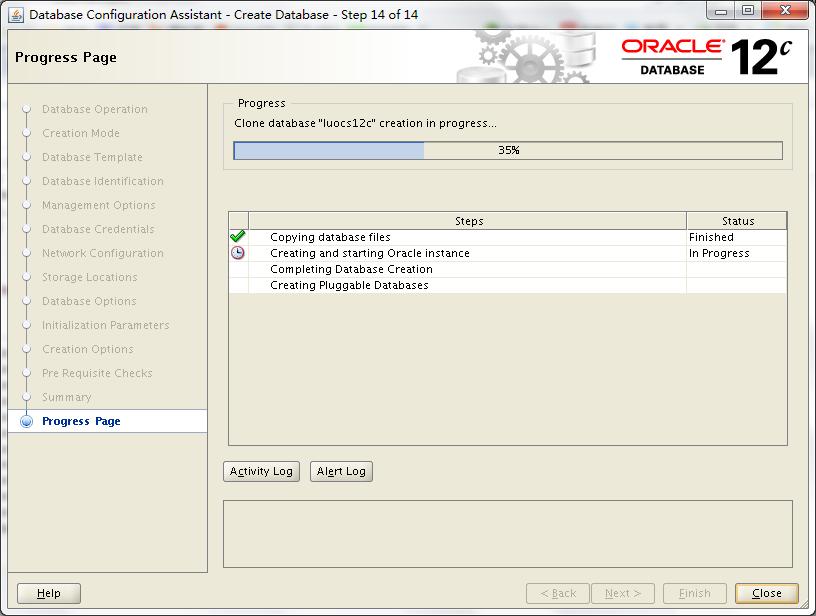
最后简单查看,发现CDB,PDB数据库都有自己的system、sysaux、default tablespace、temp是独立的,但undo、control、redo是共享的
   SQL> set line 150 pages 9999


   SQL> select name from v$datafile;


   NAME


   ―――――――――――――――――――――――――――――�C


   /u01/app/oracle/oradata/luocs12c/system01.dbf


   /u01/app/oracle/oradata/luocs12c/sysaux01.dbf


   /u01/app/oracle/oradata/luocs12c/undotbs01.dbf


   /u01/app/oracle/oradata/luocs12c/pdbseed/system01.dbf


   /u01/app/oracle/oradata/luocs12c/users01.dbf


   /u01/app/oracle/oradata/luocs12c/pdbseed/sysaux01.dbf


   /u01/app/oracle/oradata/luocs12c/luocs1/system01.dbf


   /u01/app/oracle/oradata/luocs12c/luocs1/sysaux01.dbf


   /u01/app/oracle/oradata/luocs12c/luocs1/luocs1_users01.dbf


   /u01/app/oracle/oradata/luocs12c/luocs2/system01.dbf


   /u01/app/oracle/oradata/luocs12c/luocs2/sysaux01.dbf


   /u01/app/oracle/oradata/luocs12c/luocs2/luocs2_users01.dbf


   12 rows selected.


   sys@LUOCS12C> select name from v$tempfile;


   NAME


   ―――――――――――――――――――――――――――――――――-


   /u01/app/oracle/oradata/luocs12c/temp01.dbf


   /u01/app/oracle/oradata/luocs12c/pdbseed/pdbseed_temp01.dbf


   /u01/app/oracle/oradata/luocs12c/luocs1/temp01.dbf


   /u01/app/oracle/oradata/luocs12c/luocs2/temp01.dbf


   sys@LUOCS12C> select member from v$logfile;


   MEMBER


   ―――――――――――――――――――――――――――――――――-


   /u01/app/oracle/oradata/luocs12c/redo03.log


   /u01/app/oracle/oradata/luocs12c/redo02.log


   /u01/app/oracle/oradata/luocs12c/redo01.log


   sys@LUOCS12C> select name from v$controlfile;


   NAME


   ―――――――――――――――――――――――――――――――――-


   /u01/app/oracle/oradata/luocs12c/control01.ctl


   /u01/app/oracle/fast_recovery_area/luocs12c/control02.ctl
如下方式查看两个pdbs目前没有open
   sys@LUOCS12C> select DBID, NAME, OPEN_MODE, CREATE_SCN from v$pdbs;


         DBID NAME                           OPEN_MODE  CREATE_SCN


   ―――- ―――――――――― ―――- ―――-


   4061811736 PDB$SEED                       READ ONLY     1720764


   1340482989 LUOCS1                         MOUNTED       1915011


    770810334 LUOCS2                         MOUNTED       1915984
先到这里。
原文链接:http://www.luocs.com/archives/800.html