RHCE7学习笔记7――管理OpenSSH服务
1、使用ssh远程连接服务器
ssh IP ,如果不指定用户名,默认使用当前的用户名
指定用户名登陆:
 ssh -l username IP
    ssh root@IP
ssh redhat@localhost
ssh登陆成功后,会在用户的家目录下生成.ssh的文件夹,里面记录了用户的公钥指纹:
[root@clz ~]# ssh redhat@localhost
The authenticity of host 'localhost (::1)' can't be established.
ECDSA key fingerprint is d0:f6:7b:6f:6a:c3:c6:70:e6:70:17:f5:0f:9d:38:6a.
Are you sure you want to continue connecting (yes/no)? yes
Warning: Permanently added 'localhost' (ECDSA) to the list of known hosts.
redhat@localhost's password:
Last login: Wed Dec 31 14:46:34 2014
[root@clz ~]# cd .ssh/
[root@clz .ssh]# ls
known_hosts
[root@clz .ssh]# cat known_hosts
localhost ecdsa-sha2-nistp256 AAAAE2VjZHNhLXNoYTItbmlzdHAyNTYAAAAIbmlzdHAyNTYAAABBBEIjqNXDMYHmFNDlk+b3KP3TrefQ29vCFglzlIJ2UY3W+sTo7O+gCAgmPYHtO7qyaHnhttgl/dson31i2uoXEpM=
如果SSH是另一台相同的IP地址的机器SSH,那么则无法连接,这时候需要删除.ssh下面的known_hosts文件
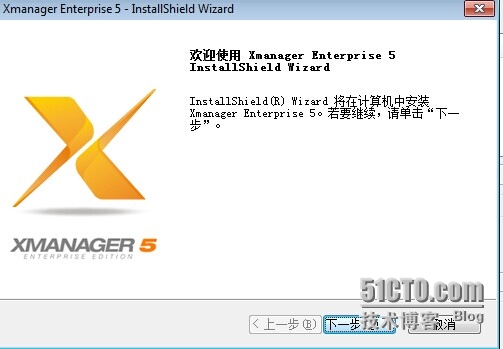
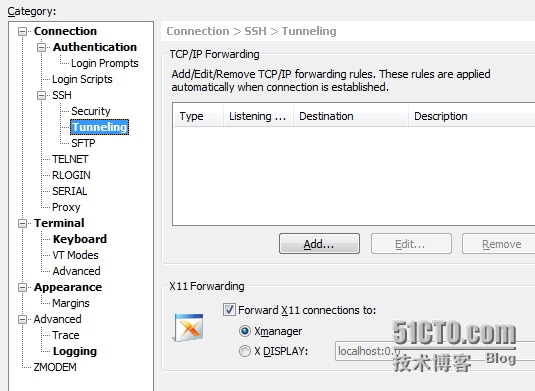
SSH连接过去,如果需要使用图形化界面打开firefox等程序,则需要加x选项,并且需要在本地机器上安装Xmanager和在Xshell终端中开启X11转发:
[root@clz ~]# ssh redhat@localhost -X
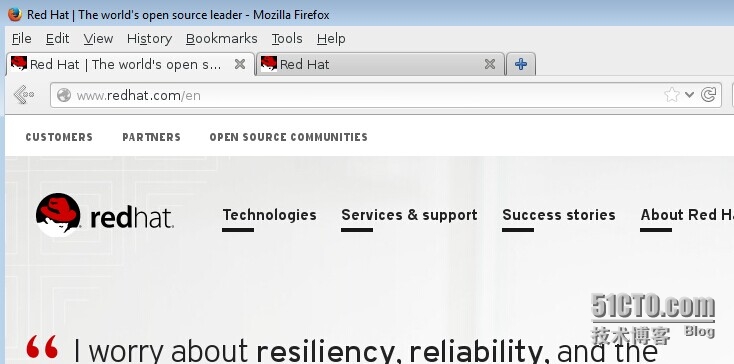
Xshell终端上启动firefox
[redhat@clz ~]$ firefox &
二、配置SSH 密匙远程登陆
加密的三种方式:
1、对称加密,加密与解密的密匙相同:AES,DES,3DES;
2、非对称加密,公钥加密,私钥解密:RSA,DH,DSA,;
3、哈希算法,信息完整性校验:MD5,SHA;
配置SSH RSA密匙对:
在本地客户端上使用ssh-keygen命令生成密匙对,加入-N选项,设定私密加密密匙为空,这样ssh远程客户端的时候就不需要再输入私钥的密码:
[redhat@clz ~]$ ssh-keygen -N ""
Generating public/private rsa key pair.
Enter file in which to save the key (/home/redhat/.ssh/id_rsa):
Created directory '/home/redhat/.ssh'.
Your identification has been saved in /home/redhat/.ssh/id_rsa.
Your public key has been saved in /home/redhat/.ssh/id_rsa.pub.
在家目录的.ssh目录下面,生成公钥和私钥对文件:
[redhat@clz .ssh]$ ls
id_rsa  id_rsa.pub
使用ssh-copy-id命令将本地的公钥发送到远程客户端的家目录:
[redhat@clz .ssh]$ ssh-copy-id -i id_rsa.pub root@localhost
[root@clz .ssh]# ls -al

-rw-------.  1 root root  399 Jan  6 15:37 authorized_keys
复制公钥完成后,本地客户端ssh远程客户端不需要密码即可直接登录:
[c:\~]$ ssh redhat@IP
在windows 使用RSA密匙对登录RHEL7:
首先,使用Xshell的用户密匙管理功能生成本地的RSA公钥:
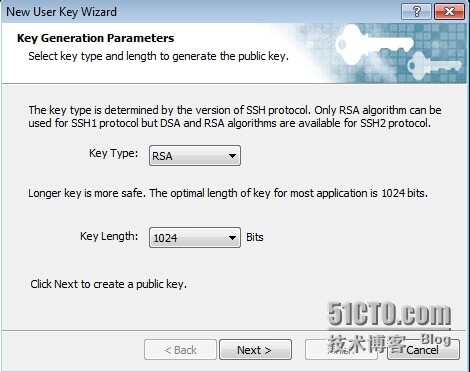
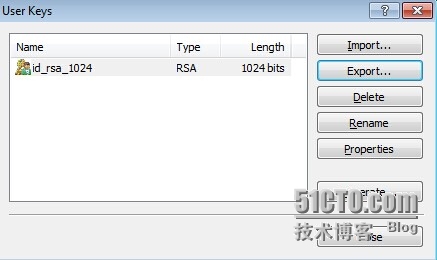
将生成的公钥导出到本地电脑保存,并将该公钥文件上传到远端服务器:

将公钥文件内容追加到.ssh目录下面的Authorized_keys文件:
[root@clz .ssh]# cat id_rsa_1024.pub >>authorized_keys
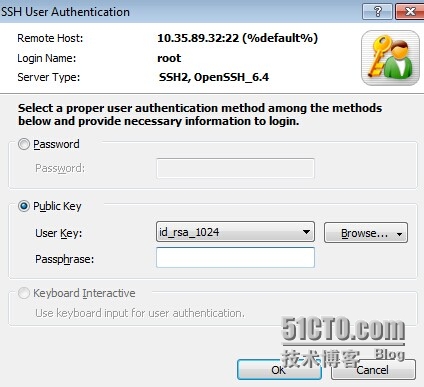
在Xshell终端SSH远程服务器端的时候,在导出的对话框中选择使用public key登录,输入私钥密码即可登录:
三、使用VNC远程连接服务
首先在被控端安装VNC服务:
[root@clz pluginconf.d]# yum install tigervnc\* -y
安装服务完毕,打开vncserver设置远程访问密码:
[root@clz pluginconf.d]# vncserver
You will require a password to access your desktops.
Password:
Verify:
使用list选项查看当前开启的远程服务端口:
[root@clz pluginconf.d]# vncserver -list
TigerVNC server sessions:
X DISPLAY #PROCESS ID
:15198
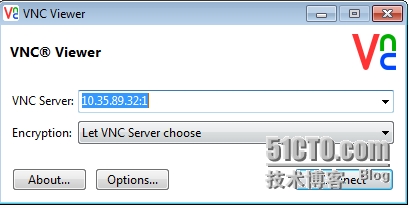
在windows使用vncviewer远程连接服务端:

使用kill杀死一个远程连接端口:
[root@clz ~]# vncserver -kill :1899
Killing Xvnc process ID 6732
Xvnc seems to be deadlocked.  Kill the process manually and then re-run
    /usr/bin/vncserver -kill :1899
to clean up the socket files.