cacti0.8.8安装文档
1.更新包
yum update
2.安装ntp wget
yum install ntp wget
3.设置ntp服务器
ntpdate cn.pool.ntp.org
4.关闭selinux
vi /etc/sysconfig/selinux
将selinux改为disable
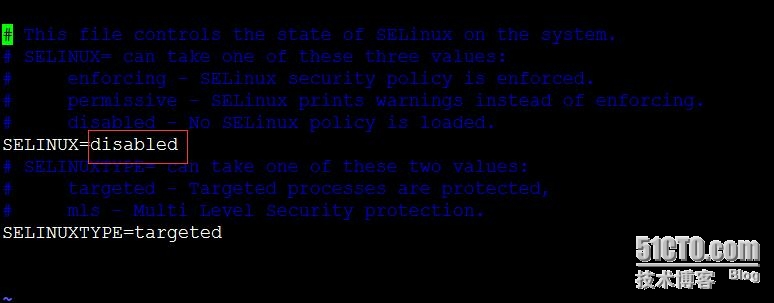 图1
图1
5.关闭防火墙
setenforce 0
service iptables stop
chkconfig iptables off
6.下载安装依赖包
添加源:
vi /etc/yum.repos.d/dag.repo
将下列内容复制到dag.repo
[dag]
name=Dag RPM Repository for Red Hat Enterprise Linux
baseurl=http://apt.sw.be/redhat/el$releasever/en/$basearch/dag
gpgcheck=1
enabled=1
 图2
图2
挂载公钥
wget http://dag.wieers.com/rpm/packages/RPM-GPG-KEY.dag.txt
rpm --import RPM-GPG-KEY.dag.txt
更新源
yum update
安装依赖包
yum install -y httpd mysql mysql-server php php-mysql net-snmp net-snmp-utils php-gd
yum install -y zlib libpng freetype libjpeg fontconfig gd libxml2
yum install -y rrdtool
测试rrdtool
rrdtool
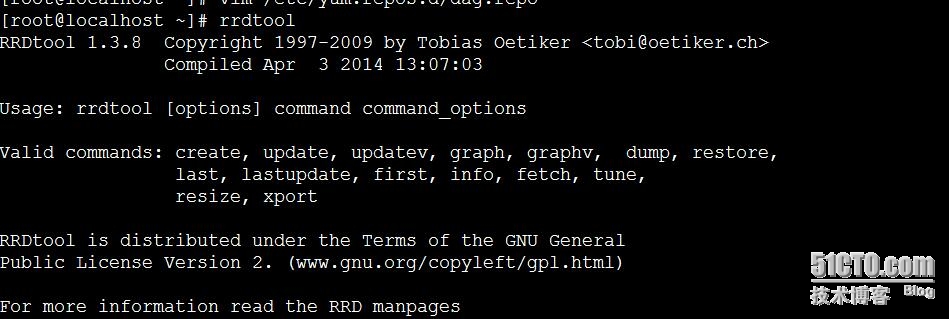 图3
图3
7。将下列服务设为开机启动
chkconfig httpd on
chkconfig snmpd on
chkconfig mysqld on
service httpd start
service snmpd start
service mysqld start
8.配置httpd
vi /etc/httpd/conf/httpd.conf
ServerName localhost:80
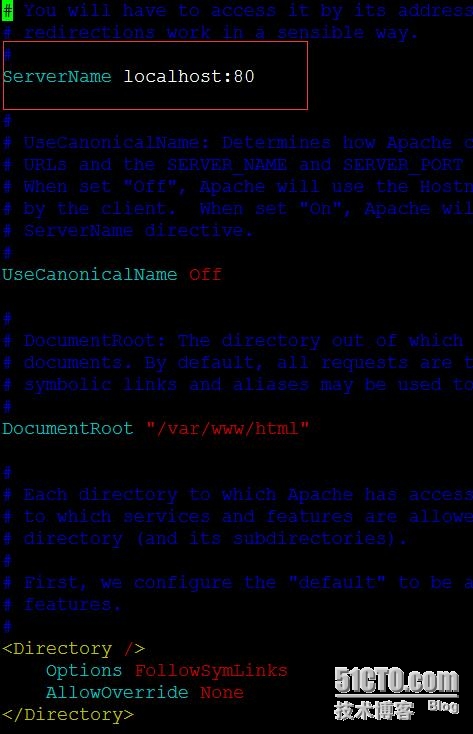
图4
9.配置php timezone
vi /etc/php.ini
date.timezone = Asia/Shanghai

图5
10.检查php是否正常(不检查也没事儿,一般没问题)
cd /var/www/html
vi phpinfo.php
<?php
phpinfo();
?>
访问 ip/phpinfo.php
查看是否正常
11.查看cacti的下载地址
cd /tmp
wget http://www.cacti.net/downloads/cacti-0.8.8f.tar.gz
12.移动文件
将cacti文件夹下文件移到/var/www/html
mv cacti0.8.8f/* /var/www/html
chown -R apache:apache *
chmod -R 777 rra/ log/
13.配置mysql,建立cactiuser用户,密码为cactiuser
mysql //进入mysql
create database cacti; //创建cacti的数据库
grant all on cacti.* to cactiuser@localhost identified by 'cactiuser'; //建立cactiuser用户,密码为cactiuser,并授权 (此处密码可更改
flush privileges; //刷新权限
exit //退出数据库
mysql -u root -p cacti < cacti.sql //导入cacti.sql到mysql cacti库中
14.修改cacti配置文件
vi include/config.php
database_password = ‘’ //查看是否一致,与刚刚配置的相同
url_path = "/";
 图6
图6
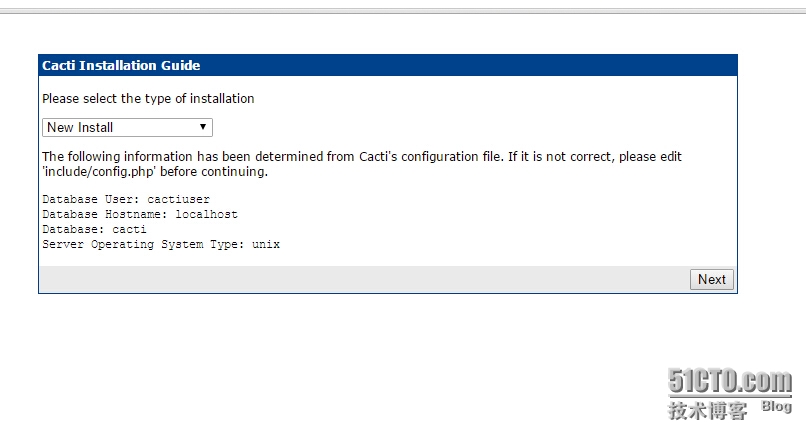
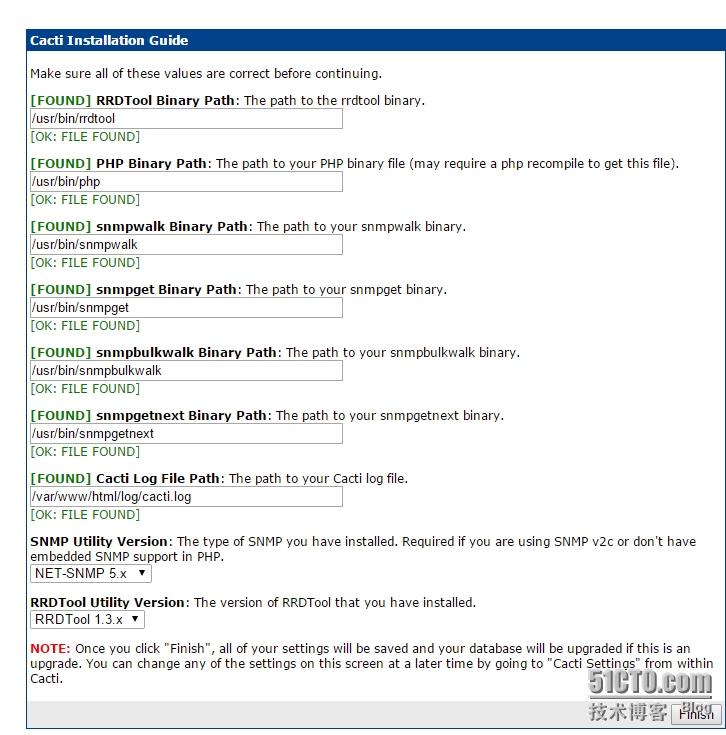
15.安装cacti
打开服务器ip地址
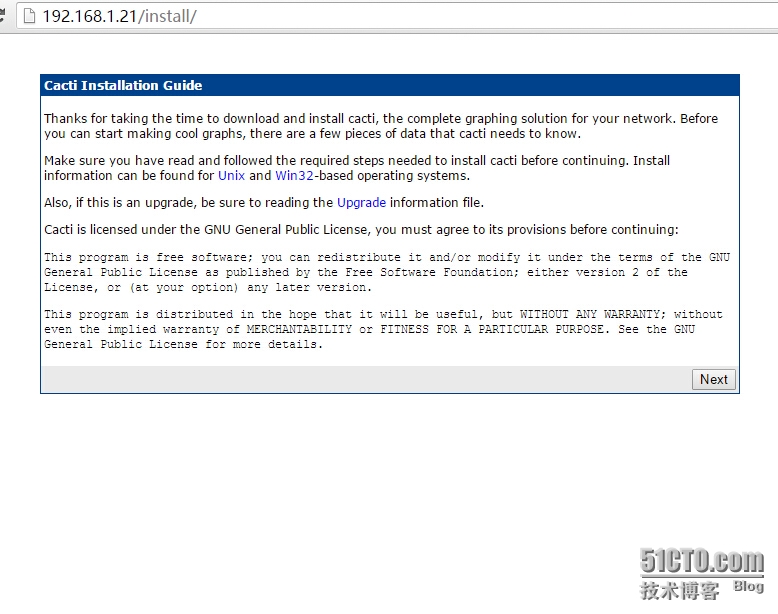
全新安装
16.登陆cacti
默认用户名,密码 admin admin,登陆成功后必须修改密码。
17.配置服务器的snmp version(此步骤为添加此服务器到cacti监控)
vi /etc/snmp/snmpd.conf
grant the group read-only access to the systemview view(这下面)
systemview 修改为all
view all 前面的#号去掉
重启snmpd
service snmpd restart
 图7-1
图7-1
 图7-2
图7-2
18.安装crontable以便启动cacti采集器(如果安装可忽略此步)
yum install -y vixie-cron
并开机启动crond
chkconfig crond on
19.添加计划任务(注意此处不要添加多次任务计划)
echo '*/5 * * * * root /usr/bin/php /var/www/html/poller.php' >> /etc/crontab
service crond restart
本文出自 “please” 博客,谢绝转载!