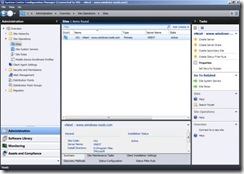
using vNext in a LAB Part 1. Install
这是一篇不错的文章,于是抽出时间翻译了一下,与朋友们共享,如果有兴趣大家请查看原文。
This is a good article, so I was translated it, 原文地址:
http://www.windows-noob.com/forums/index.php?/topic/2317-using-vnext-in-a-lab
本指南是基于vNext Beta 1的测试版本。也许你想为什么我要一步一步的安装而不是去使用微软提供的VHD虚拟机
(http://www.microsoft.com/downloads/details.aspx?displaylang=en&FamilyID=1b23c540-9b9f-4d41-a05d-d4b216061957&utm_source=feedburner&utm_medium=twitter&utm_campaign=Feed:+MicrosoftDownloadCenter+(Microsoft+Download+Center)主要是因为我想将我的vNext安装、配置、管理的实验,一步一步的分享给大家,那么跟着我的步骤您也可以轻松地进行vNext实验了。
在第一部分中我们将对vNext进行安装、配置、使用以及更多关于vNext的内容。
好了,实验开始。
我的vNext实验是基于Windows Server 2008 R2 Hyper-V的全新环境,实验中有两个Server,AD1 (active directory, dns, dhcp)和 vNext (加入AD1 域),将分辨率调整为99%(1017 x 682)
在这里我选择了Windows Server 2008 R2的标准版作为vNext服务器的系统镜像。同时加入到了我已经创建好的域(2k8r2),通过nslookup来检查DNS是否工正常。同时在AD中我创建了一个SMSadmin的帐户,同时也是域管理员。
步骤1:下载并解压缩vNext
你可以从微软下载连接(https://connect.microsoft.com/ConfigurationManagervnext)或者直接从这里下载(http://www.microsoft.com/downloads/details.aspx?FamilyID=ffca869c-4a83-434e-acc9-8b2388c0c7f7&displaylang=en)vNext beta 1。
下载完之后,需要双击ConfigMgr_vNext_Beta_ENU_7469.exe文件进行解压缩。
以域管理员的权限登录到Active Directory域控制器上执行以下操作:
步骤2:创建System ManageMent容器
打开ADSI编辑器,点击“Action”在连接设置中连接到默认域控制器然后点击“OK”
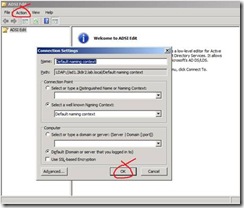
双击Default Naming Context,然后会出现DC=2k8r2,dc=lab,dc=local,如下图所示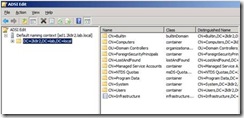
在右边点击CN=System容器,鼠标右键选择New, Object
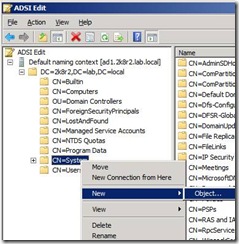
从选项中选择容器,单击下一步并输入System Management。单击下一步和完成。按F5刷新ADSI编辑,这时我们可以看到在有新的容器出现了。
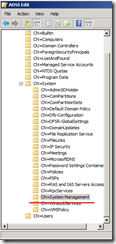
关闭ADSI编辑器。
步骤3:委派System Management容器权限
打开Active Directory Users and Computer点击“view”然后选择“Advanced Features”
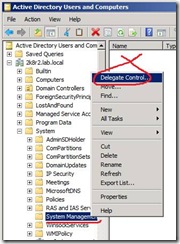
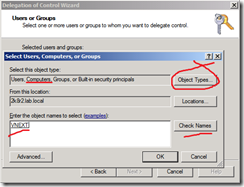
当弹出“Welcome to Delegation of Control”想到的时候点击下一步,并且单击添加。在Object Types中选择“Computers”,然后输入vNext服务器的名称并且点击“Check Names”,这是服务器会自动检查相关信息,然后点击OK。
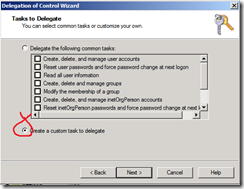
在“Delegation of Control Wizard”页面中选择“Create a Custom Task to Delegate(创建自定义委派任务)”然后点击下一步。
点击下一步无比确认选中了“This folder, existing objects in this folder and creation of new objects in this folder”选项。
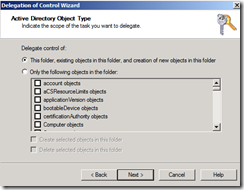
点击下一步,然后选择General、Property-Specific、Creation-deletion of specific child objects这三项,并且无比选择FULL CONTROL权限,然后点击下一步完成配置。
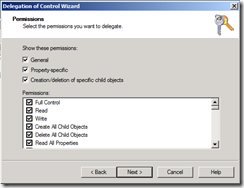
Failure to do the above will mean that the System Management Container in AD will NOT POPULATE with vNext specific info and you will see many errors in your site status.
步骤4:为VNET扩展AD架构
在解压缩的vNext文件夹中找到 \SMSSetup\Bin\x64\Extadsch.exe然后双击执行 Extadsch.exe
A command prompt window will appear briefly as the schema is extended, check in c:\ for a log file called ExtADSch.log it should look similar to this
这是会弹出一个架构扩展的命令提示符窗口,同时我们可以检查C:\下的ExtADSch.log,如下面这短信所示:
Quote
<09-02-2010 06:42:11> Modifying Active Directory Schema - with SMS extensions.
?<09-02-2010 06:42:11> DS Root:CN=Schema,CN=Configuration,DC=2k8r2,DC=lab,DC=local
?<09-02-2010 06:42:14> Defined attribute cn=MS-SMS-Site-Code.
?<09-02-2010 06:42:15> Defined attribute cn=mS-SMS-Assignment-Site-Code.
?<09-02-2010 06:42:15> Defined attribute cn=MS-SMS-Site-Boundaries.
?<09-02-2010 06:42:15> Defined attribute cn=MS-SMS-Roaming-Boundaries.
?<09-02-2010 06:42:15> Defined attribute cn=MS-SMS-Default-MP.
?<09-02-2010 06:42:15> Defined attribute cn=mS-SMS-Device-Management-Point.
?<09-02-2010 06:42:15> Defined attribute cn=MS-SMS-MP-Name.
?<09-02-2010 06:42:15> Defined attribute cn=MS-SMS-MP-Address.
?<09-02-2010 06:42:15> Defined attribute cn=mS-SMS-Health-State.
?<09-02-2010 06:42:15> Defined attribute cn=mS-SMS-Source-Forest.
?<09-02-2010 06:42:15> Defined attribute cn=MS-SMS-Ranged-IP-Low.
?<09-02-2010 06:42:15> Defined attribute cn=MS-SMS-Ranged-IP-High.
?<09-02-2010 06:42:15> Defined attribute cn=mS-SMS-Version.
?<09-02-2010 06:42:15> Defined attribute cn=mS-SMS-Capabilities.
?<09-02-2010 06:42:19> Defined class cn=MS-SMS-Management-Point.
?<09-02-2010 06:42:20> Defined class cn=MS-SMS-Server-Locator-Point.
?<09-02-2010 06:42:21> Defined class cn=MS-SMS-Site.
?<09-02-2010 06:42:21> Defined class cn=MS-SMS-Roaming-Boundary-Range.
?<09-02-2010 06:42:22> Successfully extended the Active Directory schema.
?<09-02-2010 06:42:22> Please refer to the SMS documentation for instructions on the manual
?<09-02-2010 06:42:22> configuration of access rights in active directory which may still
?<09-02-2010 06:42:22> need to be performed. (Although the AD schema has now be extended,
?<09-02-2010 06:42:22> AD must be configured to allow each SMS Site security rights to
?<09-02-2010 06:42:22> publish in each of their domains.)
以SMSadmin在vNext服务器上执行一下内容:
步骤1:安装.net 3.5.1
在服务器管理器中选择功能,添加功能,然后选择.NET Framework 3.5.1开始安装。
(这里作者没有详细叙述如何安装,相信大家也应该能够顺利安装好的)
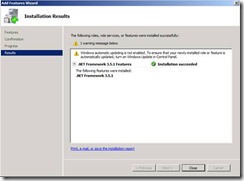
步骤2:下载并安装.net4
我们可以从这里直接下载.net4的安装文件。
http://www.microsoft.com/downloads/details.aspx?FamilyID=9cfb2d51-5ff4-4491-b0e5-b386f32c0992&displaylang=en
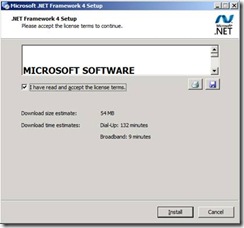
在向导中选择安装。
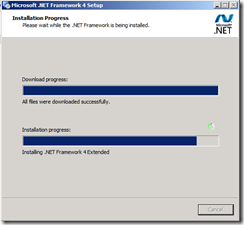
稍微等待一会,当晚装完成以后,点击“完成”按钮,以完成.net4的安装。
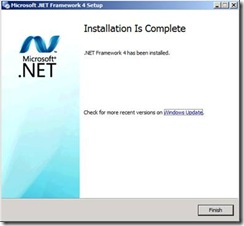
这时,需要重新启动计算机,我们点击“Restart Now”重新启动计算机。

步骤3:安装SQL Server 2008
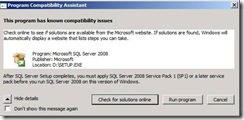
Start installing SQL Server 2008 as per this guide, however you may be prompted about upgrading it to SP1 later, ignore the warnings as we will install SQL 2008 sp1 after this. I chose to Install SQL server 2008 to D:\Program Files...
大家可以根据下面的指南来安装SQL Server 2008,当将它升级到SP1后出现提示,忽略后,我们将安装此SQL 2008 SP1。我选择安装SQL Server 2008到D:\ Program Files文件...
当SQL Server 2008安装完成后,点击“关闭”完成安装
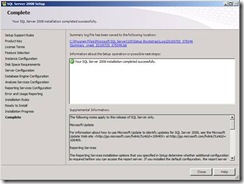
步骤4:升级 SQL Server 2008到 SP1 CU6
找到你的更新文件en_sql_server_2008_sp1_x64然后点击运行,当更新完毕后,选择重新启动计算机。
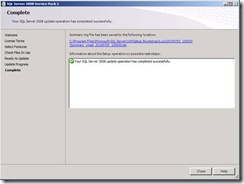
在重启之后,选择安装Cumulative Update 6 (CU6)
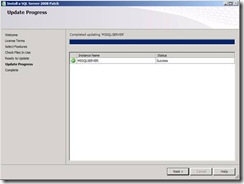
步骤5:9安装VNnet其他所需资源
我们需要打开服务器管理中在选择安装功能里进行安装 IIS, BITS, Remote differential compression 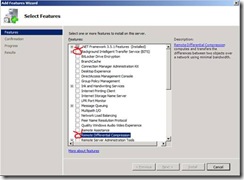
选择以下功能
* Remote Differential Compression
* BackGround Intelligent Transfer Service (BITS)
请注意:当您选择安装BITS的时候会提示安装所依赖的IIS服务,选择“choose Add Required Role Services”开始安装
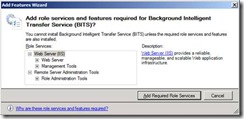
完成后,点击下一步。
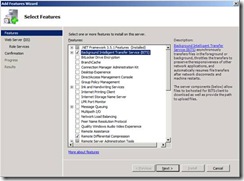
点击下一步开始安装IIS
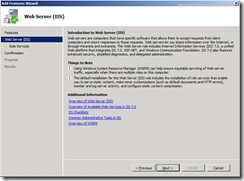 and verify the following IIS components are installed in addition to the ones preselected by the wizard.
除了向导安装的组件后,确认已经安装以下IIS组件:
Common HTTP Features
Static Content
Default Document
Directory Browsing
HTTP Errors
HTTP Redirection
Application Development
ASP.NET
.NET Extensibility
ASP
ISAPI Extensions
ISAPI Filters
Health and Diagnostics
HTTP logging
Logging tools
Request Monitor
Tracing
Security
Basic Authentication
Windows Authentication
URL Authorization
Request Filtering
IP and Domain Restrictions
Performance
Static Content Compression
Management Tools
IIS Management Console
IIS Management Scripts and Tools
Management Service
IIS 6 Management Compatibilty
IIS 6 Metabase Compatibility
IIS 6 WMI Compatibility
IIS 6 Scripting Tools
IIS 6 Management Console
安装完成选择关闭。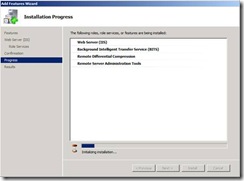
步骤6:下载、解压缩安装VNet
OK,现在SQL已经安装完了,我们开始安装vNext,查看解压缩文件,双击Splash.hta文件。
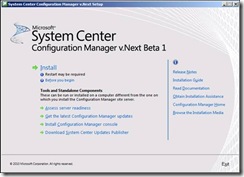
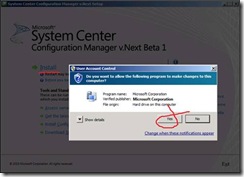
点击YES以通过UAC的控制,开始安装。
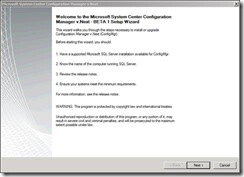
在欢迎向导页面中点击下一步
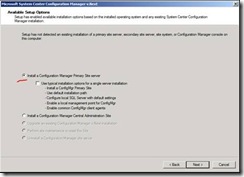
在这一步我们需要选择安装VNext的哪种角色,以及相关选项。我们在这里选择“Install a configuration manager primary server”然后点击下一步。
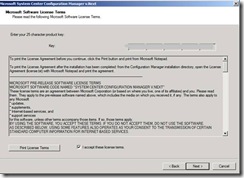
在软件许可向导页面中,选择我同意,然后点击下一步。
指定下载路径,同时选择“Check for updates and download newer versions to an alternative path”
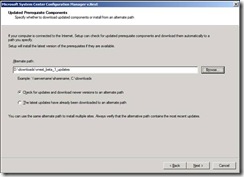
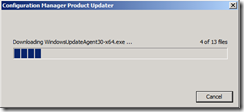
这时将会从internet下载更新文件
注意:作者没有提到如果服务器无法连接互联网是的安装方法。如果服务器无法连接互联网需要选择上面的“The later updates have already been downloaded to an altemate path”
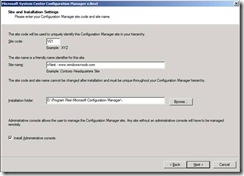
当更新文件下载完成以后,我们可以选择站点代码、站点名称以及安装路径。
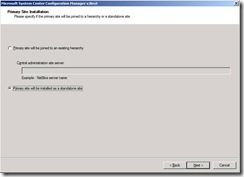
因为我的服务器是住站点同时也没有中央管理站点(CAS),我会选择第二个选项“Primary Site Will be installed as a standalone site”
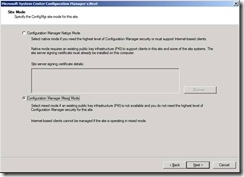
 选择“Mixed Mode(混合模式)” (纯模式要求本地有PKI体系结构)
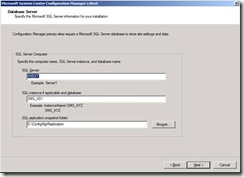
设置数据库服务器选项 (默认情况下会自动填写的)
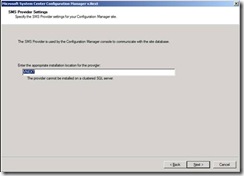
接下来是SMS提供程序的设置
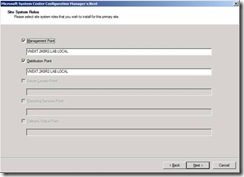
接下来选择站点系统角色
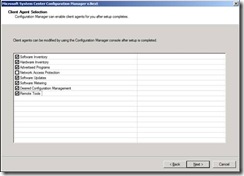
选择客户端代理,默认情况下NAP选项是不被勾选的。
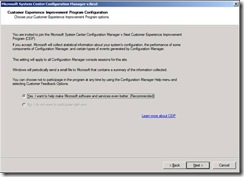
因为这是测试版本,所以反馈错误问题的选项是强制的,没得其他选择了。
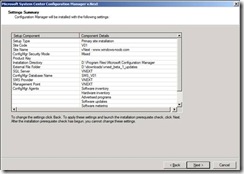
 查看一下配置的总结
review the Pre-requisites check, if there are any errors (red) resolve them before continuing, we only have some warnings which we will resolve after the installation.
查看安装的先决条件,是否有错误(红色),在这里我们只有2个黄色的告警,所以我们继续安装。
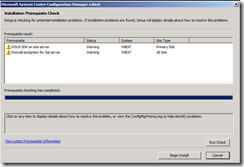
准备好之后点击“Begin Install”开始安装
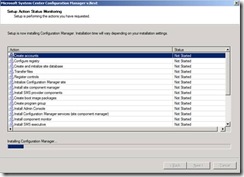
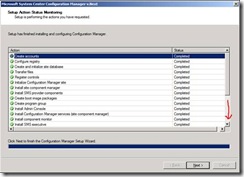
过一会,所有组件都安装完成,我们可以通过右边的滚动条,验证所有的组件都已经是绿色的了。
点击完成
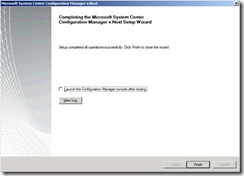
这时需要重新启动vNext服务器
待服务器重启完成以后,登陆到服务器并打开vNext管理控制台
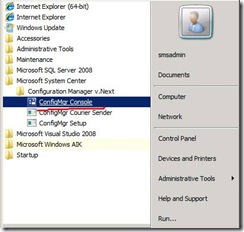
恭喜你,现在可以使用vNext了
