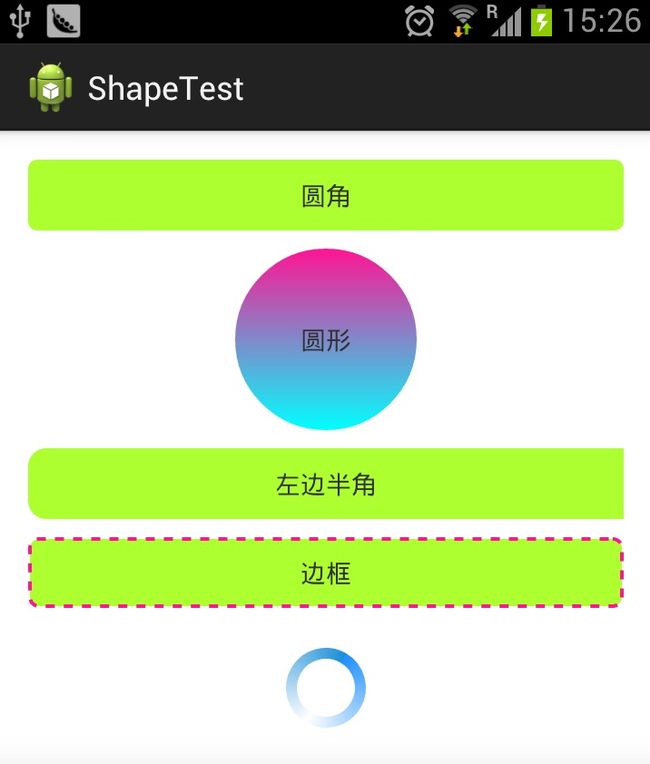
Android学好Shape不再依赖美工

其实以上效果没有让美工提供任何图片 只要学会Shape你就能实现 想怎么样就怎么样
下面介绍Shape的用法:
<shape> android:shape=["rectangle" | "oval" | "line" | "ring"]
其中rectagle矩形,oval椭圆,line水平直线,ring环形
<shape>中子节点的常用属性:
<gradient> 渐变
android:startColor 起始颜色
android:endColor 结束颜色
android:angle 渐变角度,0从上到下,90表示从左到右,数值为45的整数倍默认为0;
android:type 渐变的样式 liner线性渐变 radial环形渐变 sweep
<solid > 填充
android:color 填充的颜色
<stroke > 描边
android:width 描边的宽度
android:color 描边的颜色
android:dashWidth 表示'-'横线的宽度
android:dashGap 表示'-'横线之间的距离
<corners > 圆角
android:radius 圆角的半径 值越大角越圆
android:topRightRadius 右上圆角半径
android:bottomLeftRadius 右下圆角角半径
android:topLeftRadius 左上圆角半径
android:bottomRightRadius 左下圆角半径
2.用selector添加shape
<?xml version="1.0" encoding="utf-8"?>
<selector xmlns:android="http://schemas.android.com/apk/res/android">
<item android:state_selected="true">
<shape>
<gradient android:angle="270" android:endColor="#99BD4C"
android:startColor="#A5D245" />
<size android:height="60dp" android:width="320dp" />
<corners android:radius="8dp" />
</shape>
</item>
<item android:state_pressed="true">
<shape>
<gradient android:angle="270" android:endColor="#99BD4C"
android:startColor="#A5D245"/>
<size android:height="60dp" android:width="320dp" />
<corners android:radius="8dp" />
</shape>
</item>
<item>
<shape>
<gradient android:angle="270" android:endColor="#A8C3B0"
android:startColor="#C6CFCE"/>
<size android:height="60dp" android:width="320dp" />
<corners android:radius="8dp" />
</shape>
</item>
</selector>