Nancy之基于Nancy.Hosting.Self的小Demo
继昨天的Nancy之基于Nancy.Hosting.Aspnet的小Demo后,
今天来做个基于Nancy.Hosting.Self的小Demo。
关于Self Hosting Nancy,官方文档的介绍如下
https://github.com/NancyFx/Nancy/wiki/Self-Hosting-Nancy
文档具体的内容我就不一一翻译了,主要是演示从头到尾的一个过程,然后看看Nancy.Hosting.Self的源码
一、新建一个控制台应用程序(Console Application)
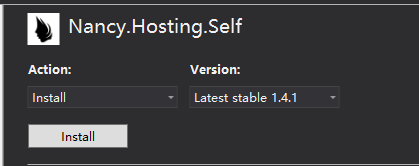
二、通过NuGet添加我们需要的Nancy包
这里我们可以直接添加Nancy.Hosting.Self,添加这个会顺带添加Nancy。
到这里我们的基本工作就KO了。
三、打开Program.cs,开始写代码了
 1     class Program
 2     {
 3         static void Main(string[] args)
 4         {
 5             using (var nancySelfHost = new NancyHost(new Uri("http://localhost:8888/")))
 6             {
 7                 nancySelfHost.Start();
 8                 Console.WriteLine("NancySelfHost已启动。。");
 9                 try
10                 {
11                     Console.WriteLine("正在启动 http://localhost:8888/ ");
12                     System.Diagnostics.Process.Start("http://localhost:8888/");
13                     Console.WriteLine("成功启动 http://localhost:8888/ ");
14                 }
15                 catch (Exception)
16                 {
17                 }
18                 Console.Read();
19             }
20             Console.WriteLine("http://localhost:8888 已经停止 \n NancySelfHost已关闭。。");
21         }
22     }
这里实例化了一个新的NancyHosting,并直接用Process.Start打开了一个网页。
这样做是为了省时省力偷下懒,不用在启动程序之后再手动去打开浏览器去输入http://localhost:8888
如果不熟悉Process,可以看一下这个
https://msdn.microsoft.com/en-us/library/e8zac0ca(v=vs.110).aspx
四、新建一个Modules文件夹,用来存放我们的Modules
在Modules文件夹新建一个HomeModule.cs
1     public class HomeModule:NancyModule
2     {
3         public HomeModule()
4         {
5             Get["/"] = _ => "I'm from Nancy.Hosting.Self!";
6         }
7     }
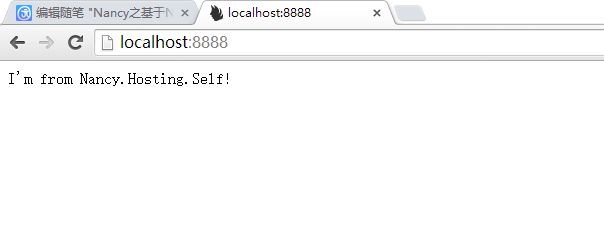
运行一下,看看效果
正是我们要的结果。下面来看看视图有没有问题。
五、建一个Views文件夹,用于存放视图
新建Home文件夹,新建index.html,这里我们就不用Razor了,Nancy支持多种视图引擎!!这个很不错。
 1 <!DOCTYPE html>
 2 <html lang="en" xmlns="http://www.w3.org/1999/xhtml">
 3 <head>
 4     <meta charset="utf-8" />
 5     <title>NancyDemo</title>
 6 </head>
 7 <body>
 8     <p style="font-size:xx-large">SelfHostingDemo</p>
 9 </body>
10 </html>
同时对HomeModule.cs进行修改
 1     public class HomeModule:NancyModule
 2     {
 3         public HomeModule()
 4         {
 5             Get["/"] = _ =>
 6             {
 7                 return View["index"];
 8             };
 9
10         }
11     }
运行试试。oh no~~ 出错了。。。
为什么会出现错误呢?不应该啊!!
既然有错误,就要排除错误,看看它说那里有问题:
Nancy.RequestExecutionException: Oh noes! ---> Nancy.ViewEngines.ViewNotFoundException: Unable to locate view 'index' Currently available view engine extensions: sshtml,html,htm Locations inspected: views/Home/index-zh-CN,views/Home/index,Home/index-zh-CN,Home/index,views/index-zh-CN,views/index,index-zh-CN,index Root path: D:\GithubCode\Demos\NancyDemoWithSelfHosting\SelfHostingDemo\SelfHostingDemo\bin\Debug If you were expecting raw data back, make sure you set the 'Accept'-header of the request to correct format, for example 'application/json'
提示的居然是没有找到视图!!再细细看一下就会发现问题了。Root path!!!!
视图应该在放到Debug目录下,这里建的是控制台应用程序,不是web应用程序。
所以就把Views文件夹搬家到Debug下面。
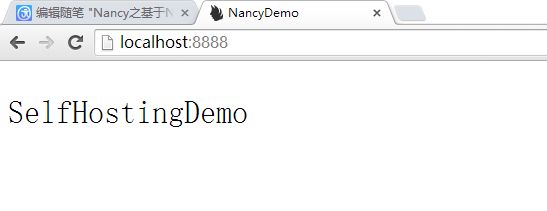
运行看看,OK,成功了
六、把这个demo放到linux下看看
在 /var/www/ 下面新建一个文件夹 mkdir nancydemo
将程序bin目录下的文件传到 /var/www/nancydemo 中,ls看一下里面的内容
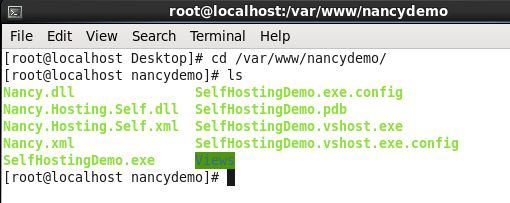
执行 mono SelfHostingDemo.exe
看看效果,OK!
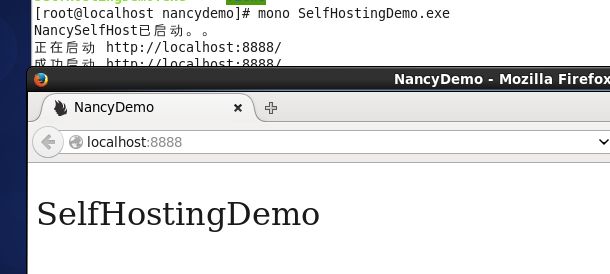
到这里,已经完成了一个简单的Demo了。
趁着时间还早,看看Nancy.Hosting.Self的内部实现,源码地址:
https://github.com/NancyFx/Nancy/tree/master/src/Nancy.Hosting.Self
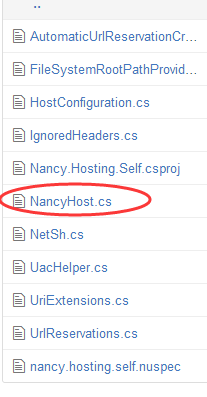
还记得否?我们的Program.cs中有用到这个类----NancyHost
var nancySelfHost = new NancyHost(new Uri("http://localhost:8888/"))
细细看看这个类里面有什么东西。
https://github.com/NancyFx/Nancy/blob/master/src/Nancy.Hosting.Self/NancyHost.cs
有六个重载,其实这六个重载都是为了初始化 NancyHost ,有三个是用了默认配置,有三个是用了自定义配置。
我们用到的NancyHost是采用的默认配置,参数就是一个可变的Uri数组。
然后看看Start 方法
主要是监听我们的请求,这个监听过程主要用到了HttpListener,还有异步回调。
里面的 Task.Factory.StartNew 可以看看msdn的介绍
https://msdn.microsoft.com/en-us/library/dd321439(v=vs.110).aspx
持续降温。。注意保暖。。
