ubuntu下基于qt+opencv控制摄像头
本文博客链接:http://blog.csdn.net/jdh99,作者:jdh,转载请注明.
环境:ubuntu10.04 + opencv2.2.0 + qt4.7.0
opencv下控制摄像头是容易的,提供的highgui库调用linux本身的v4l2机制就能控制摄像头.在这里我与qt混合编程,在qt中开一个30ms的定时器,不断通过摄像头捕捉图像,这30ms就是帧速。
捕捉的图像在opencv中是IplImage类型,在qt中调用图像一般是QImage类型,所以需要进行一个格式转换,而且捕捉到的图像颜色是BGR,需要转换城RGB。摄像头捕捉的图像显示窗口为QWidget部件。
源代码:
widget.h
#ifndef WIDGET_H
#define WIDGET_H

#include <QWidget>
#include "iostream"
#include "stdio.h"

#include "highgui.h"
#include "cv.h"
#include <QTimer>
#include <QImage>
#include <QPainter>

using namespace std;

#define TIME_OUT    30                  //视频播放间隔时间
#define FPS         30                  //播放帧率

namespace Ui {
    class Widget;
}

class Widget : public QWidget
{
    Q_OBJECT

public:
    explicit Widget(QWidget *parent = 0);
    ~Widget();

private:
    Ui::Widget *ui;

    CvCapture *capture;             //视频数据结构
    IplImage *frame;
    QTimer *timer;
    QImage *img;

private slots:
    void slot_timer();

protected:
    void paintEvent (QPaintEvent *);
};

#endif // WIDGET_H
widget.c
#include "widget.h"
#include "ui_widget.h"

Widget::Widget(QWidget *parent) :
    QWidget(parent),
    ui(new Ui::Widget)
{
    ui->setupUi(this);

    timer = new QTimer(this);
    connect(timer,SIGNAL(timeout()),this,SLOT(slot_timer()));
    timer->start(FPS);

    capture = cvCreateCameraCapture(0);
    //cvNamedWindow("jdh",CV_WINDOW_AUTOSIZE);
}

void Widget::slot_timer()
{
    frame = cvQueryFrame(capture);
    if (!frame)
    {
        return;
    }

    //img->load("test.jpg");
    cvCvtColor(frame,frame,CV_BGR2RGB);
    img = new QImage((unsigned char*)frame->imageData,frame->width,frame->height,frame->widthStep,QImage::Format_RGB888);
    //img = new QImage((unsigned char*)frame->imageData,frame->width,frame->height,QImage::Format_RGB888);
    update();
    //cvShowImage("jdh",frame);
}

void Widget::paintEvent(QPaintEvent * event)
{
    //painter->drawImage(0,0,mm);
    QPainter *pp = new QPainter(this);
    pp->drawImage(0,0,*img);
}

Widget::~Widget()
{
    delete ui;

    cvReleaseImage(&frame);
    //cvDestroyWindow("jdh");
}
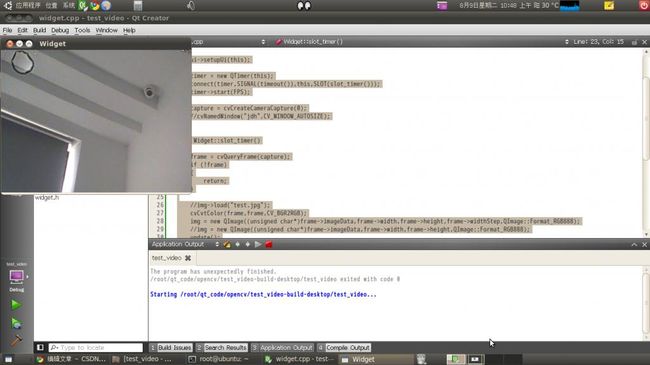
效果图: