Apache axis2 + Eclipse 开发 WebService
简介
Apache Axis2是下一代 Apache Axis。Axis2 虽然由 Axis 1.x 处理程序模型提供支持,但它具有更强的灵活性并可扩展到新的体系结构。Axis2 基于新的体系结构进行了全新编写,而且没有采用 Axis 1.x 的常用代码。支持开发 Axis2 的动力是探寻模块化更强、灵活性更高和更有效的体系结构,这种体系结构可以很容易地插入到其他相关 Web 服务标准和协议(如 WS-Security、WS-ReliableMessaging 等)的实现中。Apache Axis2 是Axis的后续版本,是新一代的SOAP引擎。 官方网站:http://axis.apache.org/axis2/java/core/index.html
二、下载
Apache Axis2 下载页面:http://axis.apache.org/axis2/java/core/download.cgi (当前最新版本1.6.2)
Apache Axis2 Binary Distribution(1.6.2):http://mirror.bjtu.edu.cn/apache//axis/axis2/java/core/1.6.2/axis2-1.6.2-bin.zip
WAR Distribution:http://mirror.bjtu.edu.cn/apache//axis/axis2/java/core/1.6.2/axis2-1.6.2-war.zip
Eclipse 插件:
Service Archive Wizard - Eclipse Plug-in(用来将服务代码打包成后缀名为.aar文件的插件):
http://www.apache.org/dyn/mirrors/mirrors.cgi/axis/axis2/java/core/1.6.2/axis2-eclipse-service-plugin-1.6.2.zip
Code Generator Wizard - Eclipse Plug-in(用来将服务代码生成wsdl文件以及解析将wsdl文件生成客户端代码的插件):
http://www.apache.org/dyn/mirrors/mirrors.cgi/axis/axis2/java/core/1.6.2/axis2-eclipse-codegen-plugin-1.6.2.zip
安装插件:
我用的是MyEclipse10,以我的环境为例:将两个插件解压后放到D:\sdk\MyEclipse\MyEclipse 10\dropins目录下面,启动MyEclipse
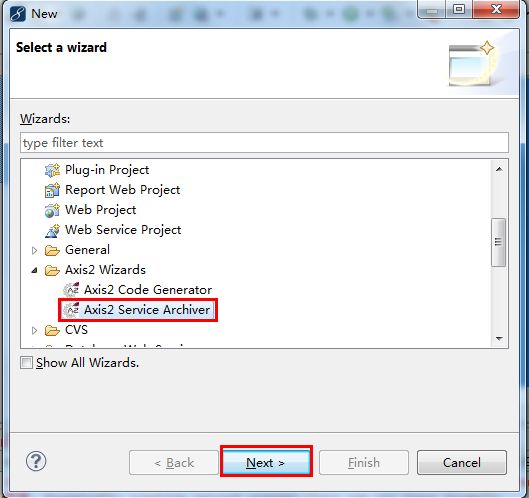
File - New - Other 可以找到:

三、部署axis2 war
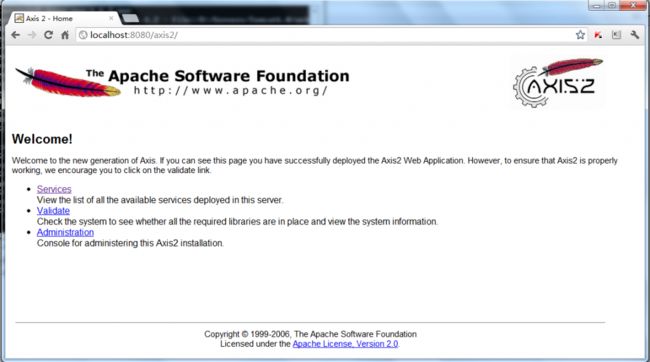
解压下载的axis2-1.6.2-war.zip 得到一个axis2.war文件,将这个文件丢到tomcat\webapps目录,启动tomcat 访问http://localhost:8080/axis2
看到如下界面,部署成功。
四、编写服务代码
- package com.xcy;
- /**
- * @author Siuon
- * @version 1.0
- * @create 2012-7-19 下午8:23:49
- */
- public class Axis2WB {
- /**
- * 提供了一个说Hello的服务
- * @return
- */
- public String sayHello(String name){
- return "Hello "+name;
- }
- /**
- * 提供了一个做加法的服务
- * @param a
- * @param b
- * @return
- */
- public int add(int a,int b){
- return a + b;
- }
- }
Eclipse菜单- New - File - Other -Axis2 Service Archiver
class file location:为刚刚写的Axis2WB类所在工程的bin目录

选择skip wsdl

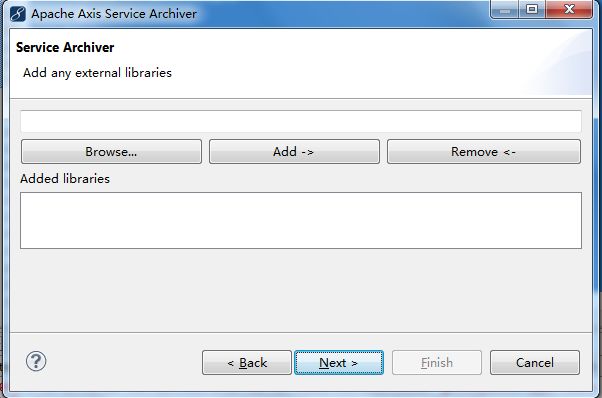
如果你的Axis2WB有引用jar包,则在这里选择。我写的没有,所以next
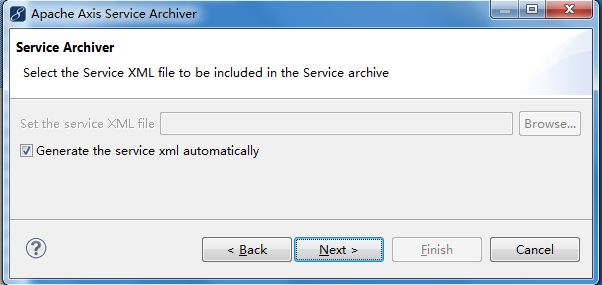
由于我们没有编写service.xml,所以勾选让它自动生成,next
输入服务名称(随意)、类全名、load、next

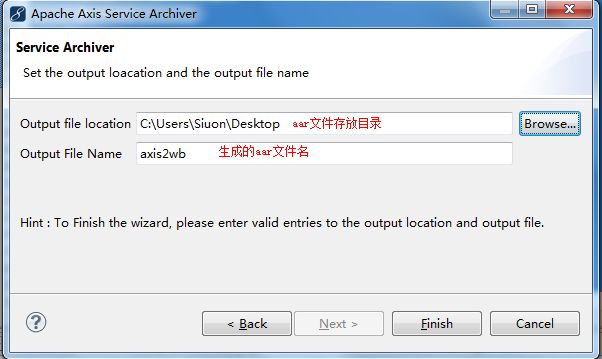
设置aar文件名以及存放目录(我是放在桌面)--Finish:
完成后,可以看到桌面上多了一个axis2wb.aar文件,我们用winrar打开:


有没有感觉很眼熟?很像一个jar包、我们点击META-INF目录进去,可以看到插件给我们生成的一个service.xml,打开看看(是不是明白插件做了些啥了):

六、发布
将axis2wb.aar文件丢到之前部署的axis2应用的WEB-INF\services\目录下面,重启tomcat
再访问http://localhost:8080/axis2/ 点击Service


看到上图,说明发布成功
七、生成客户端代码
你可以用jdk6自带的wsimport工具生成客户端代码:Java 6 开发 WebService
也可以通过axis2 的Eclipse插件生成客户端代码:
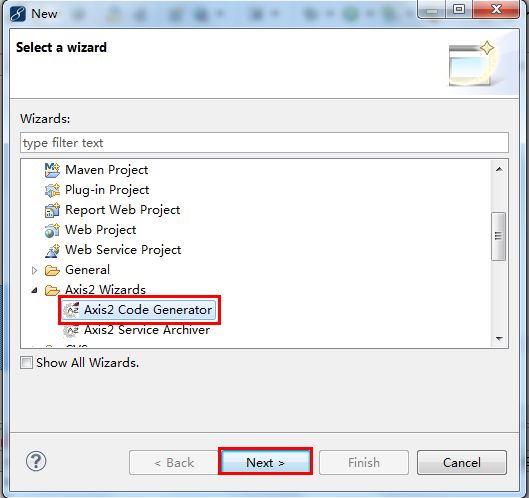
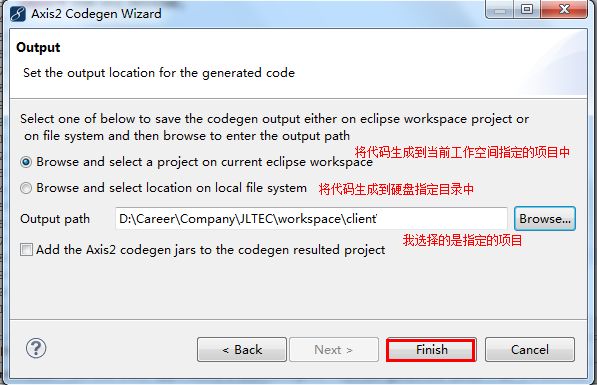
Eclipse菜单-File-New-Other-Axis2 Code Generator
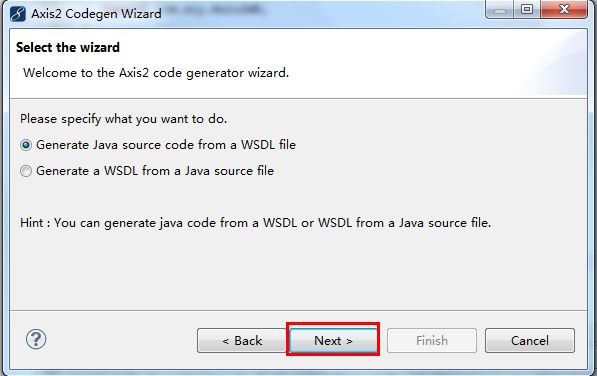
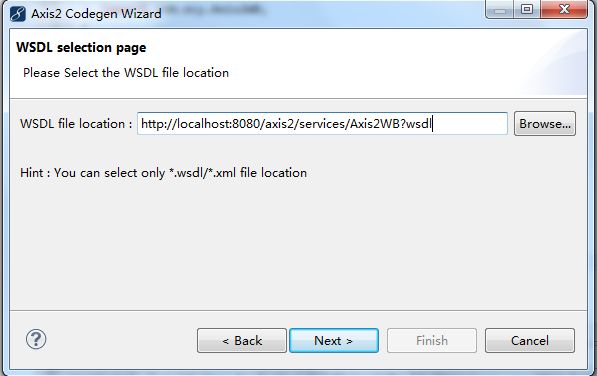
Generate Java source code from a WSDL file:根据WSDL生成webservice客户端的java代码。(在这里,我们选择这个)
Generate a WSDL from a Java source file :根据一个java源文件生成wsdl文件(这个源文件是打算发布成Web服务的java源文件,例如本demo中的Axis2WB.java)。

生成完代码后,你会发现报错,原因是因为缺少相关的jar包。
解压在第一步中下载的axis2 binary.zip 将解压后的目录中的lib下面的所有jar包,拷进来,添加到class path中:

8、调用Web服务
- package test;
- import java.rmi.RemoteException;
- import com.xcy.Add;
- import com.xcy.AddResponse;
- import com.xcy.Axis2WB;
- import com.xcy.Axis2WBStub;
- import com.xcy.SayHello;
- import com.xcy.SayHelloResponse;
- /**
- * @author Siuon
- * @version 1.0
- * @create 2012-7-19 下午9:18:23
- */
- public class Test {
- public static void main(String[] args) throws RemoteException {
- //创建客户端对象
- Axis2WB axis2wb = new Axis2WBStub();
- //new一个调用sayHello方法需要的参数SayHello,并且设置name
- SayHello sayHello = new SayHello();
- sayHello.setName("Siuon");
- //调用web服务
- SayHelloResponse sayHelloResponse = axis2wb.sayHello(sayHello);
- //拿到返回结果
- System.out.println(sayHelloResponse.get_return());
- Add add = new Add();
- add.setA(5);
- add.setB(3);
- AddResponse addResponse = axis2wb.add(add);
- System.out.println(addResponse.get_return());
- }
- }
结果:
![]()