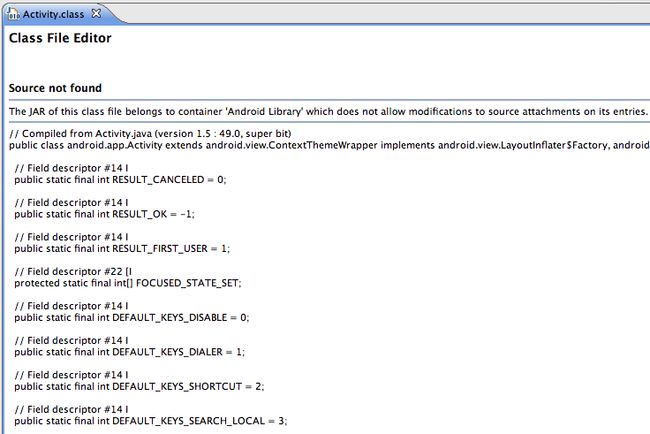
Google’s Android SDK includes android.jar , which contains the Android public API class files. They also provide an Eclipse plugin , making it quite easy to get started. What you will not find, however, is androidSrc.jar , so when you try to look at Android SDK source code in Eclipse, you get something like this:
Open Source to the Rescue!
Earlier this month, Google released the source code — all of it — and by the way, it’s HUGE. Anyway, to browse source in Eclipse, you need to visit http://source.android.com/ and follow their instructions to pull everything down using Git. Set aside an evening to do this, because having the full source makes it infinitely easier to understand how the SDK works.
Attaching to Eclipse…Not So Fast, Buddy
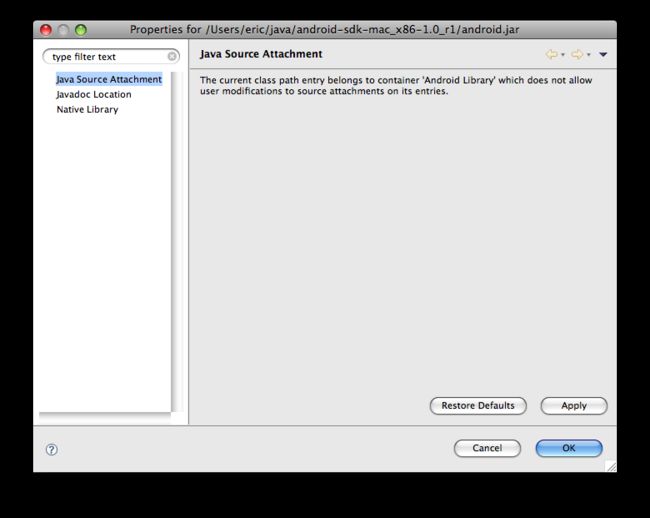
Now that you have the source, you can tell Eclipse where to find it. I tried right-clicking on android.jar and selecting Properties , but am greeted with this screen:
Hmm…”The current class path entry belongs to container ‘Android Library’ which does not allow user modifications to source attachments on its entries.” This really threw me for a loop. I generally use IDEA, so I was really stumped by this. So, I dug into the source code to find out a solution.
Examining the Source
When you download the Android source, you get EVERYTHING. This includes the OS, the Dalvik VM, the Eclipse Plugin, the public SDKs, etc.
In the com.android.ide.eclipse.adt.project.internal package, I found
a class named AndroidClassspathContainerInitializer.java . This has
the following code:
IPath
 android_src
=

new

Path
(
AdtPlugin
.
getOsAbsoluteAndroidSources
());
OK, fine. So looking inside AdtPlugin.java :
/** Returns the absolute android sources path in the sdk */


public

static

String
 getOsAbsoluteAndroidSources
()

{


return
 getOsSdkFolder
()

+
 getOsRelativeAndroidSources
();


}


/** Returns the android sources path relative to the sdk folder */


public

static

String
 getOsRelativeAndroidSources
()

{


return

AndroidConstants
.
FD_ANDROID_SOURCES
;


}
And finally inside AndroidConstants.java :
public

static

final

String
 FD_ANDROID_SOURCES
=

"sources"
;
I win!
Solution #1
Based on the above analysis, you need to create a directory named “sources” inside your Android SDK installation. So right next to your android.jar , create a sources directory.
Now that you have this directory, you can find the appropriate source directories in the Android sources that you pulled from Git. Google’s checkout directions suggest a directory named ‘mydroid’, so I’ll use that here. The public SDK source is found in mydroid/frameworks/base/core/java . Under that folder you’ll find an android directory, which should be copied (or symlinked) over to the sources directory in your SDK installation.
You’ll have to do some hunting around to find all of the source code, it’s kind of sprinkled all over the place in the mydroid directory tree. In the end, you should have something like:
SDK_PATH

  | android.jar

  +--docs/...

  +--samples/...

  +--sources

       +--android

       |      ...accounts, annotation, app, bluetooth, etc...

       +--com/android/etc...

       +--dalvik/...

       +--java/...

       +--javax/...
I grabbed all kinds of directories, and I didn’t take good notes, so I probably missed a few and inadvertently added too many. You probably only really need the public SDK sources, but I think it’s nice to also study implementation classes, as well.
Now when I browse into the Android SDK classes, I see the source code:
Solution #2
If you’d rather not copy (or link) all of those source directories into your SDK directory, you can also create an Eclipse User Library. At first, I tried creating my own library containing android.jar , but Eclipse complained about that being a duplicate .jar file. So instead, I picked an arbitrary JAR file as my user library, and then proceeded to attach all of the Android source directories to that library.
My user library seemed to do the trick, but I like having that sources directory because I don’t have to remember to add the user library to each new project I create.


