Set up professional rails3 develpment on ubuntu (part one)
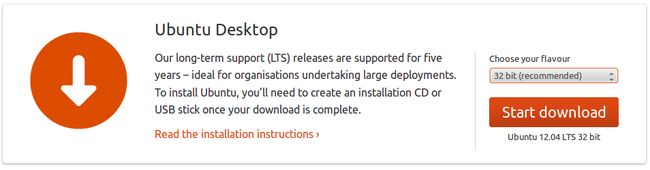
(2) Download the ultraiso usb-boot maker http://www.ezbsystems.com/ultraiso/index.html
(3) Make a usb-booter
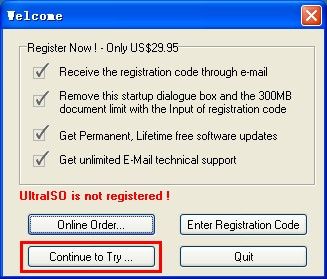
(a) Start UltraISO, click "Continue Try"
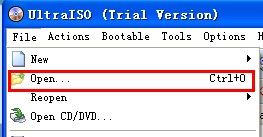
(b) Open the ISO image downloaded in first step
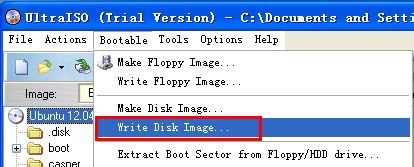
(c) Insert your USB disk , then click "Write Disk Image"
(d) Select your USB disk, then click "Fomat" (Make sure there is nothing
important in you USB disk beforehand )

(e) After the formating is done, click "Write"

(d) After writing is done, you have your USB-booter being ready.
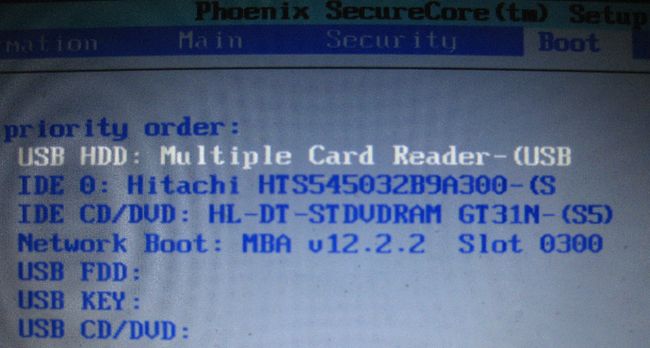
(4) Start up your computer, press "xx" button to enter BIOS setting
( "xx" button is up to the brand of your computer. As for 'Acer', it is 'F2' )
(a) Set USB-boot first in order ,
(b) Save and reboot.
(c) Now you boot into the "Ubuntu live"


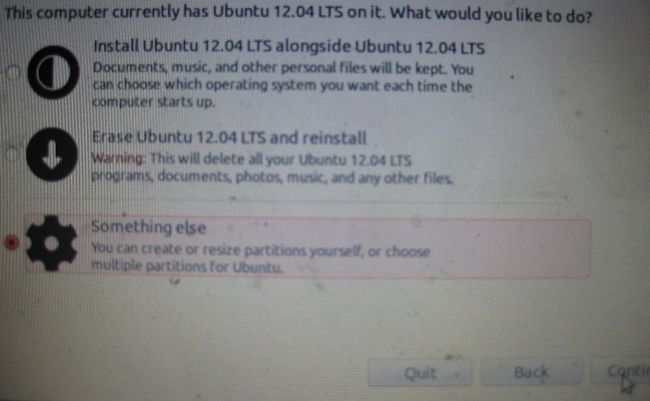
(5) Set up partition of disk and mount the file system reasonably
I usually make it three parts :
(a) The first part to mount ' \ ', which contains the all the core things of Linux,
I make it 48GB .
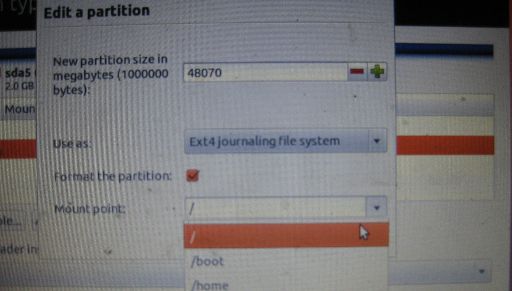
(b)The second part is for "Swap area", which is used for "Virtual Memory",
I make it 2GB (Absolutely enough)

(c) The last part to mount '\home', which is the storage of setting configurations
and personal documents of user, I make rest of the disk for it , because when
you reinstall your system, you just mount '\home' here again, and doesn't have
to format it, so you won't lose your documents and your preference settings.

(6) All the rest operations are easy to handle, just be patient for that the installer have to
download language package and update resource in the progress. Wish you good luck
The next post I will show you how to set up a professional rails3
develop environment from scratch.( Include rvm, mysql, git , and
a beautiful vim for rails )