Oracle10.2.0.1 For CentOS6.0 安装文档(五)
点击“Exit”之后
点击“Yes”
完成了oracle软件的安装
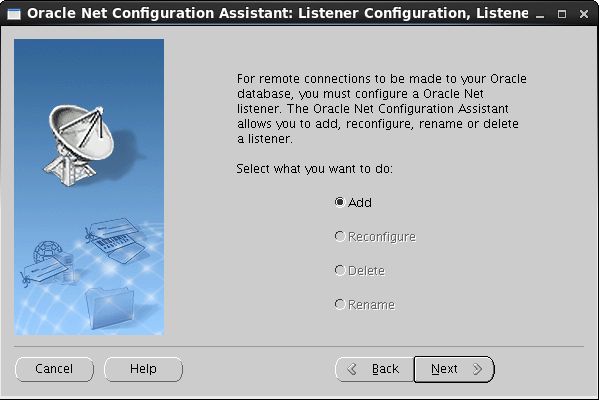
创建监听
[root@oracle10gbin]# find / -name netca
/home/oracle/oracle/product/10.2.0/db_1/bin/netca
切换到Oracle用户下:
[oracle@oracle10g database]$ cd/home/oracle/oracle/product/10.2.0/db_1/bin/
[oracle@oracle10gbin]$ ./netca
****ORACLE_HOMEenvironment variable not set!
ORACLE_HOME should be set to the main
directory that contains Oracle products.
Set and export ORACLE_HOME, then re-run.
然后修改环境变量
vi/home/oracle/.bash_profile
exportORACLE_BASE=/home/oracle/oracle
export ORACLE_HOME=$ORACLE_BASE/product/10.2.0.1/db_1
导出变量
[oracle@oracle10gbin]$ export ORACLE_BASE=/home/oracle/oracle
[oracle@oracle10gbin]$ export ORACLE_HOME=$ORACLE_BASE/product/10.2.0.1/db_1
重新运行netca
[oracle@oracle10gtools]$ /home/oracle/oracle/product/10.2.0/db_1/bin/netca
/home/oracle/oracle/product/10.2.0/db_1/bin/netca:line 189: cd: /home/oracle/oracle/product/10.2.0.1/db_1/network/tools: No suchfile or directory
Exception inthread "main" java.lang.NoClassDefFoundError: oracle/net/ca/NetCA
再将10.2.0.1改为10.2.0
再导出exportORACLE_HOME=$ORACLE_BASE/product/10.2.0/db_1
最后再运行netca
点击“Finish”
最后界面的输出LISTENER的配置信息:
Oracle Net Services Configuration:
Configuring Listener:LISTENER
Default local naming configuration complete.
Listener configuration complete.
Oracle Net Listener Startup:
Running Listener Control:
/home/oracle/oracle/product/10.2.0/db_1/bin/lsnrctl start LISTENER
Listener Controlcomplete.
Listener startedsuccessfully.
Oracle Net Services configuration successful. The exit code is 0
切换到root,查看listener进程
[root@oracle10g 桌面]# ps aux|grep -i listener|grep -v grep
oracle 23398 0.0 0.8 204172 8856 ? Ssl 18:56 0:00/home/oracle/oracle/product/10.2.0/db_1/bin/tnslsnr LISTENER –inherit


