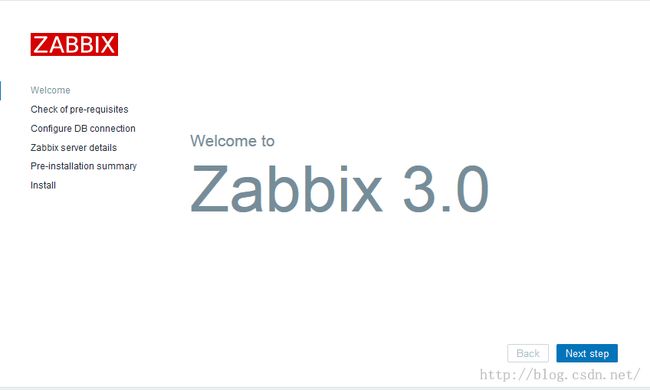
zabbix 3.0.1 的安装
yum install zabbix-server-mysql zabbix-web-mysql -y
yum install mariadb mariadb-server -y
yum install zabbix-agent -y
systemctl start mariadb
mysql -e"
create database zabbix;
grant all on zabbix.* to zabbix@'localhost' identified by 'zabbix';
flush privileges;
exit"
#配置zabbix server端的文件,定义数据库的IP、用户名、密码
vim /etc/zabbix/zabbix_server.conf
LogFile=/tmp/zabbix_server.log
PidFile=/tmp/zabbix_server.pid
ListenPort=10051
DBHost=10.250.6.26
DBName= zabbix
DBUser=zabbix
DBPassword=abcd-1234 #指定zabbix数据库密码
ListenIP=10.250.6.26 #服务器IP地址
DBSocket=/tmp/mysql.sock
StartPollers=30 #开启多线程数,一般不要超过30个
StartTrappers=20 #trapper线程数
StartPingers=10 #fping线程数
StartDiscoverers=120
MaxHousekeeperDelete=5000
CacheSize=1024M #用来保存监控数据的缓存数,根据监控主机的数量适当调整
StartDBSyncers=8 #数据库同步时间
HistoryCacheSize=1024M
TrendCacheSize=128M #总趋势缓存大小
HistoryTextCacheSize=512M
AlertScriptsPath=/etc/zabbix/alertscripts
LogSlowQueries=1000
#修改Agentd配置文件,更改HOSTNAME为本机的hostname
vim /etc/zabbix/zabbix_agentd.conf
PidFile=/tmp/zabbix_agentd.pid #进程PID
LogFile=/tmp/zabbix_agentd.log #日志保存位置
EnableRemoteCommands=1 #允许执行远程命令
Server=10.250.6.26 #agent端的ip
Hostname=client1 #必须与zabbix创建的host name相同
cd /usr/share/doc/zabbix-server-mysql-3.0.1
gunzip create.sql.gz
mysql -uzabbix -h127.0.0.1 -p zabbix < create.sql.gz
sed -i "s%# DBPassword=%DBPassword=zabbix%" /etc/zabbix/zabbix_server.conf
systemctl start zabbix-server
systemctl enable zabbix-server
systemctl start httpd
systemctl enable httpd
systemctl start zabbix-agent
systemctl enable zabbix-agent
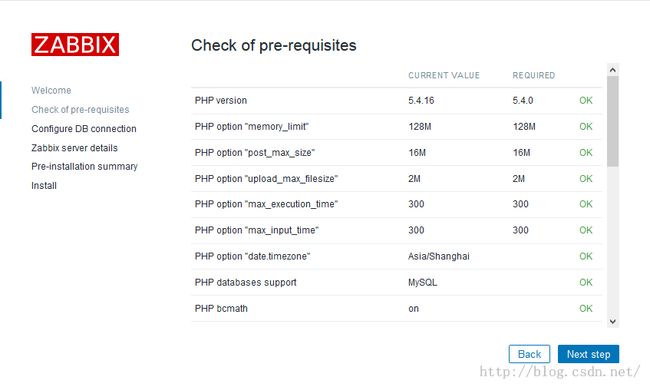
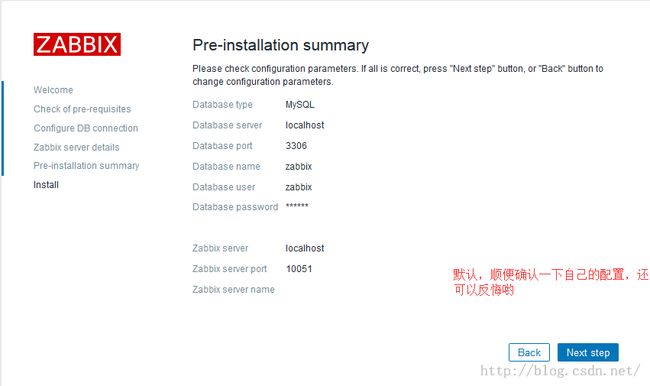
#可以开始页面安装了,在安装的时候会有报错
修改php配置文件(php.ini)参数。
max_execution_time = 300
max_input_time = 300
post_max_size = 16M
date.timezone = Asia/Shanghai #默认是注释掉的
[root@localhost ~]# vim /etc/httpd/conf/httpd.conf
注:加上index.php
DirectoryIndex index.php index.html index.html.var
[root@localhost~]# /etc/init.d/httpd restart


