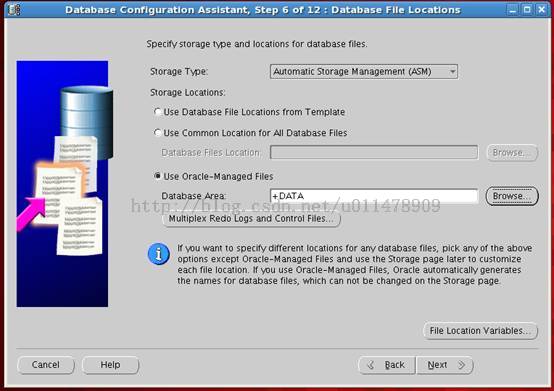
一步一步教你在redhat linux 下安装oracle 11g grid + database
给想学习oracle的新手看看,老鸟请飘过
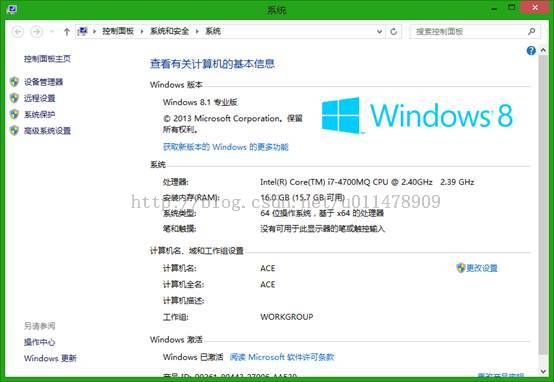
操作系统信息:
Vbox虚拟机软件版本:

安装所需要的软件:
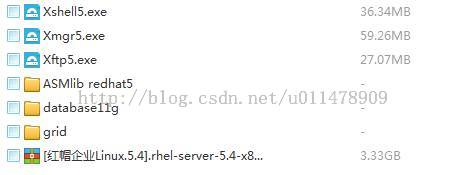
所需软件下载地址:
http://pan.baidu.com/s/1mgl8kzu
具体安装步骤:
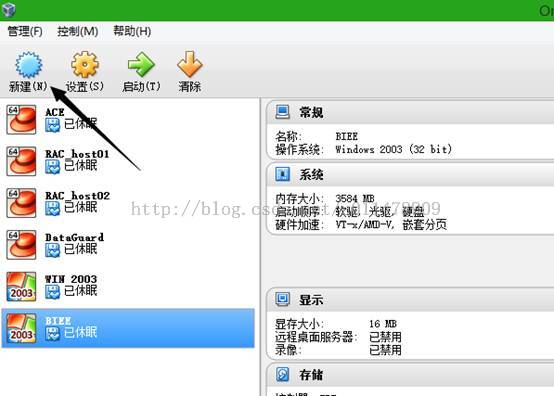
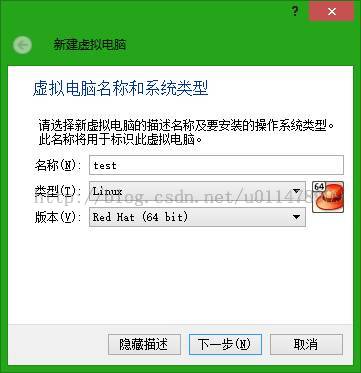
一、新建虚拟机,并安装redhat5.4操作系统(64位)
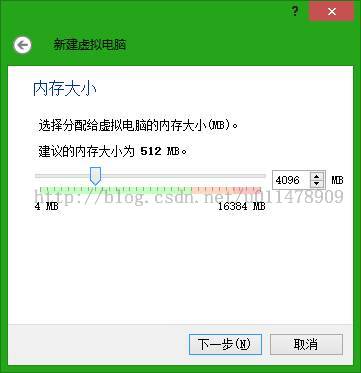
注意:这里最小也要2G内存
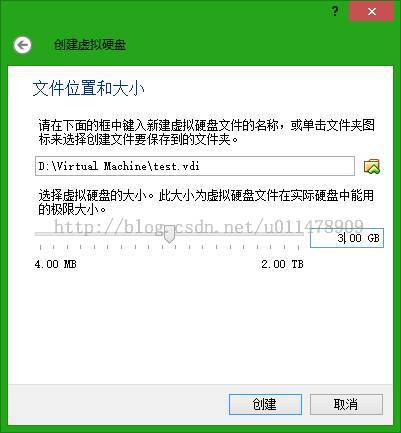
由于我是做实验的虚拟机,存储我们这里选择动态分配。如果该虚拟机日后可能会经常使用,可将虚拟硬盘分配模式改为固定大小,这样性能会更好一些。

我们在这里分配了50G的存储空间
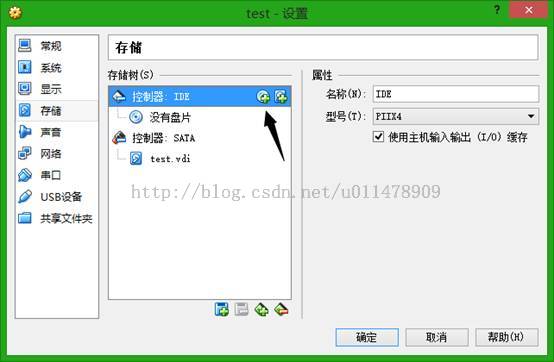
挂载操作系统镜像
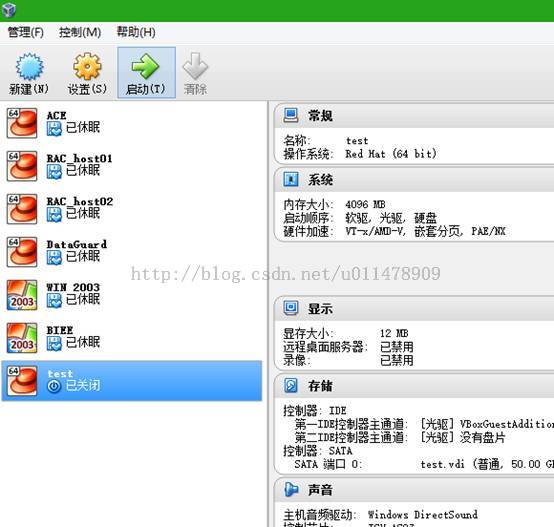
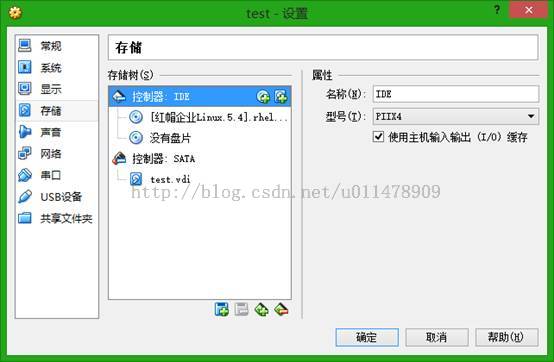
完成后如下图所示:
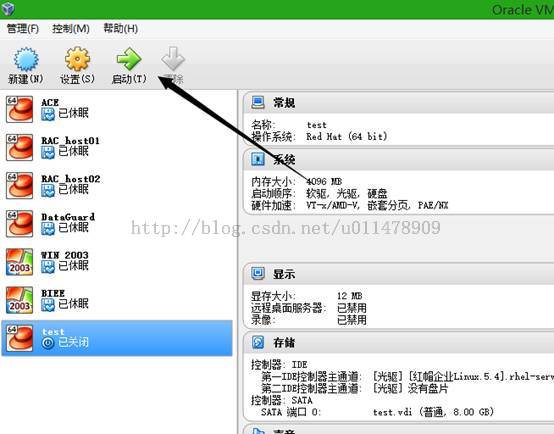
启动虚拟机:
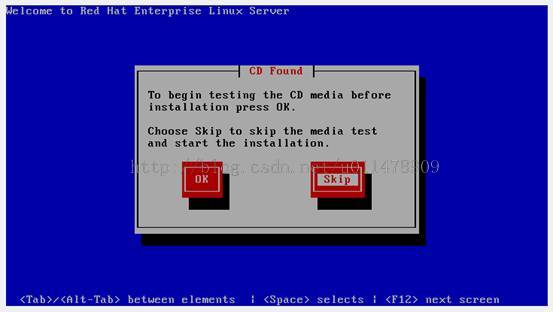
直接跳过CD介质测试
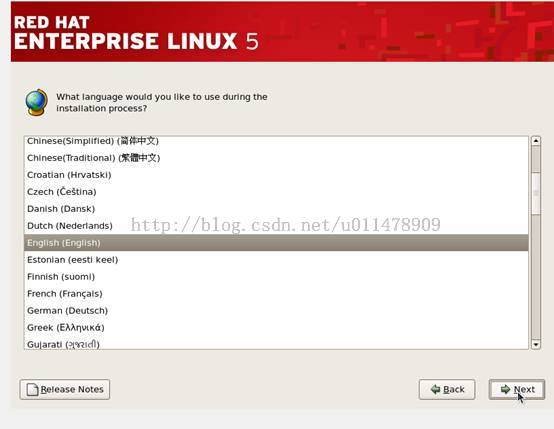
接下来进入安装界面:
我们选择安装英文操作系统
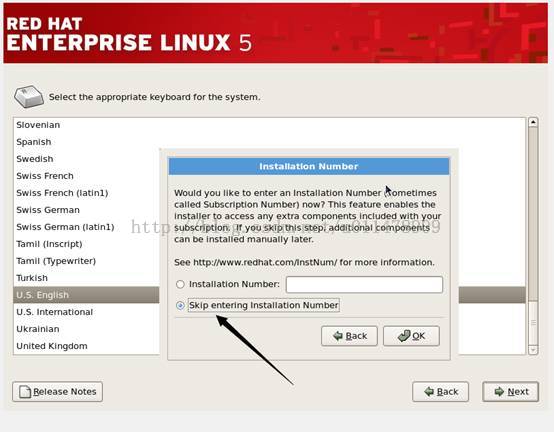
没有序列号我们选择跳过
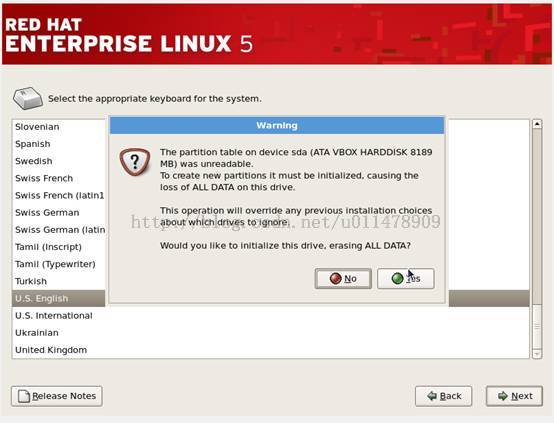
新建的虚拟硬盘上根本没有数据,随他清空去吧,我们选yes。
我们选择它的默认分区方式。
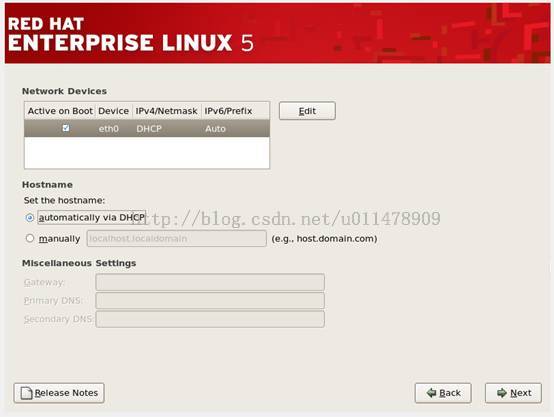
这里网络配置先不管他,跳过去。
时区我们选择亚洲/上海
root密码设置为oracle
所需要的软件包,我们勾选software development,同时勾选customize now,这样在后面给系统打包时可以省些力气。
记得把操作系统对中文的支持勾上,不然还得以后用到再安装,省得以后麻烦。

然后静静等待安装。

安装完成后重启虚拟机
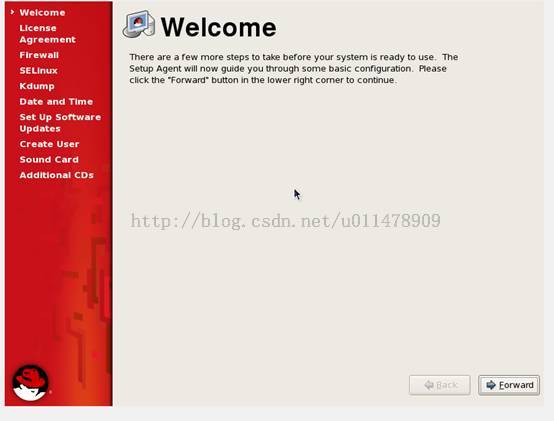
第一次启动进行简单配置
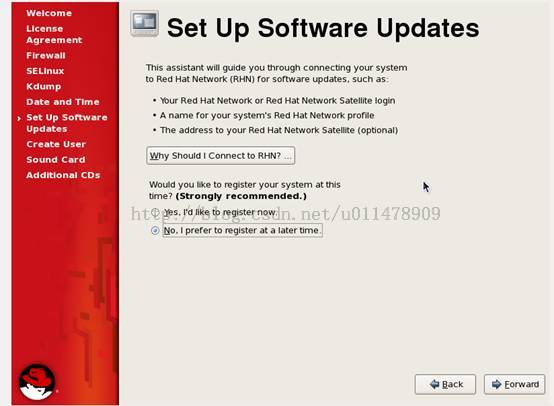
又让你注册,我们没有序列号,还是只能跳过。
用root用户登录操作系统
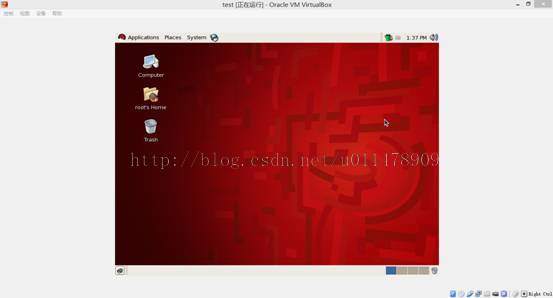
我们会发现分辨率很让人崩溃。所以我们需要安装Vbox增强工具。
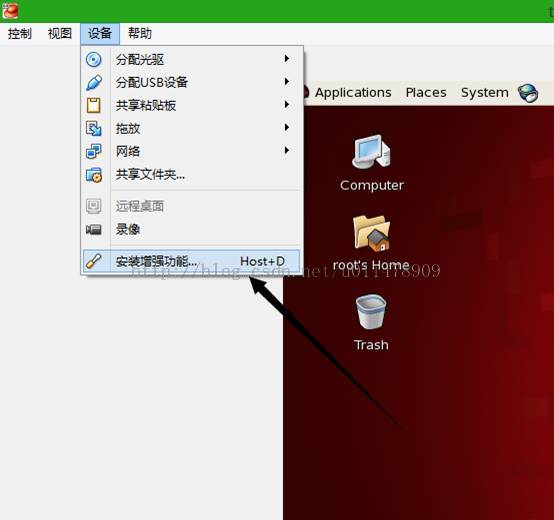
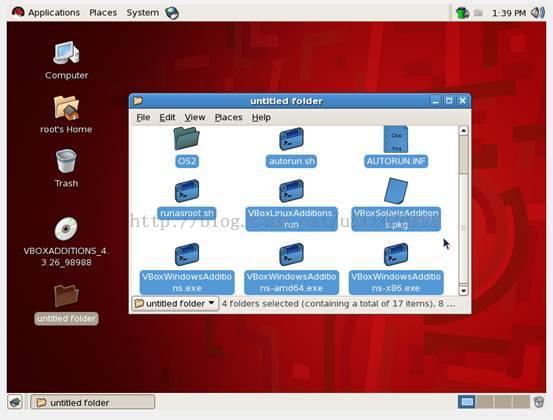
然后我们将镜像中的文件拷贝到我们桌面上自己建好的文件夹下,用root用户安装增强功能。
执行安装脚本,完成后重启即可。我们先将机器关闭,别急着重启。
很快将会创建完成。
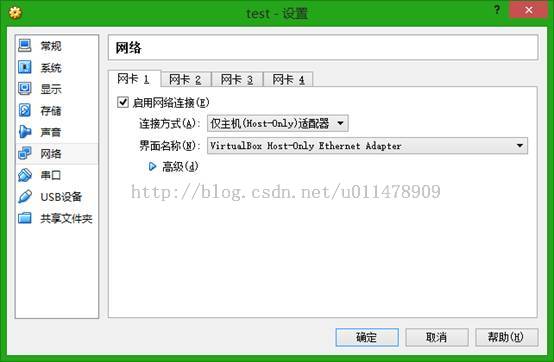
然后再设置里将网卡类型从NAT改为host only,不知道为什么的请自行百度虚拟机网卡类型之间的区别。
完成后再次启动虚拟机。
接下来要设置虚拟机的IP了,我们已经将网卡类型改为host only,所以我们要将虚拟机IP改成和我们物理机的host only虚拟网卡在同一网段。
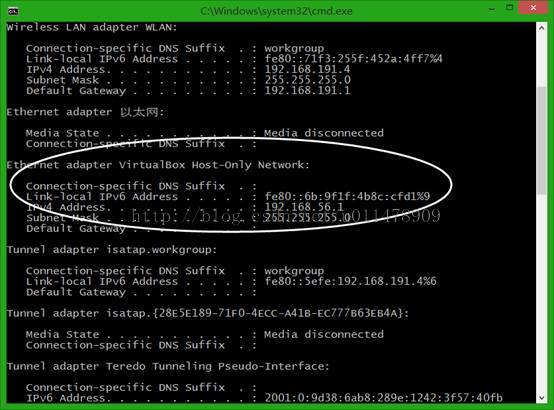
我们物理机的ip是192.168.56.1,所以我们将虚拟机ip设置为192.168.56.10
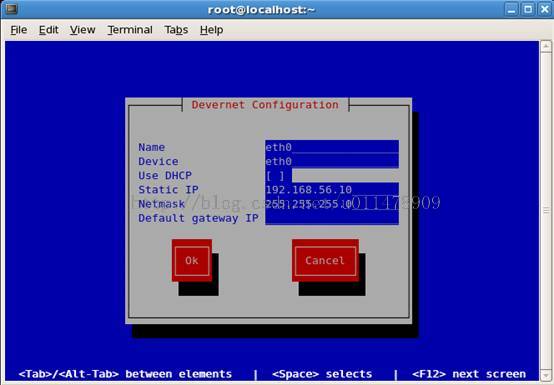
设置虚拟机的IP
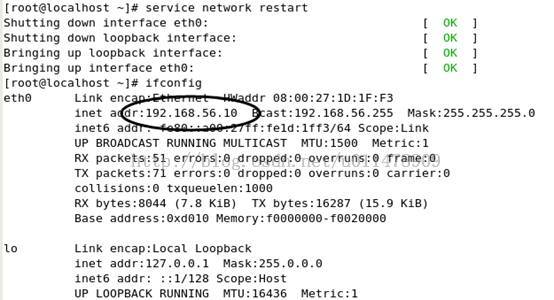
然后我们发现IP已经设置完成。
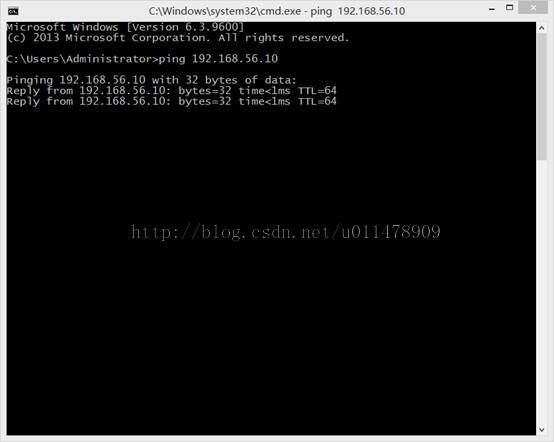
物理机ping虚拟机可以同,没问题。
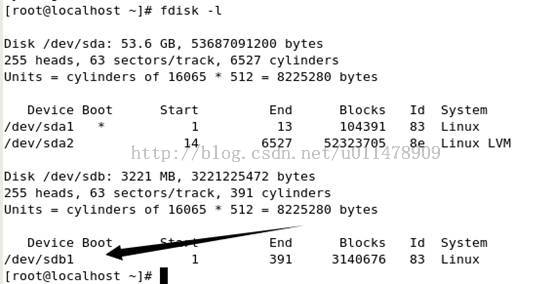
接下来给我们刚添加的那块小虚拟硬盘分个区。
然后我们就可以看到新建的那个分区了。
二、将安装介质上传到虚拟机。
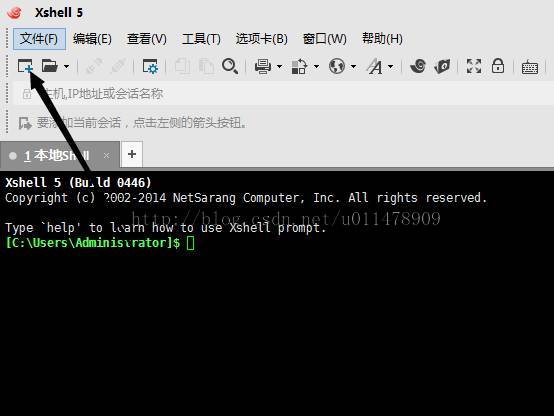
通过xshell ssh远程道虚拟机
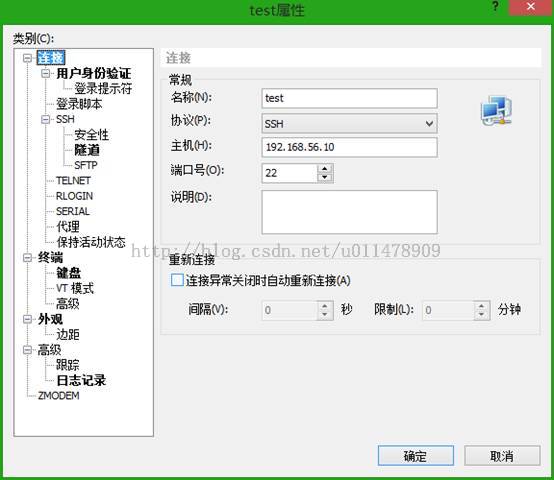
IP填写虚拟机的IP
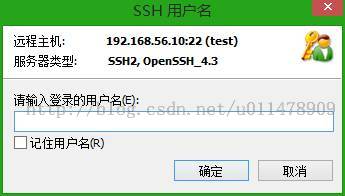
输入用户名密码即可
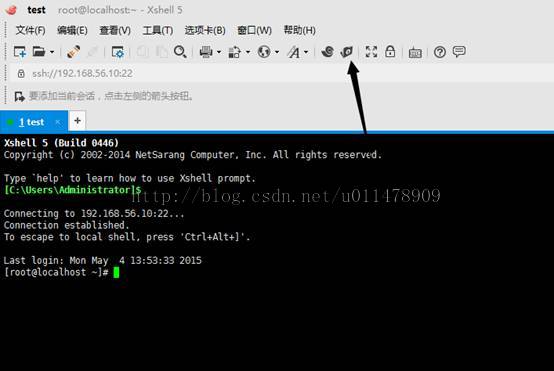
然后我们使用xftp工具将安装介质上传到虚拟机。
(xshell xftp安装包在我共享的文件夹里都有,Windows下傻瓜式安装,这里就不在赘述)
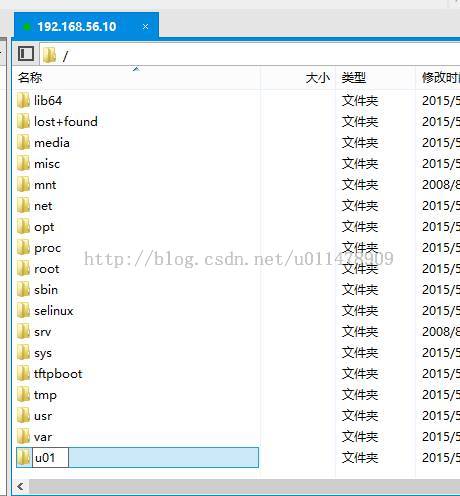
我们在根目录下新建u01文件夹,然后将安装介质都放在该文件夹下面。
然后耐心等待上传即可。
三、添加用户和操作系统组
我们在这里不进行对操作系统参数的修改,也不对操作系统进行打补丁,在安装过程中这一切都会得到解决。
更改u01文件夹的权限
四、安装GRID 11g
安装grid时需要创建asm磁盘组,我们可以通过给裸设备改owner来用oracle用户创建asm磁盘组,也可以用oracle提供的asmlib来创建asm磁盘,然后再用asm磁盘创建asm磁盘组。我们在这里使用asmlib的方式,因为即使将裸设备的owner改为了oracle用户,当操作系统重启后owner又会变成root,为了避免不必要的麻烦,我们采取asmlib的方式。
首先需要用root用户安装asmlib
找到我们上传上来的asmlib 的rpm包,用root用户安装即可。
安装asmlib完成
然后需要对asmlib进行配置。
配置完成,然后加载asmlib模块
使用我们之前分好的那个分区创建ASM磁盘,然后listdisks看到了我们建好的ASM磁盘,叫做ASM1
接下来注销root用户,用oracle用户登录操作系统
运行安装文件。
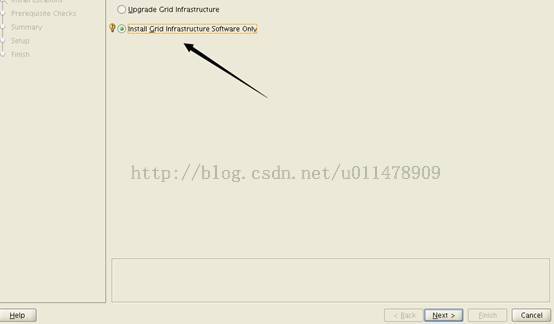
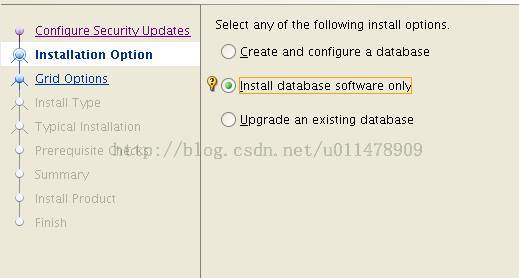
我们选择仅安装软件。
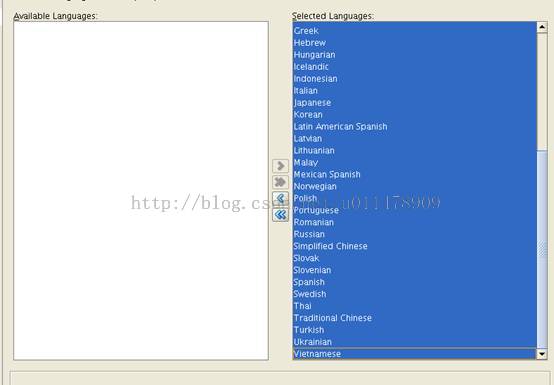
选择所有语言支持。
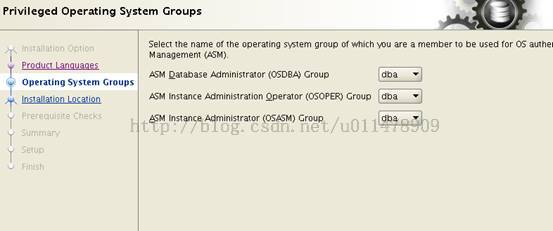
标准的安装需要osdba osoper osasm操作系统组,我们方便起见就用dba组,不会对我们后面的学习有任何影响。
目录就用默认的这个就好
然后进行安装预检测
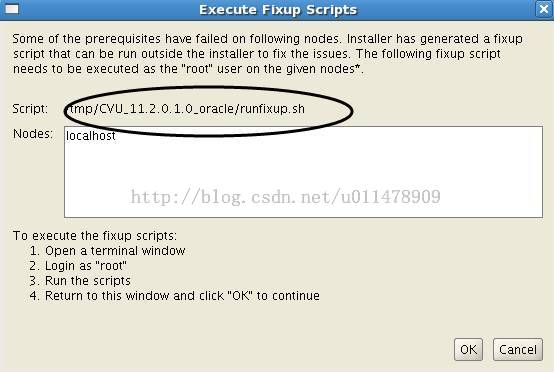
这里安装程序自动检测到了不达标的操作系统参数和缺失的rpm包。我们点击fix & check again
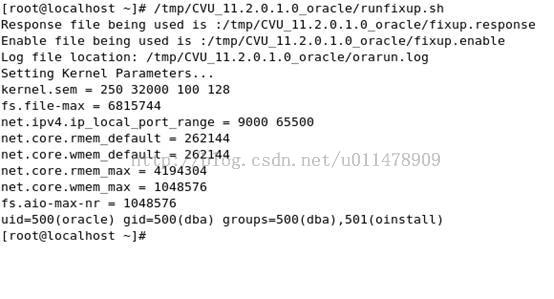
我们用root用户执行这个脚本,然后所有的操作系统参数就都改好了,而不需要我们再去手动修改。
然后根据提示打这些缺失的rpm包。
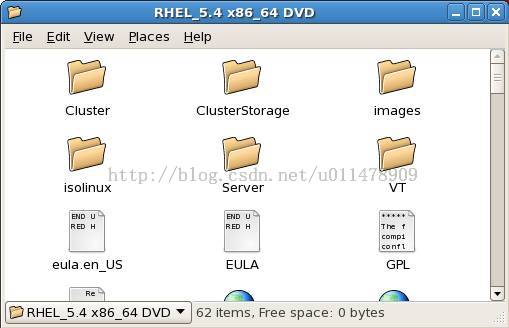
我们挂载操作系统镜像
[root@localhost Server]# pwd
/media/RHEL_5.4 x86_64 DVD/Server
[root@localhost Server]# rpm -ivh libaio-devel-0.3.106-3.2.x86_64.rpm
warning: libaio-devel-0.3.106-3.2.x86_64.rpm: Header V3 DSA signature: NOKEY, key ID 37017186
Preparing...                ########################################### [100%]
   1:libaio-devel           ########################################### [100%]
[root@localhost Server]# rpm -ivh libaio-devel-0.3.106-3.2.i386.rpm
warning: libaio-devel-0.3.106-3.2.i386.rpm: Header V3 DSA signature: NOKEY, key ID 37017186
Preparing...                ########################################### [100%]
   1:libaio-devel           ########################################### [100%]
[root@localhost Server]# rpm -ivh sysstat-7.0.2-3.el5.x86_64.rpm
warning: sysstat-7.0.2-3.el5.x86_64.rpm: Header V3 DSA signature: NOKEY, key ID 37017186
Preparing...                ########################################### [100%]
   1:sysstat                ########################################### [100%]
[root@localhost Server]# rpm -ivh unixODBC-2.2.11-7.1.i386.rpm
warning: unixODBC-2.2.11-7.1.i386.rpm: Header V3 DSA signature: NOKEY, key ID 37017186
Preparing...                ########################################### [100%]
   1:unixODBC               ########################################### [100%]
[root@localhost Server]# rpm -ivh unixODBC-2.2.11-7.1.x86_64.rpm
warning: unixODBC-2.2.11-7.1.x86_64.rpm: Header V3 DSA signature: NOKEY, key ID 37017186
Preparing...                ########################################### [100%]
   1:unixODBC               ########################################### [100%]
[root@localhost Server]# rpm -ivh unixODBC-devel-2.2.11-7.1.x86_64.rpm
warning: unixODBC-devel-2.2.11-7.1.x86_64.rpm: Header V3 DSA signature: NOKEY, key ID 37017186
Preparing...                ########################################### [100%]
   1:unixODBC-devel         ########################################### [100%]
[root@localhost Server]# rpm -ivh unixODBC-devel-2.2.11-7.1.i386.rpm
warning: unixODBC-devel-2.2.11-7.1.i386.rpm: Header V3 DSA signature: NOKEY, key ID 37017186
Preparing...                ########################################### [100%]
   1:unixODBC-devel         ########################################### [100%]
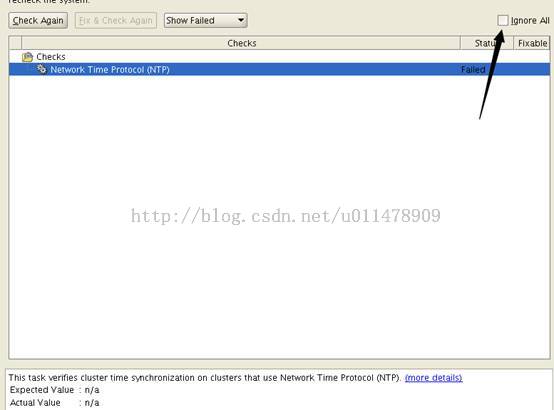
然后只剩这一个问题,点击忽略。
然后开始执行安装
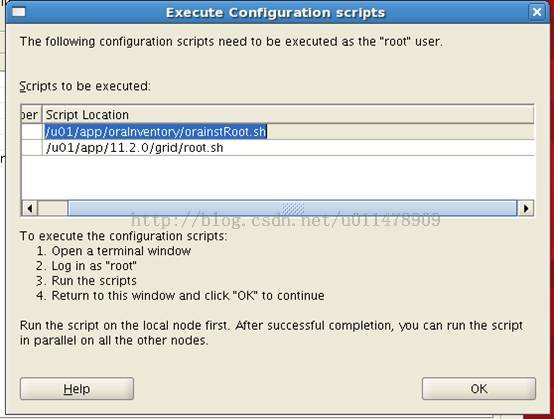
安装快结束时会提示执行两个脚本:
将这两个脚本用root用户执行一遍。
注意:第二个脚本执行的时候要看返回的信息
[root@localhost ~]# /u01/app/11.2.0/grid/root.sh
Running Oracle 11g root.sh script...

The following environment variables are set as:
    ORACLE_OWNER= oracle
    ORACLE_HOME=  /u01/app/11.2.0/grid

Enter the full pathname of the local bin directory: [/usr/local/bin]:
   Copying dbhome to /usr/local/bin ...
   Copying oraenv to /usr/local/bin ...
   Copying coraenv to /usr/local/bin ...


Creating /etc/oratab file...
Entries will be added to the /etc/oratab file as needed by
Database Configuration Assistant when a database is created
Finished running generic part of root.sh script.
Now product-specific root actions will be performed.
To configure Grid Infrastructure for a Stand-Alone Server run the following command as the root user:
/u01/app/11.2.0/grid/perl/bin/perl -I/u01/app/11.2.0/grid/perl/lib -I/u01/app/11.2.0/grid/crs/install /u01/app/11.2.0/grid/crs/install/roothas.pl


To configure Grid Infrastructure for a Cluster perform the following steps:
1. Provide values for Grid Infrastructure configuration parameters in the file - /u01/app/11.2.0/grid/crs/install/crsconfig_params. For details on how to do this, see the installation guide.
2. Run the following command as the root user:
 /u01/app/11.2.0/grid/perl/bin/perl -I/u01/app/11.2.0/grid/perl/lib -I/u01/app/11.2.0/grid/crs/install /u01/app/11.2.0/grid/crs/install/rootcrs.pl
To update inventory properties for Grid Infrastructure, perform the following
steps. If a pre-11.2 home is already configured, execute the following:
11.2_Home/oui/bin/runInstaller -updateNodeList -silent -local CRS=false ORACLE_HOME=pre-11.2_Home
Always execute the following to register the current home:
11.2_Home/oui/bin/runInstaller -updateNodeList -silent -local CRS=true ORACLE_HOME=11.2_Home.
If either home is shared, provide the additional argument -cfs.
这里看似第二个脚本执行完了,其实
这里还要再执行另一个脚本。
我们按照提示执行需要执行的脚本:
[root@localhost ~]# /u01/app/11.2.0/grid/perl/bin/perl -I/u01/app/11.2.0/grid/perl/lib -I/u01/app/11.2.0/grid/crs/install /u01/app/11.2.0/grid/crs/install/roothas.pl
2015-05-04 14:51:10: Checking for super user privileges
2015-05-04 14:51:10: User has super user privileges
2015-05-04 14:51:10: Parsing the host name
Using configuration parameter file: /u01/app/11.2.0/grid/crs/install/crsconfig_params
Creating trace directory
LOCAL ADD MODE
Creating OCR keys for user 'oracle', privgrp 'dba'..
Operation successful.
CRS-4664: Node localhost successfully pinned.
Adding daemon to inittab
CRS-4123: Oracle High Availability Services has been started.
ohasd is starting

localhost     2015/05/04 14:51:29     /u01/app/11.2.0/grid/cdata/localhost/backup_20150504_145129.olr
Successfully configured Oracle Grid Infrastructure for a Standalone Server
这样才是真正的安装完成。
五、安装数据库软件
我们没有support账号所以取消这个钩。
我们选择仅安装软件
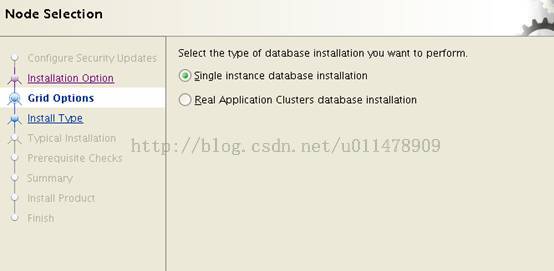
安装单实例数据库软件
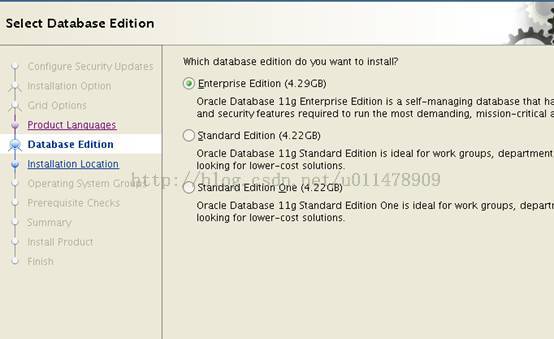
选择安装企业版,不然很多功能没法使用
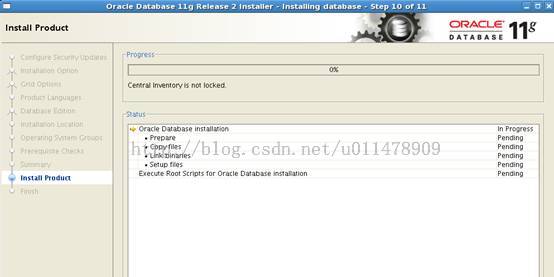
然后耐心等待安装。
同样使用root用户执行脚本
[root@localhost u01]# /u01/app/oracle/product/11.2.0/dbhome_1/root.sh
Running Oracle 11g root.sh script...

The following environment variables are set as:
    ORACLE_OWNER= oracle
    ORACLE_HOME=  /u01/app/oracle/product/11.2.0/dbhome_1

Enter the full pathname of the local bin directory: [/usr/local/bin]:
The file "dbhome" already exists in /usr/local/bin.  Overwrite it? (y/n)
[n]: y
   Copying dbhome to /usr/local/bin ...
The file "oraenv" already exists in /usr/local/bin.  Overwrite it? (y/n)
[n]: y
   Copying oraenv to /usr/local/bin ...
The file "coraenv" already exists in /usr/local/bin.  Overwrite it? (y/n)
[n]: y
   Copying coraenv to /usr/local/bin ...

Entries will be added to the /etc/oratab file as needed by
Database Configuration Assistant when a database is created
Finished running generic part of root.sh script.
Now product-specific root actions will be performed.
Finished product-specific root actions.
You have mail in /var/spool/mail/root
执行完成。
后面就dbca建库了,可以建在文件系统上,但是由于我们装了Grid,当然也可以建在asm磁盘组上。
六、ASM磁盘组的创建
我们进入grid的bin目录下,执行asmca命令
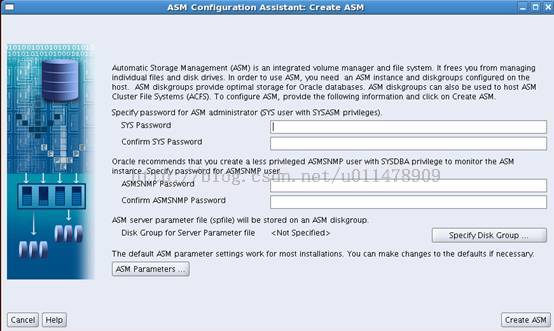
然后创建ASM磁盘组
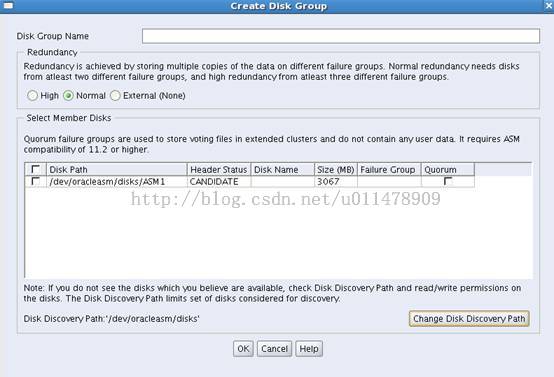
指定ASM磁盘
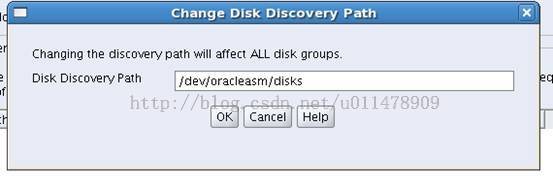
将路径改为我们的ASM磁盘坐在路径
如图我们的ASM磁盘在这个路径下
修改完成即可发现ASM磁盘。
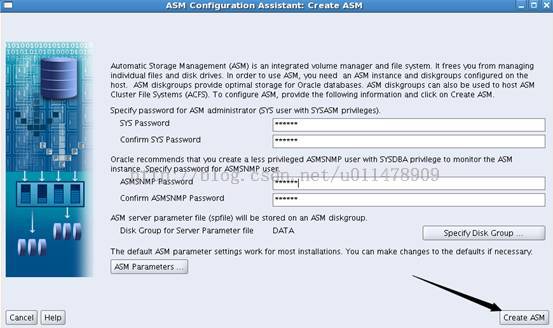
我们将磁盘组命名为DATA,数据冗余模式为外部冗余。
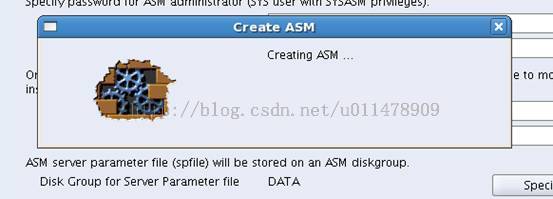
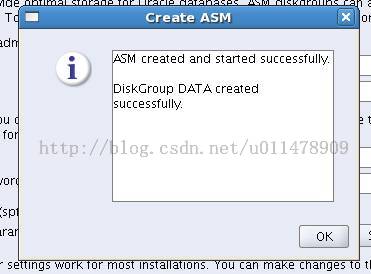
然后创建ASM
七、在ASM磁盘组上创建数据库
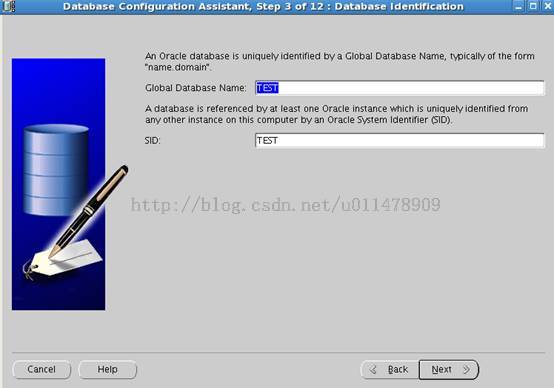
进到数据库软件的bin目录下执行dbca进行建库
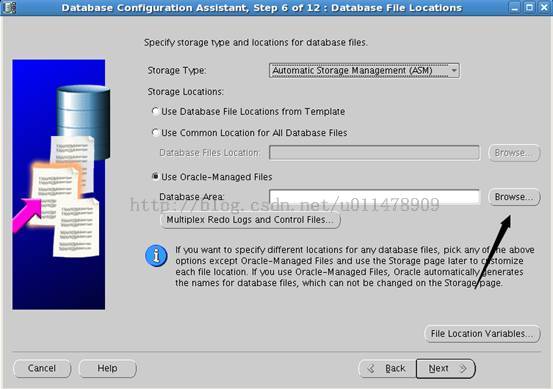
这里我们可以选择文件系统,当然,也可以选择ASM
然后指定我们建好的ASM磁盘组即可
其他的步骤和单实例的数据库建库没什么区别了,在此不再赘述。
