Design A Vintage Portfolio Layout Using Photoshop
Welcome by this new Photoshop tutorial. During this tutorial will learn to create the Template of a website especially dedicated to the publication of Graphical works (portfolios for Web designers, graphic designers or photographs). For its design, I created a vintage design. I invite you to follow this tutorial because it is really easy to do, then go on!
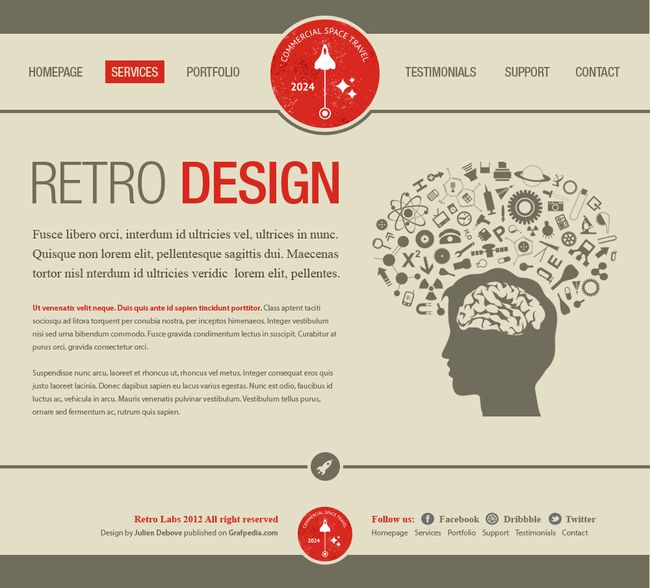
Before to start, please, watch the preview of the final result of this Photoshop tutorial: Preview
STEP 1 Create a new document
You are now< ready to open your Photoshop software (notice that I used CS6, but you can follow this tutorial using preview versions.)
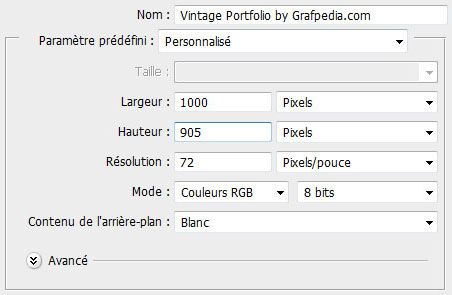
Go now to the menu File>New. Enter the name, the width and height used for your future picture, then click on the OK key.
You picture gets automatically open. Press the Ctrl/Tab + R keys to display the guides. Go now to the menu File>Save as, to save your file.
STEP 2 Create the background and the top
Select the Paint Bucket tool (G) to change the foreground colour to #e3dfc6, and use the Paint Bucket tool (G) to fill the background.
Use the Rectangular Marquee tool (U) to create a grey bar #706d5c with a size of 1000x52px.
Keep under this bar a free space of 117px, then create a second bar with a size of 1000x5px.
Notice: Do not hesitate to use the Photoshop guides to make your work easier. It is really easy to create a guide: click on the rule, then, move you cursor on your document and stop to keep the click button of your mouse, at the right place you need to create the guide.
STEP 3 Create the menu
To create the menu, create first a new group you name « the links”. Use now the Text tool (T) to create the links of the menu (see picture below). Font used Helvetica Neue LT std, with the following colour #706d5c, and a size of 20px.
To simulate the hover/active of the links, I created a red rectangle #d7281e just under of one of the links (but you can apply the colour of your choice).
Use the Rectangular marquee tool (U) to create the rectangle.
Change the colour of the k=link located under the red rectangle, using the colour of the background # e3dfc6.
STEP 4 Add the logo
For the logo, I used a resource available on the website of our partnership Shutterstock. Go to this page to download the vector file. Open the file using Illustrator.
To create a copy of the red logo, select it and press the Ctrl/Tab + C keys. Go back to your document under Photoshop, then on Ctrl/Tab + V to insert the logo. Depending of the main colour of the Template, you can choice another logo regarding this colour.
Use the Elipse tool (U) to create a round with same size of your logo and use same colour than the one used for the background #e3dfc6.
Put the layer of the round under the red logo, then press on Ctrl/Tab + T to activate the free transform. In the bar of options (horizontal bar on the top of your screen) change the 100% value by the 110% value. Press on ENTER.
Go to the menu Layer>Layer Style>Stroke, then increase the stroke size to 5px and update the colour with this value #706d5c.
To finish the logo, create a new layer. Using now the Rectangular Marquee tool (M), create a rectangle under the logo with a height of 117px. Fill the selection using the Paint bucket tool (G) and the background colour #e3dfc6.
See below the final result of header and logo.
STEP 5 Contents of the left part
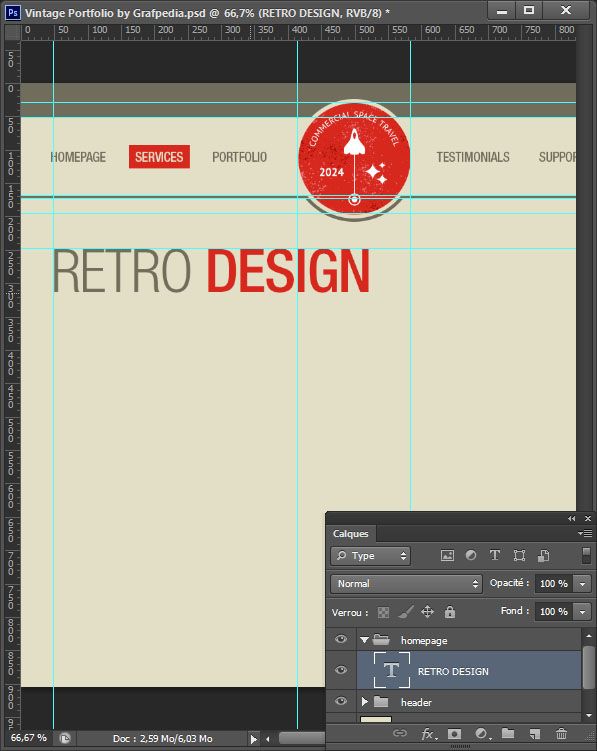
It’s easier to create the contents, use the Text tool (T) to create the title. I used the two following colours: the grey #706d5c and the red #d7281e and the same font than the one used for the menu but with a size of 90px.
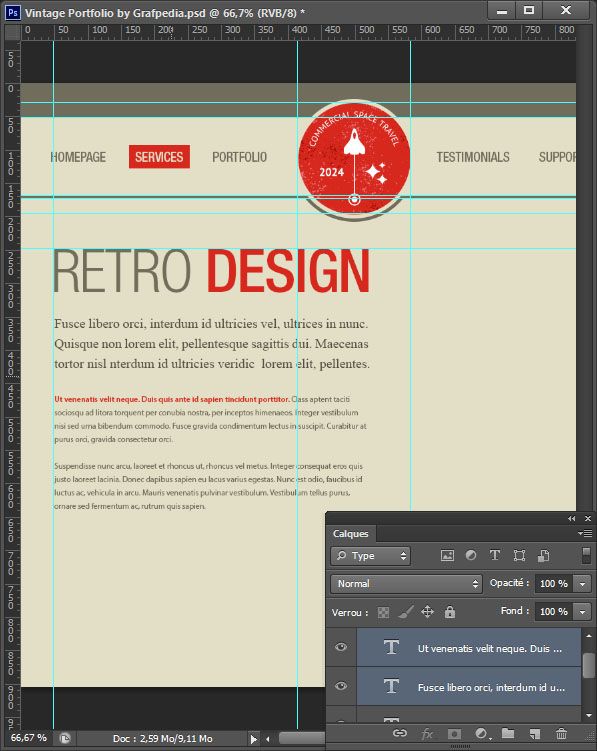
Use same method to create the paragraphs, with the fonts Times New Roman et Tahoma and a size of 12px.
STEP 6 Contents of the right part
I used one more time a resource downloaded from our website partnership Shutterstock. Download the vector file, and then open it under Illustrator. Copy and paste it into your Photoshop document. Change the height size regarding the number of text lines.
The result below must be what you get under Photoshop.
STEP 7 The divider
I created a sharing bar under the content; it helps to come back to the top of the page (if you want to create a landing page, check further in this tutorial).
Duplicate the bar (the one with the size of 1000x5px we previously created), then place it under the contents.
Go back to your first vector document under Illustrator, then select and copy the small round including the rocket. Copy the small logo into your Photoshop document. Put the round in the center of your picture (see the picture below).
Remember the method to place an element in the middle of your picture. Press on Cltr/Tab + A to create an active selection around aall your document. Select now the Move tool (V) and click on icon “Align the centres on the horizontal direction” (located in the options bar, on the top of your screen).
Add two layer styles on your logo: a colour overlay and a stroke of 5px (use for both style, the colour #e3dfc6).
See the result of the divider rocket.
STEP 8 Create the footer
Regarding the footer, duplicate the first grey bar created in the first step. Use the Move tool (V) to move the copy at the bottom of your document.
Duplicate the red logo and place the copy at the bottom of your document.
Add a stroke of 5px using the layer styles (colour #e3dfc6).
Use the Text tool (T) to create the Copyright of your website, on the left side of your logo. (I used the grey #706d5c and the red #d7281e as well as the fonts Times and Myriad).
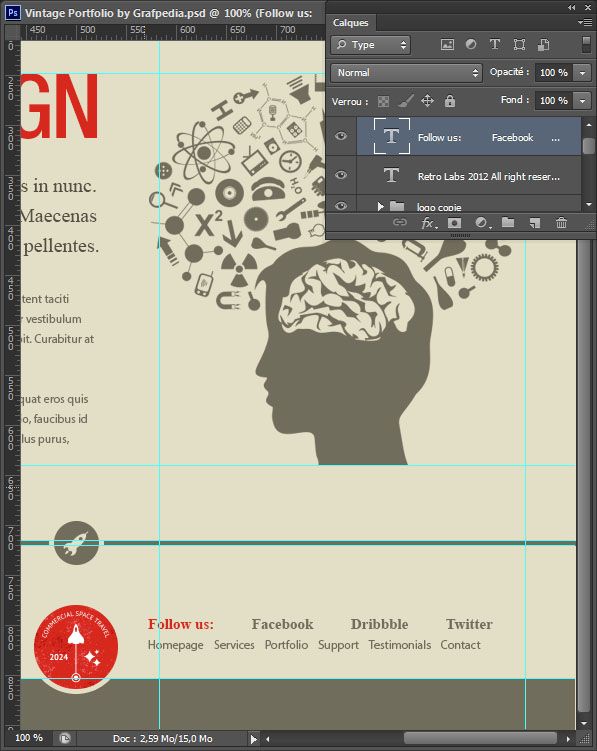
Same thing regarding the links to the social networks and the reminde of the top menu. Reserve place for free spaces between each social network links, to insert the regarding icons.
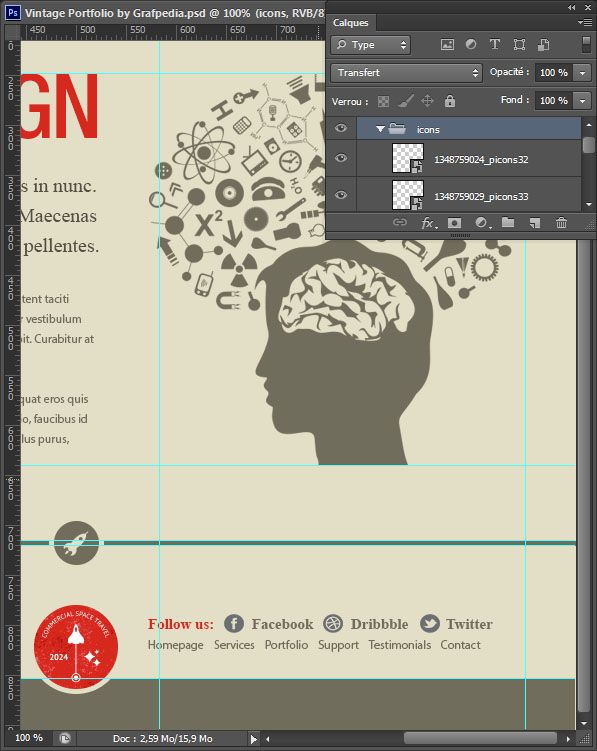
Go to these pages to download the Twitter, Facebook, and Dribbble icons.
Reduce the icons sizes regarding the texts sizes.
On each icon, add a colour overlay #706d5c (menu layer> layer style> colour overlay).
We are already finished with The Template! As I told you at beginning of this tutorial, it was really easy.
Here are some ideas to create the other pages.
If you want to code this psd theme, I suggest you to create a horizontal browsing bar using the jQuery functions (especially the a moving slider, used to move only the inner contents). I think, the result can be wonderful.
Look at this examples (included in the psd file):
If you like this tutorial, do not hesitate to shape it on the Facebook wall or on your Twitter account. Thank a lot to readers doing it.
And do not forget that you can download the .psd file of this theme, as well as the resources used, by a click on the orange button below or on the top right of this page.
