Html5 Cavans 整理笔记之填充样式
1.颜色填充样式
fillStyle
线性渐变
第一步:var grd=context.createLinearGradient(xstar,ystar,xend,yend);
第二步: grd.addColorStop(stop,color); //stop的值为【0,1】把整个画布视作整体1;填充色渐变为下一次填充色的范围是从这一次stop到下一次stop。
代码示例如下:
con.rect(0,0,can.width,can.height);var grd=con.createLinearGradient(0,0,800,0);//渐变方向和尺度
grd.addColorStop(0,"green");//渐变颜色
grd.addColorStop(0.5,"blue");
grd.addColorStop(1,"black");
con.fillStyle=grd;
con.fill();
结果如图:
径向渐变
第一步:var grd=context.createRadialGradient(x0,y0,r0,x1,y1,r1);
//x0,y0为开始径向渐变的位置,r0为第一种填充色保持的半径,r1-r0为渐变的范围(此时它为stop的“1”)
第二步: grd.addColorStop(stop,color); //stop的值为【0,1】把整个画布视作整体1;填充色渐变为下一次填充色的范围是从这一次stop到下一次stop。
代码示例如下:
重点内容
con.rect(0,0,can.width,can.height);
var grd=con.createRadialGradient(can.height/2,can.height,0,can.height/2,can.height,can.height);
grd.addColorStop(0,"green");//渐变颜色
grd.addColorStop(0.5,"blue");
grd.addColorStop(1,"black");
con.fillStyle=grd;
con.fill();
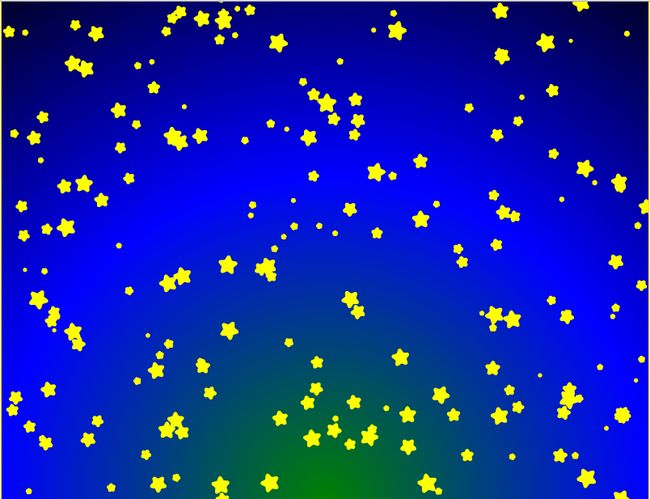
结果如图:
2.图片填充样式
用图片填充图形有两种方法:第一种是类似颜色填充,把图片当颜色,直接fill。第二种是用图形clip()图片来实现的。
温馨提醒:
在cavans中导入图片要放在image.onload = function(){}中,不然显示不了。还有一种图片显示不出来是图片路径错了。
第一种:
演示代码如下:
<script> window.onload = function(){ var canvas = document.getElementById("canvas"); canvas.width = 800; canvas.height = 600; var context = canvas.getContext("2d"); var img = new Image(); img.src = "imgs/马.jpg"; img.width=200; img.height=200; img.onload = function(){ var pattern = context.createPattern(img, "repeat"); context.fillStyle = pattern; context.fillRect(0,0,300,300); } } </script>结果如下图:
有没有感觉别扭?是的这种方法没法保证填充的那个位置,只是单纯的填充,要图形够大才能让图片显示完全,但是它也有它的优点,你们可以自己想下。
第二种:
演示代码如下:
<script>
            var can=document.getElementById("cavans");
            var con=can.getContext("2d");
            can.width=800;
            can.height=800;
            var image=new Image();
            image.src="imgs/雨后河塘.jpg";
            image.onload = function(){
            con.strokeStyle="yellow";
            con.arc(100,100,50,0,2*Math.PI);
            con.lineWidth=5;
            con.stroke();
            con.clip();
            con.drawImage(image,50,50);
            };

</script>
结果如下图:
除了可以规定图片的显示位置,还可以对图片进行剪切,这样就可以单独显示你想要的图片部分。
剪切图像,在画布上定位被剪切部分:
context.drawImage(img,sx,sy,swidth,sheight,x,y,width,height);
参数描述:
Img 规定要使用的图像、画布或视频。
sx 可选。开始剪切的 x 坐标位置。
sy 可选。开始剪切的 y 坐标位置。
swidth 可选。被剪切图像的宽度。
sheight 可选。被剪切图像的高度。
x 在画布上放置图像的 x 坐标位置。
y 在画布上放置图像的 y 坐标位置。
width 可选。要使用的图像的宽度。(伸展或缩小图像)height 可选。要使用的图像的高度。(伸展或缩小图像)
第二种和第二种的比较:
第二种比起第一种来优势明显,自己对图片定位可以剪辑,但是在部分显示原来的图片时第二种加载的没第一种快,第一种是把图片当作颜色,第二种剪辑是部分隐藏,具体使用自己判断。

