SCVMM-05 Upgrade scvmm 2012 SP1 to SCVMM 2012 R2
Note:
I have successfully upgraded 2012SP1 to 2012 R2 following the below article
Original link:
http://jnm-tech.co.uk/how-to/how-to-upgrade-scvmm-2012-sp1-to-scvmm-2012-r2/
How To: Upgrade System Center Virtual Machine Manager 2012 SP1 to SCVMM 2012 R2
Unfortunately System Center Virtual Machine Manager (SCVMM) 2012 SP1 doesn’t offer an in place upgrade so there are a few steps that need to be taken before we can install the R2 version. The first thing that needs to be done is to get a copy of SCVMM 2012 R2, this can be downloaded from TechNet Evaluation Center website, to find the ISO use this link here. Once the ISO has been downloaded, we need to mount it to the existing System Center VMM server.
Uninstall SCVMM 2012 SP1
With the ISO now mounted to the server we can now start the install process. We now need to open Computer from the start menu, once this has opened we need to right-click the ISO and select ‘Open’. We have done this as the setup needs to be run as administrator. To run the setup as administrator right-click ‘setup.exe’ and select ‘run as administrator’.
SCVMM 2012 ISO Folder
Once the splash screen has appeared we need to select Install
SCVMM Setup Splash Screen
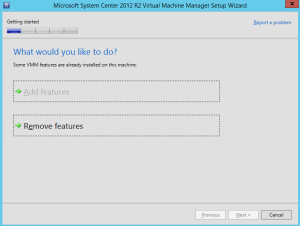
The setup will then pick up that there is already an installation on the server and ask if we want to remove existing features, select ‘Remove features’.
Remove features
We need to select all the features available to remove
Select all features to remove
As we have selected to remove the VMM management server feature, we need to decide what we want to do with the existing database. As we are upgrading the system we want it to retain the database.
Database Options
Now we can uninstall the system.
Uninstalling features
Hopefully everything has uninstalled correct and no errors have come up.
Uninstall Successful
Install Windows Assessment and Deployment Kit
SCVMM 2012 SP1 requires the Windows ADK to be installed on the same server that the management server was installed on. However the new System Center VMM 2012 R2 requires the latest version of Windows ADK for Windows 8.1 be installed. You can get the adksetup file from here if you don’t have it already. If we try to run the installation now it will kick up an error saying that an earlier version of the Windows ADK is already installed and needs to be uninstalled first.
Windows ADK is already installed
Once we have uninstalled the existing Windows ADK we’re ready in install the latest version. We need to run the installation and keep the install path as default, and then select only ‘Deployment Tools’ and ‘Windows Preinstallation Environment (Windows PE)’ from the list of features.
Windows ADK features
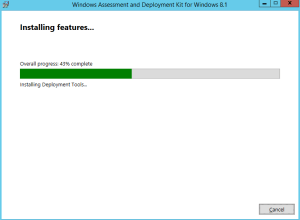
Now we just need to let this install.
Windows ADK installing
Install SCVMM 2012 R2
The server should now be ready to go with the installation, we now need to run the SCVMM setup.exe again as administrator and select ‘Install’. This time the installation will only ask which features we wish to install, we need to select all of them.
Select features to install
We will now need to put in the product registration information if you have a serial number for the software you will need to put that in, alternatively if you don’t then you will have a 30-day trail of the software.
Product registration
After the product information has been entered, we’ll be prompted to accept the Terms and Conditions and then chose where or not to join the Customer Experience Improvement Program. After that we need to choose where to install the program. Keep this as default unless needed otherwise.
Install location
The installation will now check that all the prerequisites are met. As we install the Windows ADK earlier we may need to restart the server, only do this if it asks for a restart.
Prerequisites
If you had to restart the server quickly just back through the earlier steps to get back to this point. Now the prerequisites have checked successfully the setup will ask what database we wish to use. As we keep that earlier database at the bottom select the instance name from the server and select the existing database.
Database configuration
When we press next we an information box appear asking if we want to upgrade the database as it was from an older version, we need to say yes to this.
Database upgrade
Now we need to add a service account for the VMM service to use. It is recommended that the account be a domain account, but is not essential.
Configure service account
Next will we be asked about which ports we want the system to use it’s best to leave these as default as it’s very likely these were used in the previous version and any exceptions would have already been created. Now all that’s left is to select the library share that will be used, for this we want it to use the existing library share.
Library configuration
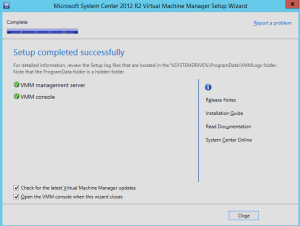
Lastly we need to check the upgrade report, and then a quick look through the summary to check we have everything correct. Once we have done that we need to hit install and wait for it to complete.
Setup successful
If you have accessed the software with a remote console you will now need to upgrade that also, simply uninstall the current version and then install the new one from the SCVMM 2012 R2 ISO.


