Linux内核简单编译
Linux内核,顾名思义,就是linux系统的核心,负责管理系统的进程、内存、设备驱动程序、文件和网络系统,决定着系统的性能和稳定性。
简单的介绍点内核的相关知识,如有不当之处,还请大家批评指正!
本文以我实验的系统为例,系统为red hat 5.5
[root@localhost yum.repos.d]# lsb_release -a
LSB Version: :core-3.1-ia32:core-3.1-noarch:graphics-3.1-ia32:graphics-3.1-noarch
Distributor ID: RedHatEnterpriseServer
Description: Red Hat Enterprise Linux Server release 5.5 (Tikanga)
Release: 5.5
Codename: Tikanga
######内核的简单介绍###########
在RHEL5.5 Linux系统中内核文件存放的路径是/boot目录下,文件名字为vmlinuz-2.6.18-194.el5
[root@localhost boot]# pwd
/boot
[root@localhost boot]# ls
config-2.6.18-194.el5 symvers-2.6.18-194.el5.gz
grub System.map-2.6.18-194.el5
initrd-2.6.18-194.el5.img vmlinuz-2.6.18-194.el5
lost+found
[root@localhost boot]# ll -h vmlinuz-2.6.18-194.el5
-rw-r--r-- 1 root root 1.8M 3?17 2010 vmlinuz-2.6.18-194.el5
如何查看内核版本?
[root@localhost boot]# uname -r
2.6.18-194.el5
我们来详细分析一下这些数字代表的什么
2表示主版本号,其实这点跟目前最新的微信5.0.2是一致的;6是次版本号;18是修正号;-194是redhat对内核官方网站发布的内核版本进行修正的修正号;el5是redhat linux的发行版本,代表的enterprise linux 5 的缩写。
#########编译内核##################
在编译内核前,关于内核定制的必要性就不必多讲了,无非是给漏洞打补丁或者增加新的功能。
编译前,必须要确认gcc环境已经安装好
[root@localhost ~]# rpm -qa | grep gcc
libgcc-4.1.2-48.el5
gcc-4.1.2-48.el5
compat-libgcc-296-2.96-138
gcc-gfortran-4.1.2-48.el5
gcc-c++-4.1.2-48.el5
如果没有装的话可以yum install -y *gcc* ncurses-devel(这个也是必须的)
开始编译
1、我们从官网上下载新的内核源码文件包
[root@localhost ~]# wget https://www.kernel.org/pub/linux/kernel/v2.6/linux-2.6.39.4.tar.bz2 --no-check-certificate
[root@localhost ~]# tar xf linux-2.6.39.4.tar.bz2
[root@localhost ~]# cd linux-2.6.39.4
[root@localhost linux-2.6.39.4]# pwd
/root/linux-2.6.39.4
[root@localhost linux-2.6.39.4]# ls
arch fs MAINTAINERS security
block include Makefile sound
COPYING init mm tools
CREDITS ipc net usr
crypto Kbuild README virt
Documentation Kconfig REPORTING-BUGS
drivers kernel samples
firmware lib scripts
2、配置内核的准备工作 make mrproper
此目的是删除所有此前编译生成的文件和内核配置文件,如果你的内核跟我的一样是刚下载的就不需要执行这一步了;
3、配置内核
[root@localhost ~]# make menuconfig
当输入这个命令时,会自动弹出下面的桌面对话,所以我不确定这个能不能用在ssh远程客户端进行编译。
顺便讲一下这些选项是干嘛的吧
| 配置项 | 介绍 |
| General setup | 常规设置 |
| Enable loadable module support | 启用支持可加载模块 |
| Enable the block layer | 启用支持快块设备 |
| Processor type and features | 处理器类型和特征 |
| Power manager and ACPI options | 电源管理和高级选项 |
| Bus options(PCI etc.) | 总线选项 |
| Executable fileformats / Emulations | 可执行文件格式/仿真 |
| Networking support | 网络支持 |
| Device drivers | 设备驱动程序 |
| File systems | 文件系统 |
| Kernel hacking | 内核开发调试相关 |
| Security options | 安全选项 |
| Cryptographic API | 密码支持 |
| Virtualization | 新功能对虚拟化的支持 |
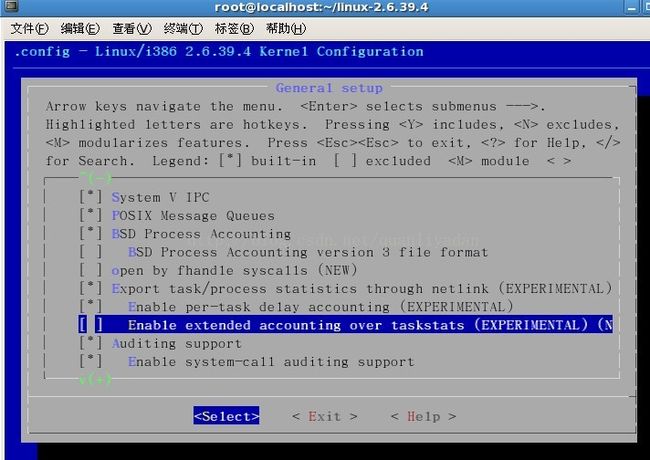
这里我选择了最简单的General setup然后回车;
这里可供选择的太多了,很多我也搞不明白,所以我就选了一个比较可靠的,
选择Enable extended accounting over taskstats(EXPERIMENTAL)意思是让新的内核能支持旧的用户空间工具。
,按空格键就可以将*输入,然后方向右键选择exit
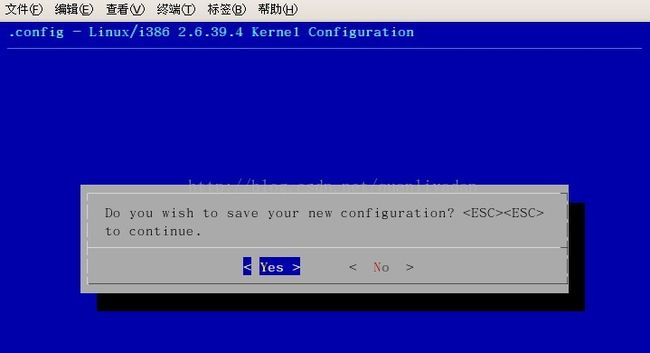
选择Yes回车
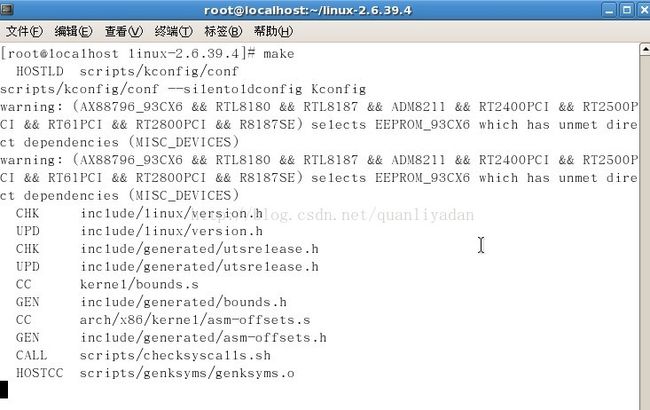
然后就可以看到生成新的配置文件.config,这时就可以编译了,输入make
make命令根据刚才生成的内核配置文件(.config)编译生成新的内核,编译过程时间非常长,大约需要40-60分钟,需要时间的长短主要跟你定制的功能相关,成正比,功能越多,编译时间越长。还有个原因就是跟你的服务器配置相关,配置越高越快。(我用了117分钟)
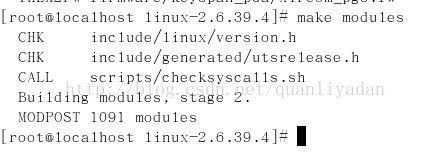
下一步就到了开始编译内核模块了,命令是make modules,
安装内核模块 make modules_install
内核模块安装完成后可以到/lib/modules/下面去查看该模块
[root@localhost ~]# cd /lib/modules/
[root@localhost modules]# ls
2.6.18-194.el5 2.6.39.4
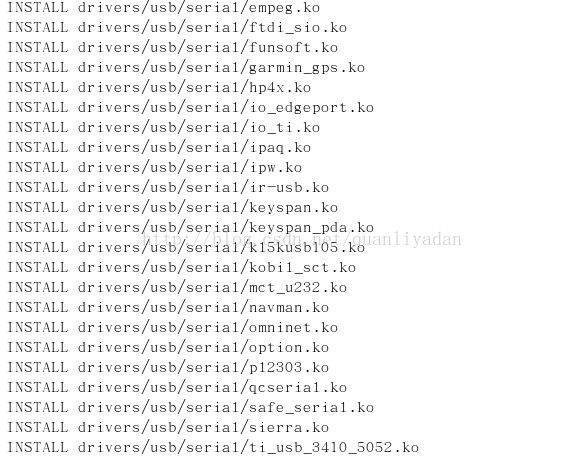
最后一步,安装内核文件 make install ,完成后查看新安装的内核文件。
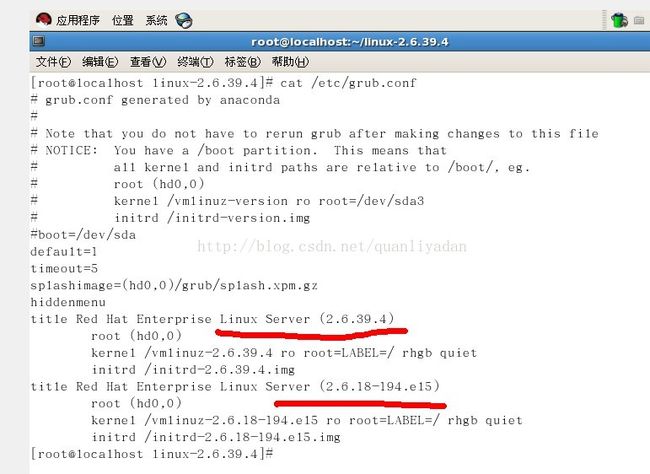
再看看我们的grub.conf
可以看到我们如果再开机的话会有两个内核让我们选择了,具体grub.conf 是干嘛用的可以参考我的开机描述过程这篇温文章http://blog.csdn.net/quanliyadan/article/details/12059447
现在我们查看一下安装的内核模块和目录
[root@localhost modules]# ls
2.6.18-194.el5 2.6.39.4
[root@localhost modules]# cd 2.6.39.4/
[root@localhost 2.6.39.4]# ls
build modules.ccwmap modules.isapnpmap modules.seriomap
kernel modules.dep modules.ofmap modules.symbols
modules.alias modules.ieee1394map modules.order modules.usbmap
modules.builtin modules.inputmap modules.pcimap source
[root@localhost 2.6.39.4]# cd kernel/
[root@localhost kernel]# ls
arch crypto drivers fs lib net sound
[root@localhost kernel]#
接下来重启一下我们的机器,看下是否会有两个内核
我选择第一个内核启动,登陆,然后查看一下内核
[root@localhost ~]# uname -a
Linux localhost.localdomain 2.6.39.4 #1 SMP Tue Mar 16 21:52:43 EDT 2010 i686 i686 i386 GNU/Linux
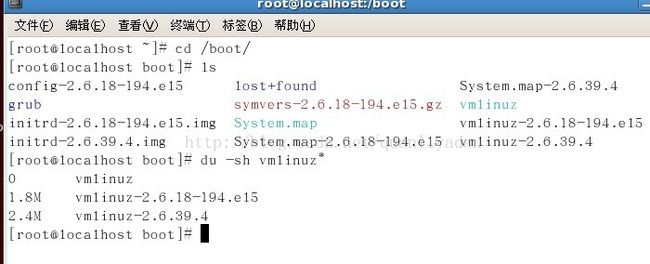
最后对比一下新内核的大小
大小差距还是蛮大的,本篇文章到此结束,给大家提供的仅仅是个思路,linux内核博大精深,要想把内核吃透,道路遥远啊!感谢大家的阅读!

