eclipse3.7 安装完整maven和svn插件
上篇博客讲解了如何在eclipse4.3版中解决没有check out as maven project的方案http://blog.csdn.net/viviju1989/article/details/17406241,因为eclipse4.3已经集成了完整的maven插件 和 m2e-wtp插件,所以省去了安装这2个插件的步骤。那么对于目前来说用的比较多的3.7版本,默认是没有安装这些插件的,下面就来带你一步步安装必要的eclipse插件,组装自己的开发工具。
1. 下载eclipse3.7 版,http://www.eclipse.org/downloads/packages/eclipse-ide-java-developers/indigosr2
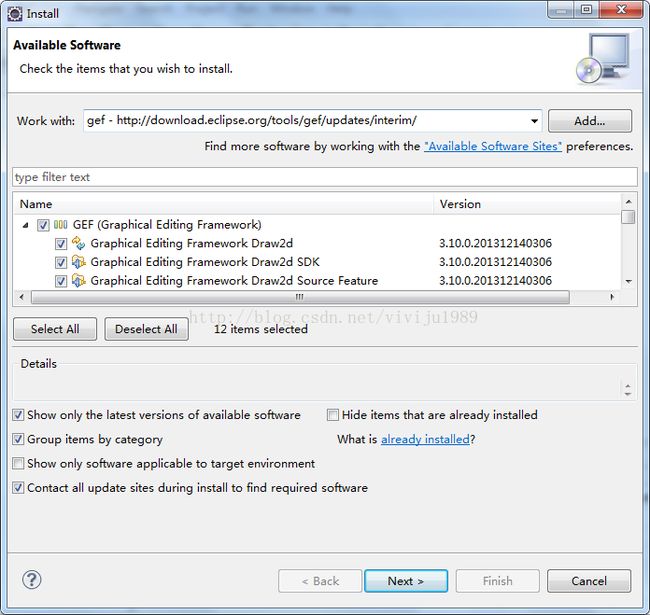
2. 安装gef插件,因为后面的subclipse插件依赖于这个插件,所以要先安装好这个插件,地址 http://download.eclipse.org/tools/gef/updates/interim/
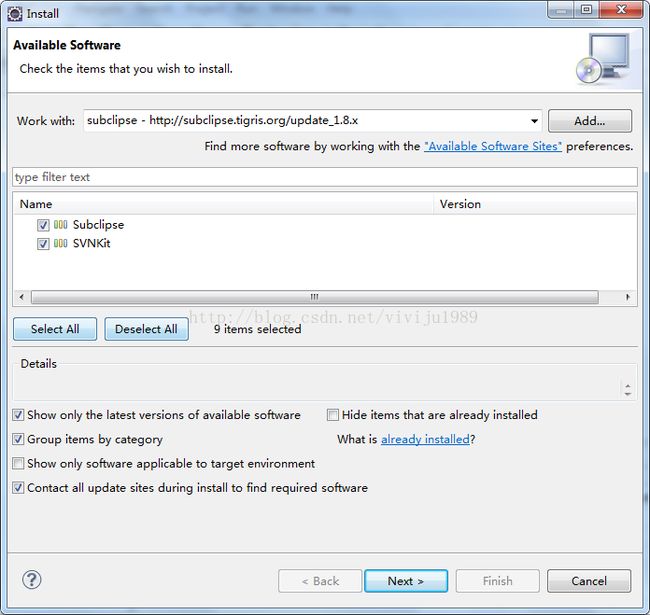
3. 安装subclipse插件,即svn插件,地址是http://subclipse.tigris.org/update_1.8.x/
4. 在安装m2e-core插件之前,还差slf4j-api文件,如果直接安装m2e-core会报如下错误信息:
Cannot complete the install because one or more required items could not be found.
Software being installed: m2e - slf4j over logback logging (Optional) 1.5.0.20130908-1802
要解决这个问题需要安装另外一个插件slf4j-api,地址:http://www.fuin.org/p2-repository/ ,只需勾选Maven osgi-bundles下面的 slf4j-api 即可
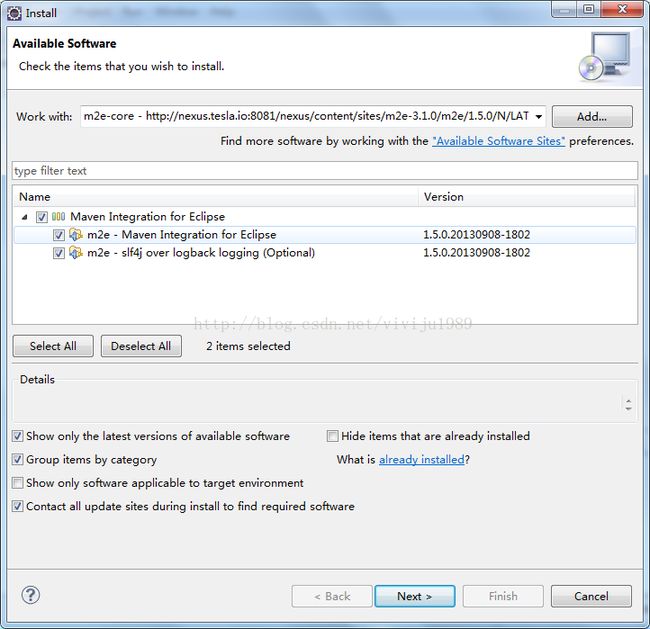
5. 安装m2e-core插件,即maven插件,地址是 http://nexus.tesla.io:8081/nexus/content/sites/m2e-3.1.0/m2e/1.5.0/N/LATEST/
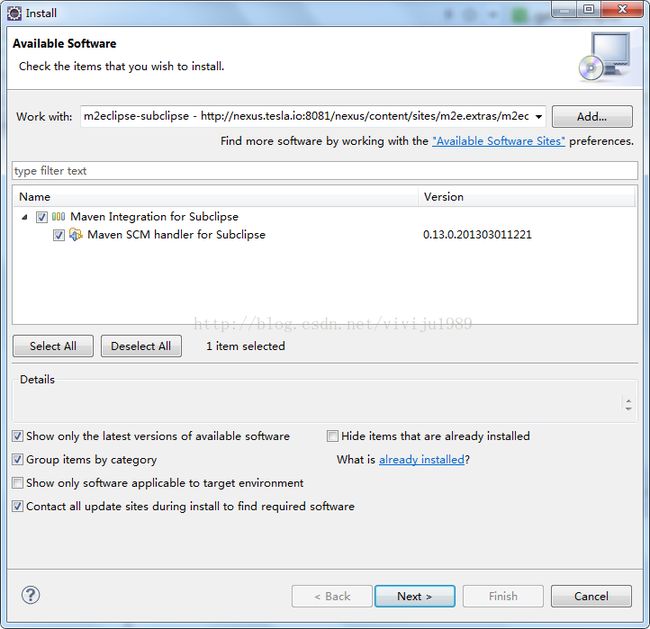
6. 安装m2eclipse-subclipse插件,这个插件的作用是解决svn插件没有check out as maven project的问题,地址:http://nexus.tesla.io:8081/nexus/content/sites/m2e.extras/m2eclipse-subclipse/0.13.0/N/0.13.0.201303011221/
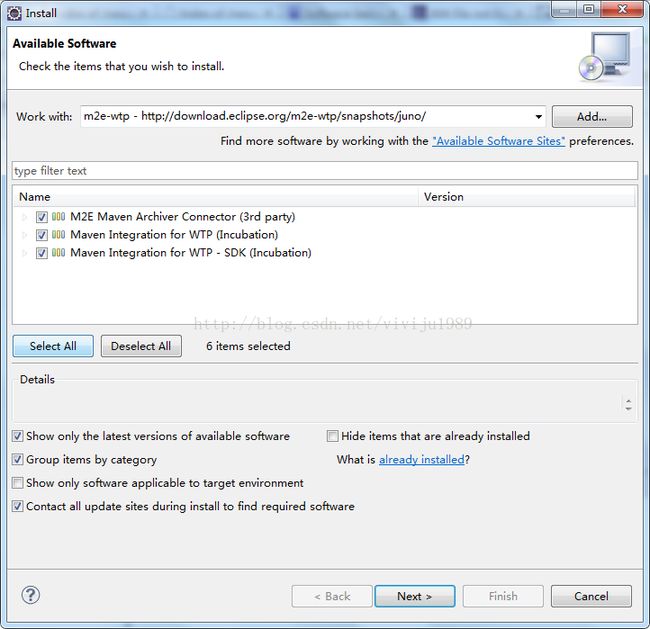
7. 安装m2e-wtp,这个插件的作用是会自动将maven project 转为web project,这样就可以在eclipse上直接部署maven 项目,非常方便,更新地址可以去http://www.eclipse.org/m2e-wtp/download/ 上找跟自己对应的版本,因为我们是使用3.7,所以选择http://download.eclipse.org/m2e-wtp/snapshots/juno/
===================================================================================================================================
好啦,到此为止,完整的maven插件和svn插件就安装成功了,你可以使用该eclipse创建maven project,并能提交到svn通过check out as maven project检出,还可以直接部署到eclipse的tomcat中去。
(ps:之前maven的更新网址是 http://m2eclipse.sonatype.org/sites/m2e ,但是现在已经关闭了,现在maven的相关插件托管在eclipse的一个创库中,地址是:http://nexus.tesla.io:8081/nexus/content/sites/ ,这里有完整的maven插件,上面安装maven插件就是从这个仓库更新的。)
(原创文章,转载注明出处哦:http://blog.csdn.net/viviju1989/article/details/17429483 )
