eclipse+php插件+Xdebug搭建php调试环境
1、安装eclipse(需要jdk环境)
解压 http://www.eclipse.org/download 下载的Eclipse,双击eclipse.exe,选择工作区,如G:/workspace(此目录指向web服务器的public目录);
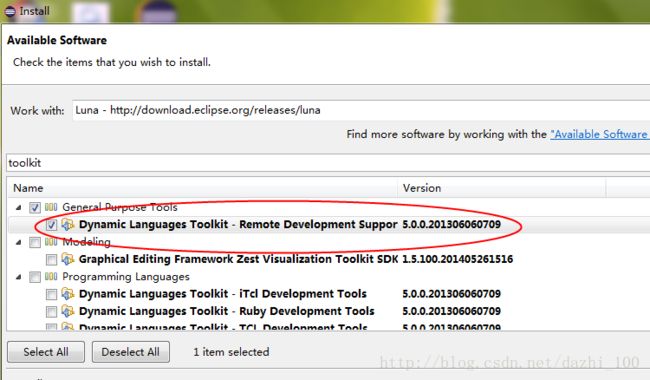
2、安装PHP的DLTK、PDT插件
在 Eclipse 菜单中选:Help > Install New Software

3、下载xdebug,并放到php的zend_ext下,在php.ini文件中添加如下代码
zend_extension = "d:/wamp/bin/php/php5.4.16/zend_ext/php_xdebug-2.2.3-5.4-vc9.dll"

[xdebug]
xdebug.remote_enable = 1
xdebug.profiler_enable = off
xdebug.profiler_enable_trigger = off
xdebug.profiler_output_name = cachegrind.out.%t.%p
xdebug.profiler_output_dir = "d:/wamp/tmp"
4、 配置Eclipse:
打开Eclipse->Window->Preferences->PHP:
PHP Executables->Add,如下所示设置:

PHP Servers->New,如下所示设置:
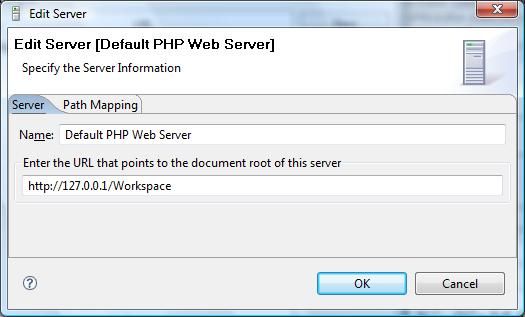
注意URL栏中添加了Workspace,这个是在httpd.conf中添加的目录别名。
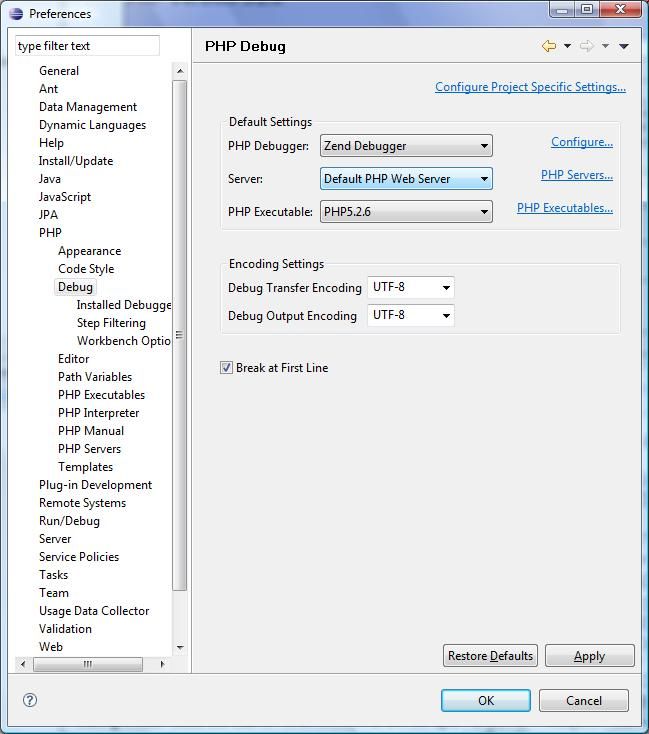
PHP Debug,如下图所示,选择合适的Debugger,Server
5、 配置Eclipse中的php文件访问URL:
apache的httpd.conf中添加如下的脚本:
Alias /Workspace/ "G:/workspace/"
<Directory "G:/workspace/">
   Options Indexes MultiViews
   AllowOverride None
   Order allow,deny
   Allow from all
</Directory>
打开Window->Preferences->PHP->PHP Server,编辑Default PHP Web Server条目,将URL改为http://localhost/Workspace,注意URL栏中添加了Workspace
此后,G:/workspace下的工程如test,均可通过localhost:8080/Workspace/test访问;