apache+php安装(centos6.5)
一:安装apache
[root@ser6-52 ~]# yum install -y httpd
#验证是否安装成功
[root@ser6-52 ~]# rpm -qa | grep httpd
httpd-2.2.15-47.el6.centos.x86_64
httpd-tools-2.2.15-47.el6.centos.x86_64
显示已成功安装。
#启动apache
[root@ser6-52 ~]# service httpd start
Starting httpd: httpd: Could not reliably determine the server's fully qualified domain name, using 127.0.0.1 for ServerName
假如,启动的时候,出现如上:
Starting httpd: httpd: Could not reliably determine the server's fully qualified domain name, using 127.0.0.1 for ServerName
需要修改 /etc/httpd/conf/httpd.conf
vi /etc/httpd/conf/httpd.conf
在文件最后添加:ServerName 127.0.0.1:80
#重启apache:
[root@ser6-52 ~]# service httpd restart
Stopping httpd: [ OK ]
Starting httpd: [ OK ]
没有再报这个错误了。
#配置系统让 Apache 随系统启动:
[root@ser6-52 ~]# chkconfig --levels 235 httpd on
此时apache已经安装好了,访问http://192.168.6.52/就可以看到如下界面(备注:192.168.6.52是你服务器的ip)
注意:在CentOS 中 Apache 的默认根目录是/var/www/html,配置文件 /etc/httpd/conf/httpd.conf。其他配置存储在 /etc/httpd/conf.d/ 目录。
二:安装php
[root@ser6-52 conf.d]# yum install -y php
需要重新启动 Apache 服务:
[root@ser6-52 conf.d]# service httpd restart
Stopping httpd: [ OK ]
Starting httpd: [ OK ]
三:测试
为了测试是否安装成功,你可以新建一个 PHP 页面进行测试,使用 vim 编辑器新建:
[root@localhost ~]# vi /var/www/html/info.php
输入:welcome,dandan!
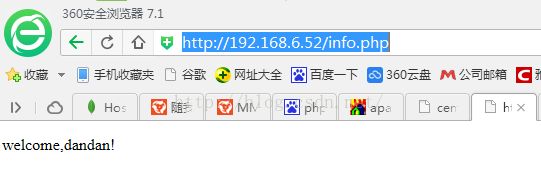
在浏览器里输入:http://192.168.6.52/info.php
可以看到:
说明安装成功。
本篇文章主要参考自:http://www.jz123.cn/text/1934307.html
http://blog.sina.com.cn/s/blog_7d39186f0101dqvk.html

