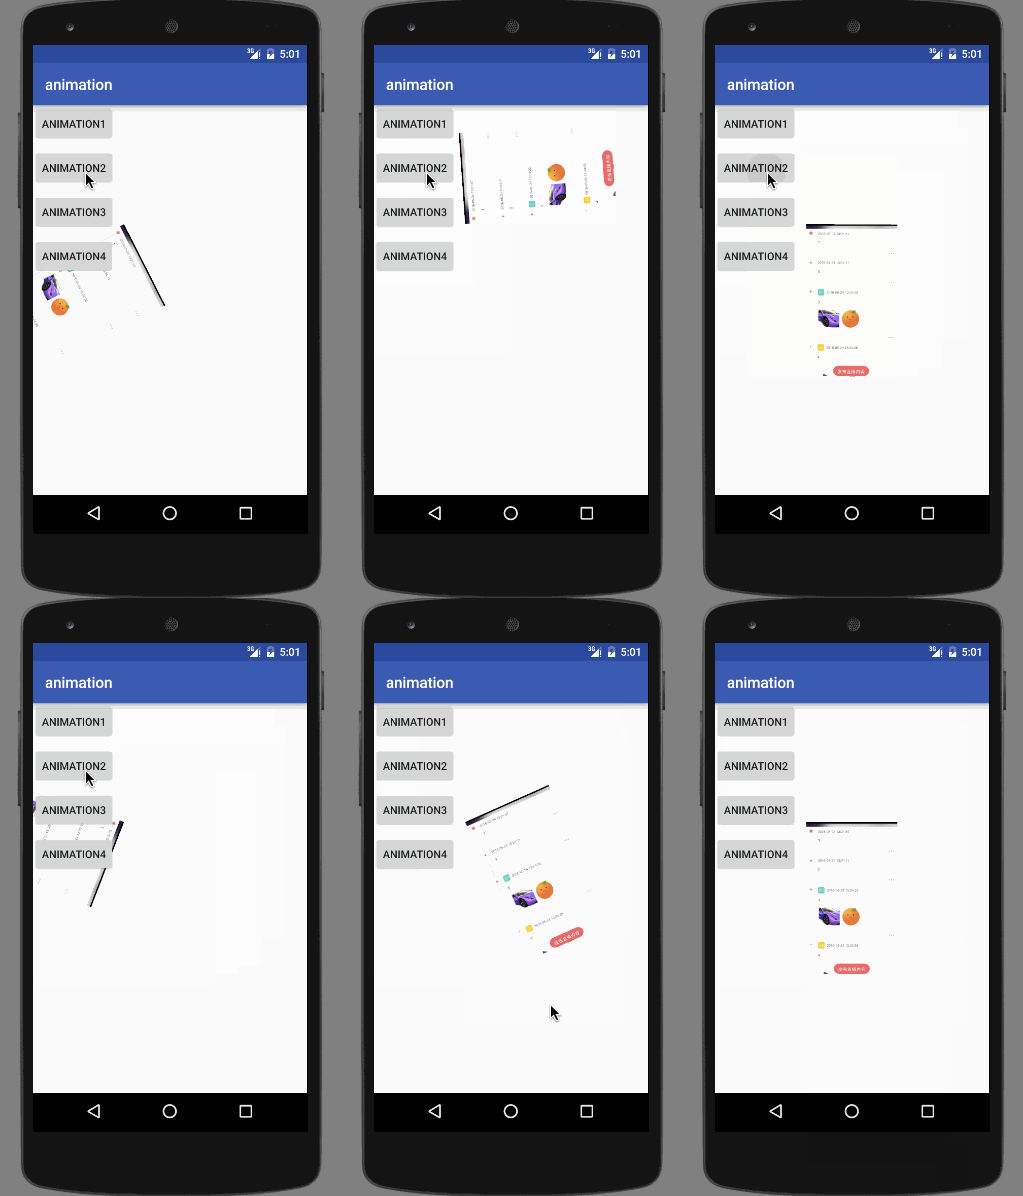
Android动画-View Animation--alpha、translate、scale、rotate
本章内容
其实就是把 TranslateAnimation(偏移动画),AlphaAnimaton(透明渐变动画),ScaleAnimation(缩放动画),RotateAnimation(旋转动画),这四个动画做一次总结,当然也包括了AnimationSet,代码写的多了,会越来越忽略基础代码的编写,不总结一下,总感觉会忘掉。
通用属性
android:duration            动画执行的时间(毫秒)

android:fillAfter           如果设置为true,控件动画结束时,将保持动画最后时的状态

android:fillEnabled         与android:fillBefore 效果相同,都是在动画结束时,将控件还原到初始化状态(一般android:fillAfter和android:fillEnabled一起用)

android:fillBefore          如果设置为true,控件动画结束时,还原到开始动画前的状态

android:repeatCount         动画重复次数

android:repeatMode          重复类型,有reverse和restart两个值,reverse表示倒序回放,restart表示重新放一遍,必须与repeatCount一起使用才能看到效果。因为这里的意义是重复的类型,即回放时的动作。
还有一个 android:interpolator 名为插值器的属性,这个效果挺多的,而且用到的也挺多,不放在基础的动画总结里面,也不太适合放在里面。
AlphaAnimation
AlphaAnimation应该是最简单动画了,它只有两个自带属性
android:fromAlpha           动画开始的透明度

android:toAlpha             动画结束时的透明度

0f表示完全透明,1f表示完全不透明
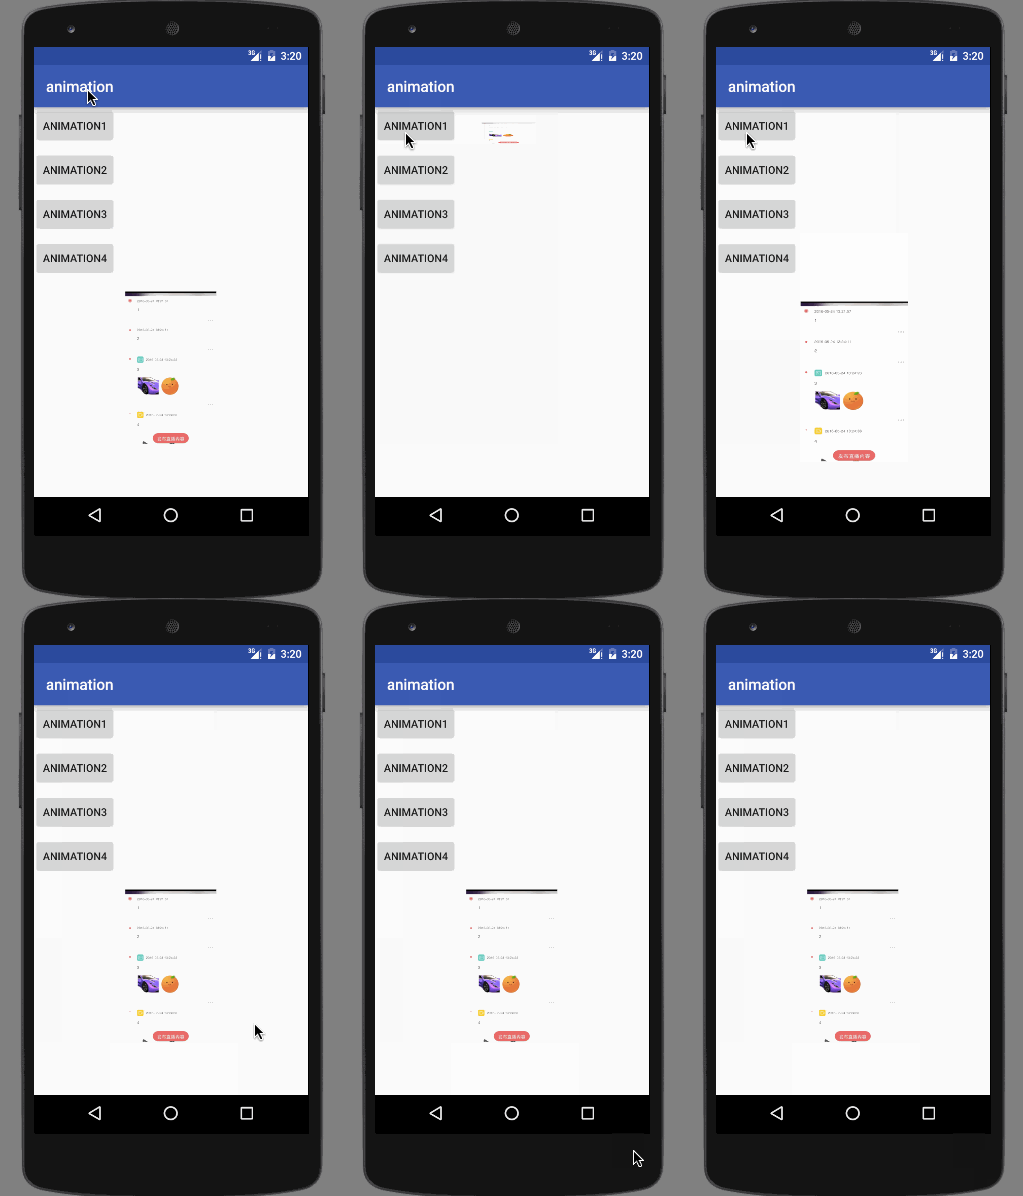
效果:
<?xml version="1.0" encoding="utf-8"?>
<alpha xmlns:android="http://schemas.android.com/apk/res/android" android:duration="1500" android:fillAfter="true" android:fillEnabled="true" android:fromAlpha="0" android:repeatCount="3" android:toAlpha="1">
</alpha>
动画执行代码:
private ImageView activity_alpha_animation_imageview;
private Animation alphaAnimation;

alphaAnimation = AnimationUtils.loadAnimation(this, R.anim.alpha);       activity_alpha_animation_imageview.startAnimation(alphaAnimation)
代码生成AlphaAnimation
activity_alpha_animation_imageview.startAnimation(getAlphaAnimation(0.3f, 1f, 3000));
....
private AlphaAnimation getAlphaAnimation(float fromAlpha, float toAlpha, long duration) {
        AlphaAnimation aa = new AlphaAnimation(fromAlpha, toAlpha);
        aa.setDuration(duration);
        aa.setFillAfter(true);
        aa.setFillEnabled(true);
        aa.setRepeatCount(2);
        aa.setRepeatMode(Animation.REVERSE);
        return aa;
    }
TranslateAnimation
自带属性:
android:fromXDelta              起始点X轴坐标,可以是数值、百分数、百分数p 三种样式,比如 50、50%、50%p,具体意义通过代码一览无余。

android:fromYDelta              起始点Y轴从标,可以是数值、百分数、百分数p 三种样式;

android:toXDelta                结束点X轴坐标

android:toYDelta                结束点Y轴坐标
XML实现的动画:
XML(加载动画的代码直接看AlphaAnimation就可以了):
<?xml version="1.0" encoding="utf-8"?>
<translate xmlns:android="http://schemas.android.com/apk/res/android" android:duration="2000" android:fillBefore="true" android:fromXDelta="60%p" android:fromYDelta="-60" android:toXDelta="-60%" android:toYDelta="60%"></translate>
这里我让动画结束后保持在动画前的位置,先看x轴方向的位置来解析 p和%,同样都是 60的数值,但是开始的位置对于结束的位置而言距初始位置距离更远,这是因为 p 代表的是屏幕宽度的60%,表示为 60%p,而单纯的60%计算的控件本身宽度的60%。再看Y轴方向的动画,-60的值代表的是,在距离初始位置Y轴-60px的位置开始动画,位移到距离初始位置Y轴控件60%高度的位置。(注意,不管是什么参数,它们对应的值都是相对于控件初始位置的)
TranslateAnimation(fromXDelta, toXDelta, fromYDelta, toYDelta) 创建动画
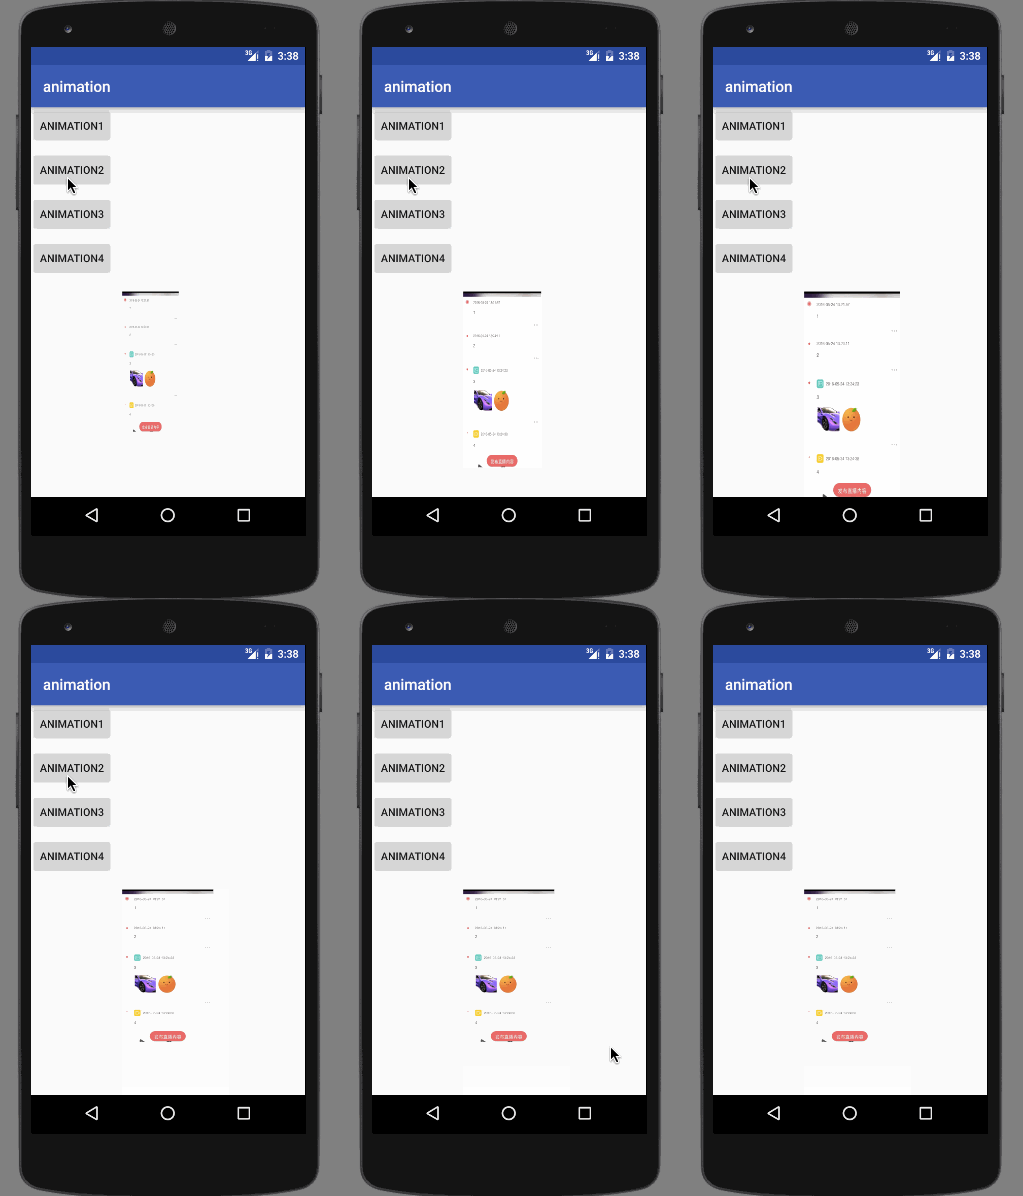
效果图:
直接看代码:
 activity_alpha_animation_imageview.startAnimation(getTranslateAnimation(image_width, -image_width, -image_height, image_height, 1000l));
 .....
 private TranslateAnimation getTranslateAnimation(float fromXDelta, float toXDelta, float fromYDelta, float toYDelta, long duration) {
        TranslateAnimation ta = new TranslateAnimation(fromXDelta, toXDelta, fromYDelta, toYDelta);
        ta.setFillAfter(true);
        ta.setFillEnabled(true);
        ta.setDuration(duration);
        return ta;
    }
这里 image_width 和 image_height,分别是控件的宽和高。同样的,这个API中的参数也是相对于控件初始位置作位移。
TranslateAnimation(int fromXType, float fromXValue, int toXType, float toXValue,int fromYType, float fromYValue, int toYType, float toYValue) 创建动画
这个方法参数比较多,而且参数的类型也会比较多,这里带着效果看代码:
activity_alpha_animation_imageview.startAnimation(getTranslateAnimation(500l, -70, 0.7f, -0.5f, 0.5f));
....
private TranslateAnimation getTranslateAnimation(long durationMillis, float fromXValue, float toXValue,
                                                     float fromYValue, float toYValue) {
        TranslateAnimation ta = new TranslateAnimation(
                Animation.ABSOLUTE, fromXValue, Animation.RELATIVE_TO_SELF, toXValue,
                Animation.RELATIVE_TO_PARENT, fromYValue,
                Animation.RELATIVE_TO_SELF, toYValue);
        ta.setDuration(durationMillis);
        ta.setFillAfter(true);
        ta.setFillEnabled(true);
        return ta;
    }
TranslateAnimation(int fromXType, float fromXValue, int toXType, float toXValue,
int fromYType, float fromYValue, int toYType, float toYValue) 这个API看着参数很多,但是你只需要关注 int fromXType、 int toXType、int fromYType、int toYType 这4个参数就OK了,而这4个参数代表的其实是一个意思:位移的类型。
我在代码中把会用到的几种类型掺杂在一个动画里,这里的位置距离同样的都是按照控件初始位置来计算的:
Animation.ABSOLUTE

绝对位置,在这个类型后,你的值必须是一个px的值,
如代码中 int fromXType, float fromXValue 这两个参数对应的是 Animation.ABSOLUTE, -70,
它的意思是距离初始位置X轴方向 -70px 的位置开始动画。

Animation.RELATIVE_TO_PARENT

相对父控件,在其后的值只能是一个百分比的值,demo里的父控件的宽高就是屏幕的宽高,
代码中 int fromYType, float fromYValue 的值为 Animation.RELATIVE_TO_PARENT, -0.5f,
也就是Y轴方向上的起始位置是距离初始位置 -50% 屏幕高度开始的

Animation.RELATIVE_TO_SELF

相对自己,在其后也是一个百分比的值,不过它的计算是以动画控件本身的宽高为基础的,
demo中, int toYType, float toYValue 的值为 Animation.RELATIVE_TO_SELF,0.5f,
即是说Y轴方向的结束位置是距离初始位置 50% 自身高度的位置。
(其实从动画中就可以看出,同样是 50% 的值,但是 Animation.RELATIVE_TO_PARENT 比 Animation.RELATIVE_TO_SELF 的位移距离要大得多,这其实就是因为计算基础值不同)
ScaleAnimation
自带属性:
android:fromXScale
起始的X方向上相对自身的缩放比例,

android:toXScale
结尾的X方向上相对自身的缩放比例

android:fromYScale
起始的Y方向上相对自身的缩放比例

android:toYScale
结尾的Y方向上相对自身的缩放比例

android:pivotX
缩放起点X轴坐标,可以是数值、百分数、百分数p 三种样式,比如 50、50%、50%p
(在TranslateAnimation中已经详细展示过3种不同类型值的意义)

android:pivotY
缩放起点Y轴坐标,取值及意义跟android:pivotX一样
XML动画:
<?xml version="1.0" encoding="utf-8"?>
<scale xmlns:android="http://schemas.android.com/apk/res/android" android:fromXScale="0.5" android:toXScale="1.4" android:fromYScale="0.0" android:toYScale="1.4" android:pivotX="150" android:pivotY="-50%p" android:duration="1000" />
android:pivotX=”150” android:pivotY=”-50%p” 定义了动画的起始点,即X轴方向从距 初始位置 150px处,Y轴方向距 初始位置 50% 屏幕高 处,开始动画出。如果你想要的动画起始点是基于本身的,那么将 android:pivotX、android:pivotY设置成 百分比 就OK了,多试试不同的参数就明白了。
ScaleAnimation(fromX, toX, fromY, toY) 创建动画
这个API非常简单,从 from to 就可以看出,它的意思是从 a 比例 伸缩到 b比例,并且以控件左上角为起始点。
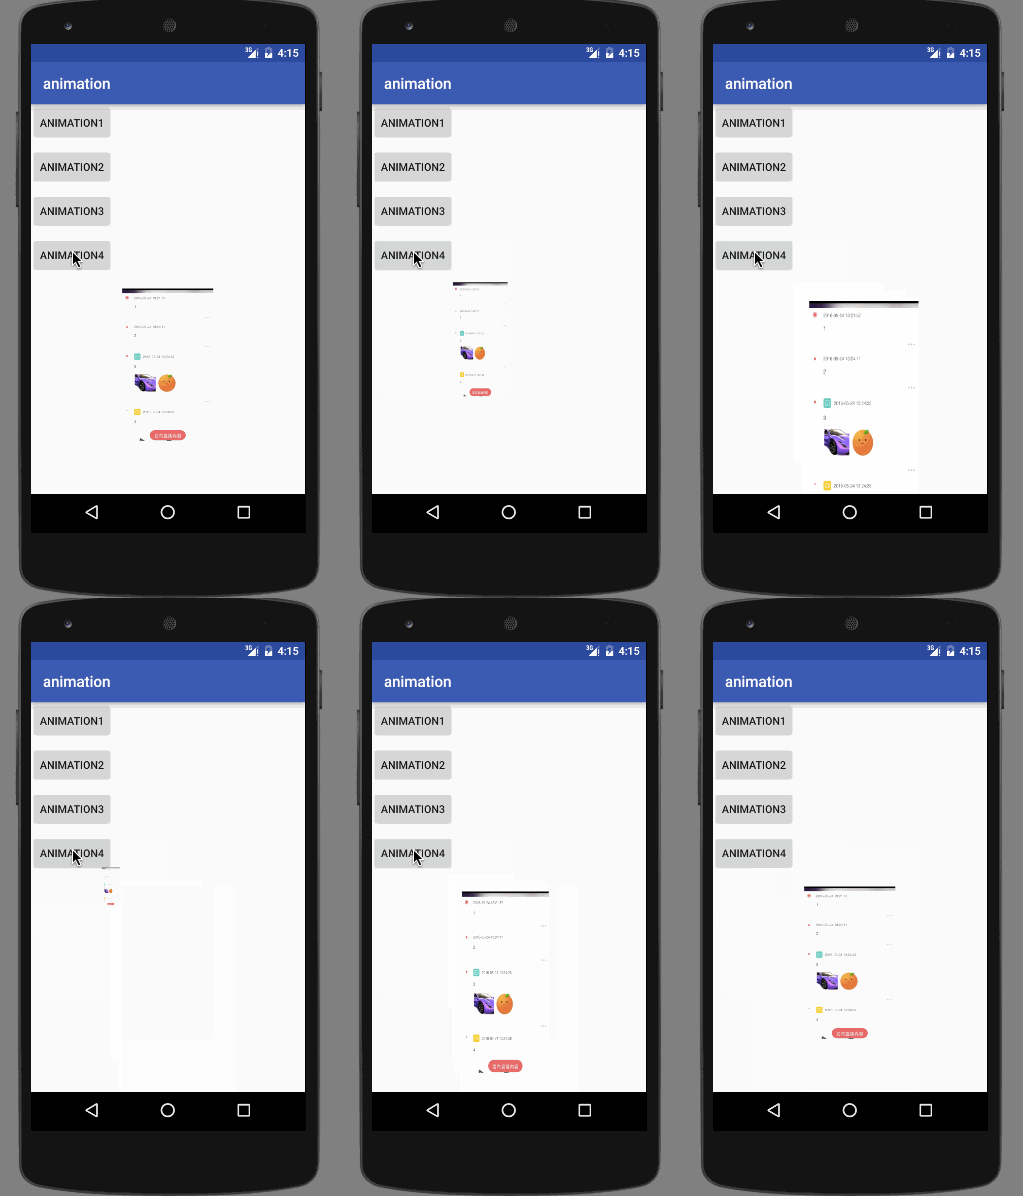
效果图:
activity_animation_imageview.startAnimation(getScaleAnimation(0.2f, 1.2f, 0.5f, 1.5f, 1000l));
.....
private ScaleAnimation getScaleAnimation(float fromX, float toX, float fromY, float toY, long duration) {
        ScaleAnimation sa = new ScaleAnimation(fromX, toX, fromY, toY);
        sa.setDuration(duration);
        return sa;
    }
ScaleAnimation(fromX, toX, fromY, toY, pivotX, pivotY) 创建动画
正如上一个API所见,默认是控件的左上角,如果我想自己订制一个点呢?那么这个API中提供了 pivotX, pivotY 这两个参数,可以自己将 起始点控制住,需要注意的是这两个参数需要你填坐标点,不是百分比 也不是 p,而且这个坐标点的值是相对于 控件左上角而言的,比如你给值 0,0,在这里可不是屏幕的左上角而是控件的左上角,再比如你想要让控件从右下角伸缩,那么你给的参数 就得是 imageView_width, imageView_height。
给个imageView_width, imageView_height 这种情况的效果看下:
activity_animation_imageview.startAnimation(getScaleAnimation(0.0f, 1.2f, 0.0f, 1.5f, imageView_width, imageView_height, 1000l));
.....
private ScaleAnimation getScaleAnimation(float fromX, float toX, float fromY, float toY,
                                             float pivotX, float pivotY, long duration) {
        ScaleAnimation sa = new ScaleAnimation(fromX, toX, fromY, toY, pivotX, pivotY);
        sa.setDuration(duration);
        return sa;
    }
ScaleAnimation(fromX, toX, fromY, toY, pivotXType, pivotXValue, pivotYType, pivotYValue) 创建动画
这个方法看着是不是和 TranslateAnimation 的某个构造方法很相似,不过这里就要注意的参数就少的多了 pivotXType 和 pivotYType,连类型都是一样的,动画的起始点的值 也是相对于控件初始状态下左上角为基础计算的
 private ScaleAnimation getScaleAnimation(float fromX, float toX, float fromY, float toY,
                                             int pivotXType, float pivotXValue, int pivotYType, float pivotYValue, long duration) {
        ScaleAnimation sa = new ScaleAnimation(fromX, toX, fromY, toY, pivotXType, pivotXValue, pivotYType, pivotYValue);
        sa.setDuration(duration);
        return sa;
    }
先看个简单的 Animation.ABSOLUTE :
activity_animation_imageview.startAnimation(getScaleAnimation(0.0f, 1.2f, 0.0f, 1.5f, Animation.ABSOLUTE, -100, Animation.ABSOLUTE, -100, 1000l));这里 -100, -100 就是相对于左上角而言的。
再看个复杂的,混合着 Animation.RELATIVE_TO_SELF 和 Animation.RELATIVE_TO_PARENT:
activity_animation_imageview.startAnimation(getScaleAnimation(0.0f, 1.2f, 0.0f, 1.5f, Animation.RELATIVE_TO_SELF, 0.5f, Animation.RELATIVE_TO_PARENT, -0.5f, 1000l));上述代码中 X轴方向 偏移控件本身宽度的50%,而Y轴方向 偏移屏幕高度的50%,这就是动画的起始点。
RotateAnimation
自带属性:
android:fromDegrees
开始旋转的角度位置,正值代表顺时针方向度数,负值代码逆时针方向度数

android:toDegrees
结束时旋转到的角度位置,正值代表顺时针方向度数,负值代码逆时针方向度数

android:pivotX
缩放起点X轴坐标,可以是数值、百分数、百分数p
如果不太明白这三个值得含义可以看看 TranslateAnimation 部分,哪里讲的比较清楚

android:pivotY
缩放起点Y轴坐标,可以是数值、百分数、百分数p
XML动画
<?xml version="1.0" encoding="utf-8"?>
<rotate xmlns:android="http://schemas.android.com/apk/res/android" android:duration="3000" android:fillAfter="true" android:fromDegrees="0" android:pivotX="50%p" android:pivotY="50%" android:toDegrees="720">
</rotate>
这里我定义的旋转中心 android:pivotX=”50%p”和android:pivotY=”50%” 代表着相对于控件左上角 X轴方向 以父宽即屏幕宽的一半位移,Y轴方向以 控件本身高度的一半位移,那么这个点就是 旋转的中心了
RotateAnimation(fromDegrees, toDegrees) 创建动画
activity_animation_imageview.startAnimation(getRotateAnimation(0, 360, 2000l));
.....
private RotateAnimation getRotateAnimation(float fromDegrees, float toDegrees, long duraton) {
        RotateAnimation ra = new RotateAnimation(fromDegrees, toDegrees);
        ra.setDuration(duraton);
        return ra;
    }
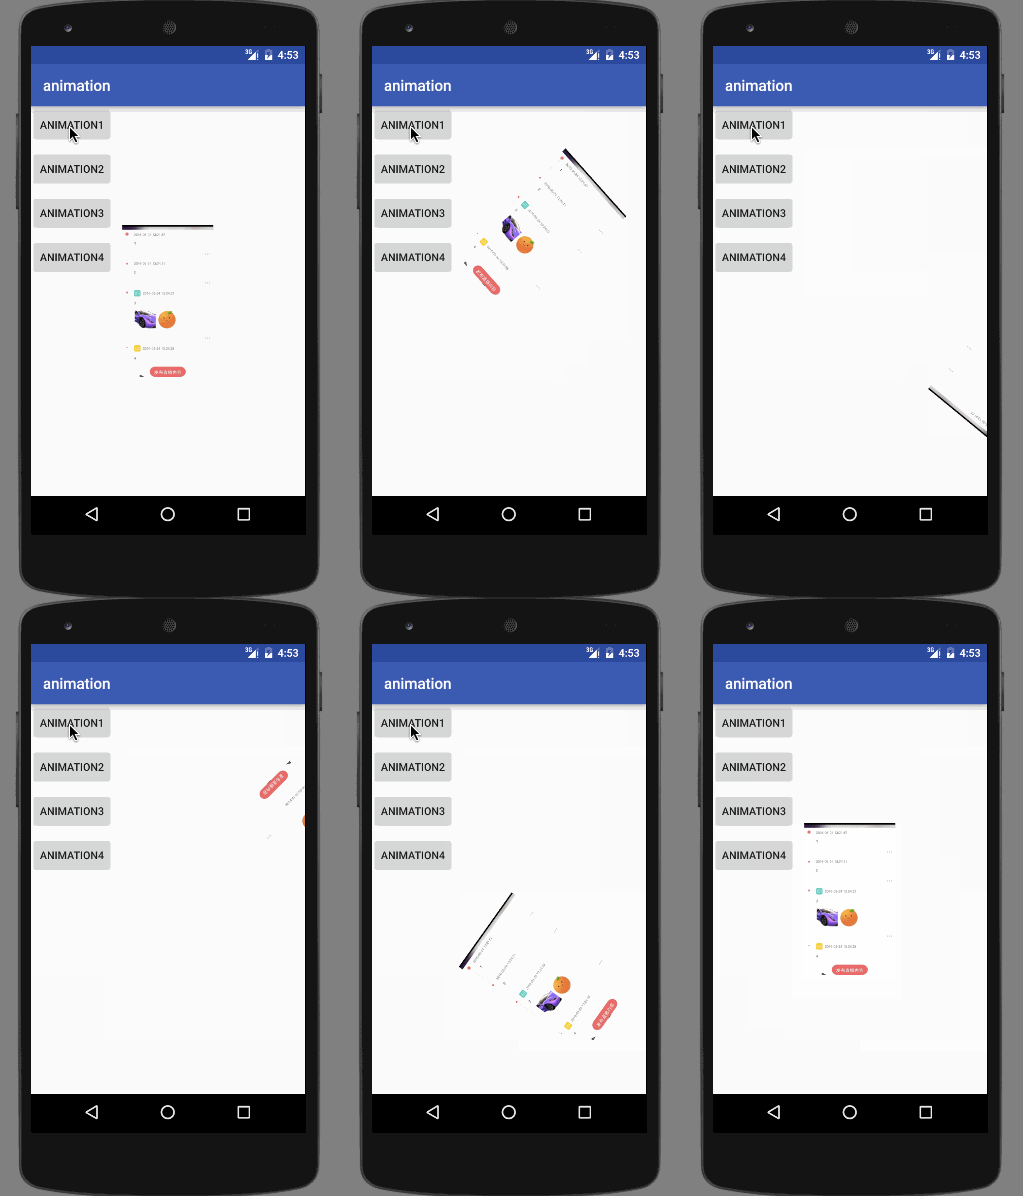
效果:
可以看出这个API默认控件左上角为旋转中心
RotateAnimation(fromDegrees, toDegrees, pivotX, pivotY) 创建动画
activity_animation_imageview.startAnimation(getRotateAnimation(0, 360, 100f, 0.5f, 2000l));
.....
 private RotateAnimation getRotateAnimation(float fromDegrees, float toDegrees, float pivotX, float pivotY, long duraton) {
        RotateAnimation ra = new RotateAnimation(fromDegrees, toDegrees, pivotX, pivotY);
        ra.setDuration(duraton);
        return ra;
    }
此处的 float pivotX, float pivotY 是以控件左上角为原点,值为坐标的参数
RotateAnimation(fromDegrees, toDegrees, pivotXType, pivotXValue, pivotYType, pivotYValue) 创建动画
同样的这里的 pivotXType 和 pivotYType 决定了跟在后面的值是以什么为基础计算的,但是不管 pivotXType, pivotXValue, pivotYType, pivotYValue 他们的取值怎么样,都是以 控件左上角为原点,位移对应距离,最终的点就是 旋转中心(其实在前面的 TranslateAnimation 和 ScaleAnimation 中也是一样的,不管类型、取值如何都死以控件左上角为原点去计算位移距离的)
private RotateAnimation getRotateAnimation(float fromDegrees, float toDegrees, int pivotXType, float pivotXValue,
                                               int pivotYType, float pivotYValue, long duraton) {
        RotateAnimation ra = new RotateAnimation(fromDegrees, toDegrees, pivotXType, pivotXValue, pivotYType, pivotYValue);
        ra.setDuration(duraton);
        return ra;
    }
Animation.ABSOLUTE 为例:
activity_animation_imageview.startAnimation(getRotateAnimation(0,360, Animation.ABSOLUTE, 200f, Animation.ABSOLUTE, 200f, 2000l))
Animation.RELATIVE_TO_PARENT & Animation.RELATIVE_TO_SELF
activity_animation_imageview.startAnimation(getRotateAnimation(0, 360, Animation.RELATIVE_TO_PARENT, 0.5f, Animation.RELATIVE_TO_SELF, 0.5f, 2000l));可以看出,旋转中心是以控件左上角为中心,X轴方向位移屏幕的50%,Y轴方向位移控件高度的50%。
AnimationSet
<?xml version="1.0" encoding="utf-8"?>
<set xmlns:android="http://schemas.android.com/apk/res/android" android:duration="3000" android:fillAfter="true">

    <alpha  android:fromAlpha="0.0" android:toAlpha="1.0" />

    <scale  android:fromXScale="0.0" android:fromYScale="0.0" android:pivotX="50%" android:pivotY="50%" android:toXScale="1.0" android:toYScale="1.0" />

    <rotate  android:fromDegrees="0" android:pivotX="50%" android:pivotY="50%" android:toDegrees="1440" />

    <translate  android:fromXDelta="0" android:fromYDelta="0" android:toXDelta="80%p" android:toYDelta="150%" />

</set>
private Animation animation;
private ImageView activity_animation_imageview;
.....
animation = AnimationUtils.loadAnimation(this, R.anim.set);
activity_animation_imageview.startAnimation(animation);纯代码实现:
 private AnimationSet getAnimationSet() {
        AlphaAnimation aa = new AlphaAnimation(0f, 1f);
        RotateAnimation ra = new RotateAnimation(0f, 1440f, Animation.RELATIVE_TO_SELF, 0.5f, Animation.RELATIVE_TO_SELF, 0.5f);
        ScaleAnimation sa = new ScaleAnimation(0f, 1f, 0f, 1f, Animation.RELATIVE_TO_SELF, 0.5f, Animation.RELATIVE_TO_SELF, 0.5f);
        TranslateAnimation ta = new TranslateAnimation(Animation.ABSOLUTE, 0f, Animation.RELATIVE_TO_PARENT, 0.8f, Animation.ABSOLUTE, 0f, Animation.RELATIVE_TO_SELF, 1.5f);
        AnimationSet set = new AnimationSet(true);
        set.addAnimation(aa);
        set.addAnimation(ra);
        set.addAnimation(sa);
        set.addAnimation(ta);
        set.setDuration(3000l);
        set.setFillAfter(true);
        set.setFillEnabled(true);
        return set;
    }
至此,终于把基础动画都看完,断断续续写了两天,还掺杂着CSDN的BUG,默默吐槽中….顺便附上源码:
http://download.csdn.net/detail/cjh_android/9531161


