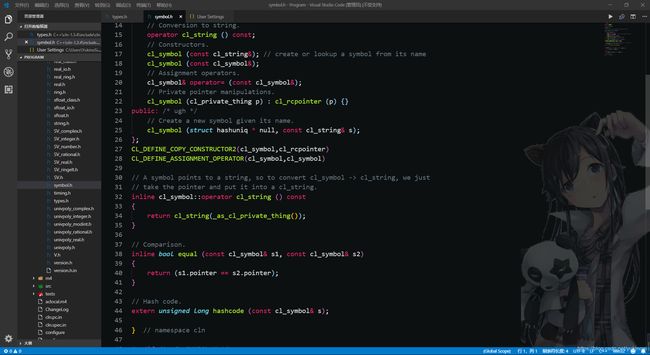
VSCode——修改VSCode背景图片
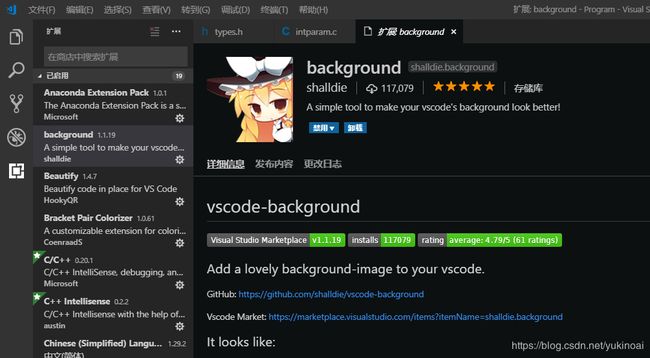
1.以管理员身份运行VS Code,安装background插件
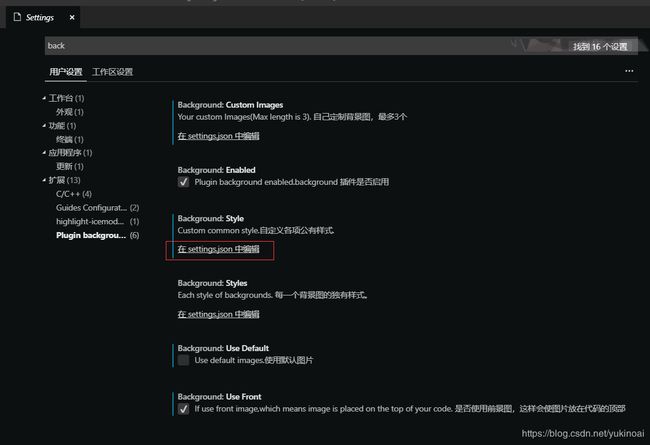
2.打开设置,在搜索框中输入background,选择扩展中的plugin background,选择在setting.json中编辑
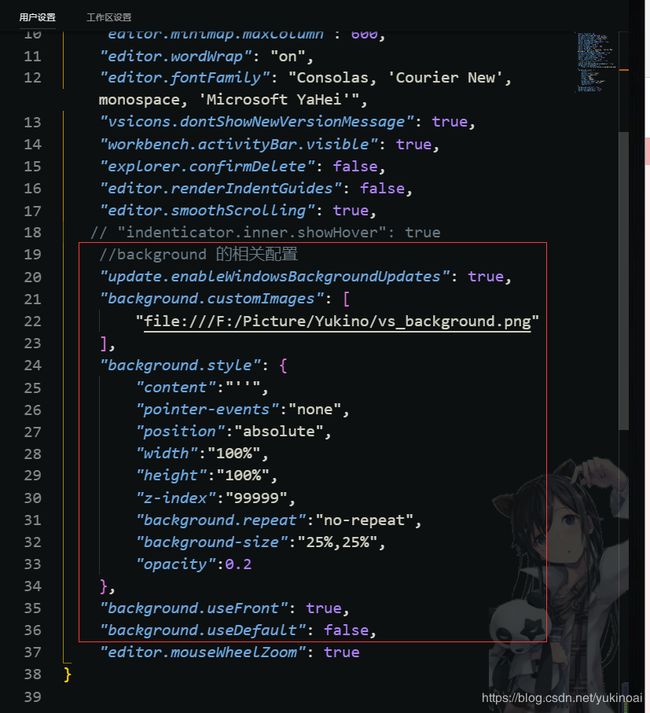
3.在用户设置中输入以下代码,修改完后按Ctrl+S保存,会提示重启VS Code,点击确定后即可完成修改
代码如下:
//background 的相关配置
    "update.enableWindowsBackgroundUpdates": true,
    "background.customImages": [
        "file:///F:/Picture/Yukino/vs_background.png"//图片地址
    ],
    "background.style": {
        "content":"''",
        "pointer-events":"none",
        "position":"absolute",//图片位置
        "width":"100%",
        "height":"100%",
        "z-index":"99999",
        "background.repeat":"no-repeat",
        "background-size":"25%,25%",//图片大小
        "opacity":0.2 //透明度
    },
    "background.useFront": true,
    "background.useDefault": false,//是否使用默认图片
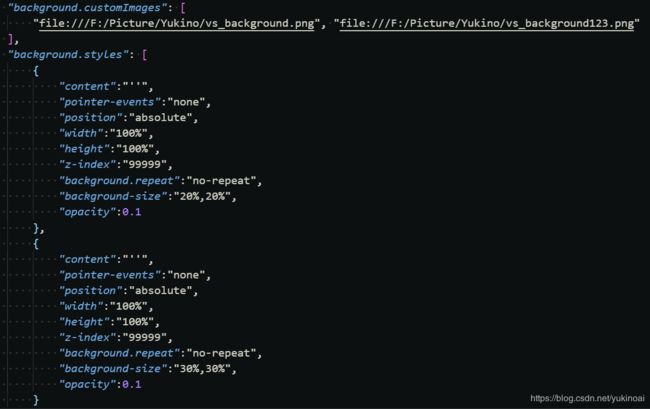
当然你也可以选择多个图片,并设置为不同样式,这样当你开两个并列窗口时,每个窗口都会显示。
 "background.customImages": [
        "file:///F:/Picture/Yukino/vs_background.png", "file:///F:/Picture/Yukino/vs_background123.png"
    ],
    "background.styles": [
        {
            "content":"''",
            "pointer-events":"none",
            "position":"absolute",
            "width":"100%",
            "height":"100%",
            "z-index":"99999",
            "background.repeat":"no-repeat",
            "background-size":"20%,20%",
            "opacity":0.1
        },
        {
            "content":"''",
            "pointer-events":"none",
            "position":"absolute",
            "width":"100%",
            "height":"100%",
            "z-index":"99999",
            "background.repeat":"no-repeat",
            "background-size":"30%,30%",
            "opacity":0.1
        }
    ],
    "background.useFront": true,
    "background.useDefault": false,
注意:
1.安装该插件会令VS Code发出警告,选择不再显示即可
2.必须以管理员身份运行才能修改
3.最好使用透明背景的图片
4.每次vscode更新都会不显示图片,只要以管理员身份重启即可
效果如下
我用的图片为:
