SpringBoot + maven + IDEA开发第一个应用程序
在此之前都是使用eclipse/myeclipse等IDE开发工具进行开发Javaweb应用,而spring boot我也是刚刚接触,在此记一下使用心得:
一、IDEA安装及使用
Idea 2017版本下载:https://pan.baidu.com/s/1N--Oc8VTe5gHXynPZ5BUAA
安装之后会需要激活,激活我也是百度知道的,方法有几种,推荐使用以下这种方式:
在C:\Windows\System32\drivers\etc目录下找到hosts文件:
在最后加上:0.0.0.0 account.jetbrains.com
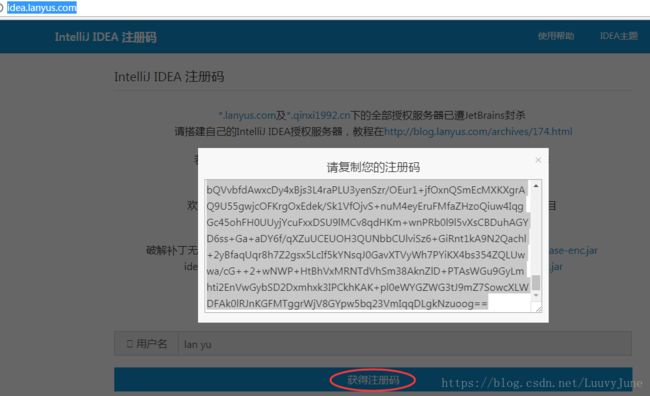
浏览器打开http://idea.lanyus.com/
点击获取注册码
我是第一次使用Idea,安装时选择do not import settings
选择active Activation code,复制粘贴上面的注册码,搞定。还有一种方法直接破解,百度可以找到。
二、IDEA+springBoot搭建第一个应用
版本选择:jdk1.8 + springboot2.0.3 + Maven 3.5.2
关于版本选择可以参考:https://blog.csdn.net/wj197927/article/details/79563081
(1)IDEA:选择create a new project
选择Spring initializr jdk选择自己安装的1.8的版本:
(2)next,spring boot版本我选择的是2.0.3 勾选web这一项,finish
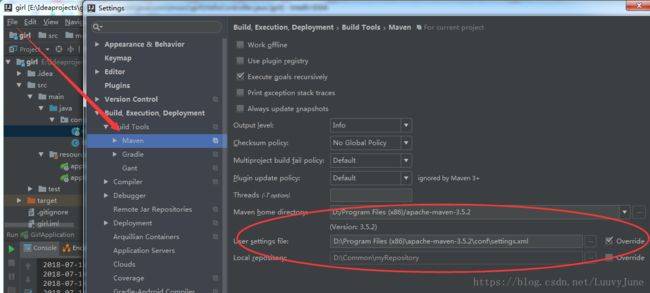
(3)配置maven版本:
maven settings配置文件我选择的是阿里云镜像:
			nexus-aliyun
			Nexus aliyun
			*
			http://maven.aliyun.com/nexus/content/groups/public
(4)建好之后,首先需要下载jar包,会比较慢。如果对字体背景颜色等不满意,可以修改配置:
(5)目录结构:
配置文件配置下端口:使用以下任意一种即可
application.yml:
server:
  port: 8081
application.properties:
server.port = 8081(6)运行程序,三种方法:
自己写一个类:
package com.my.girl;

import org.springframework.web.bind.annotation.RequestMapping;
import org.springframework.web.bind.annotation.RequestMethod;
import org.springframework.web.bind.annotation.RestController;

@RestController
public class HelloController {

    @RequestMapping(value="/hello", method = RequestMethod.GET)
    public String say(){
        return "hello,Spring boot!";
    }

}
第一种:直接在idea中运行,找到main方法,右键 run application
第二种:cmd 打开dos命令界面:
进入项目工作目录,我的在E:\Ideaprojects,输入mvn spring-boot:run
第三种:cmd 进入项目目录,输入mvn insatll 编译生成jar 安装在target
然后再进入target目录,输入 java -jar girl-0.0.1-SNAPSHOT.jar
在浏览器访问:
第一个应用Idea开发的springboot程序完成!


