VLfeat库---研习
官网:http://www.vlfeat.org/index.html

![]()

![]()
下载后解压

不用管BioID-FaceDatabase-V1.2.zip,那是我下载的数据集
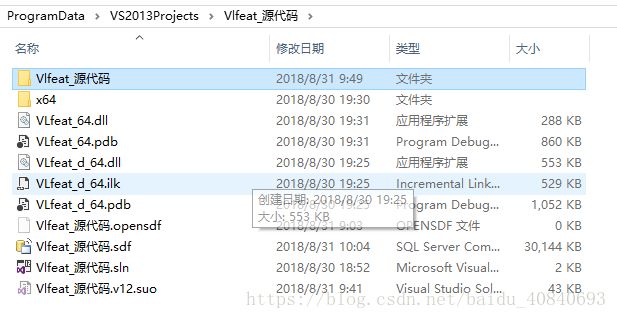
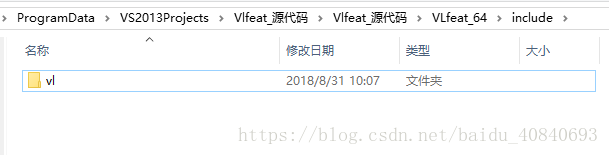
加压后直接打开 vlfeat.sln ,我的是VS2013 发现打不开,ok,我们打开vl
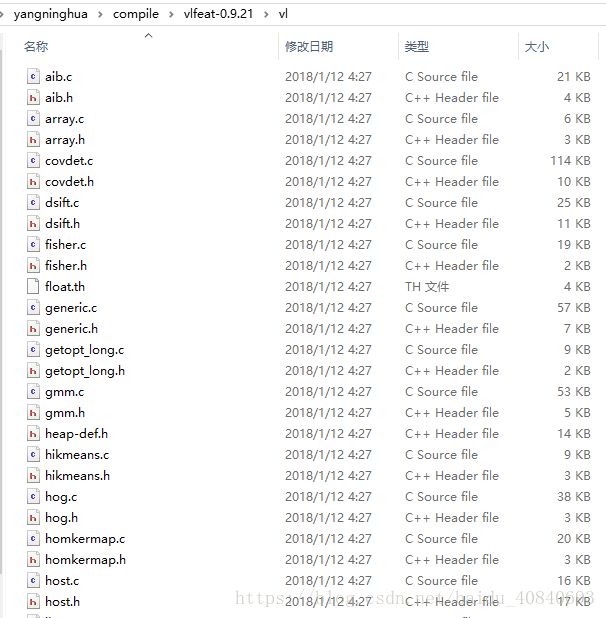
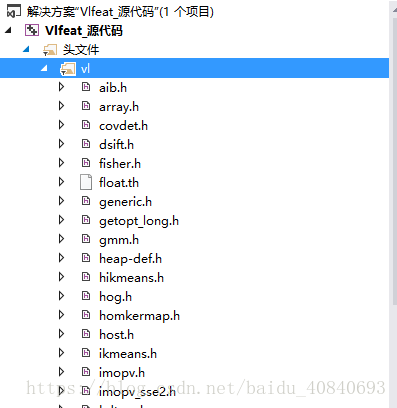
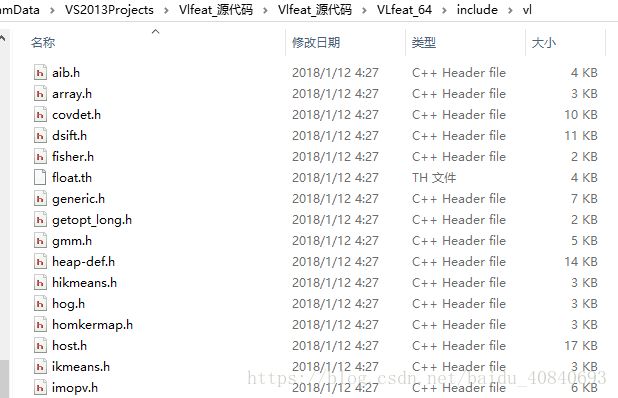
这里是vlfeat的源代码
打开VS2013,新建一个x64的工程,

将vl文件夹,整个文件夹复制到新建的工程下
将vl源代码中所有头文件.h,将全部 右键添加现有项,
这里别忘了,源代码中有一个,
也一定要加上,
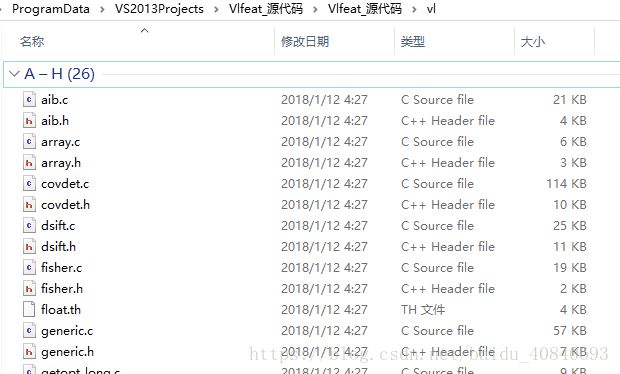
接着源文件.c,将全部 右键添加现有项,
这里还是别忘了,源代码中有三个,

也一定要加上,
解释一下
https://stackoverflow.com/questions/1877196/tc-th-files-for-c-program
他们使用这些作为模板并且文件不是直接编译的,而是在设置影响最终结果的#defines之后在相应的.c或.h文件中包含#included。
一个例子是mathop_sse2.c中发生的事情。它们包括相同的mathop_sse2.tc两次,但第一次将FLT定义为VL_TYPE_DOUBLE,第二次定义为VL_TYPE_FLOAT。这样他们就可以避免为不同类型复制完全相同的代码。
=============================
用我们的话理解,就是这个头文件,一般不会被包含,当有#defines预定义时候,或者,添加某些预处理器时候,才可能使用到
完成后,工程样貌


编译会出错,四中类型错误
第一种
error C4996: 'scanf': This function or variable may be unsafe. Consider using scanf_s instead. To disable deprecation, use _CRT_SECURE_NO_WARNINGS. See online help for details.
解决:
要么 设置,C++,预处理器,预处理器定义,加入 _CRT_SECURE_NO_WARNINGS
要么 哪个文件出现了,在那个文件的头,加入警告忽略 #pragma warning( disable : 4996)
要么 哪个文件出现了,在那个文件的头,加入预定义 #define _CRT_SECURE_NO_WARNINGS
要么 在VS中新建项目的时候去掉“安全开发生命周期(SDL)检查”即可将错误转变成警告,使得使用不安全版本也不影响编译和运行,如下图所示。
第二种
error C2491,不允许dllimport函数的定义:
解决:
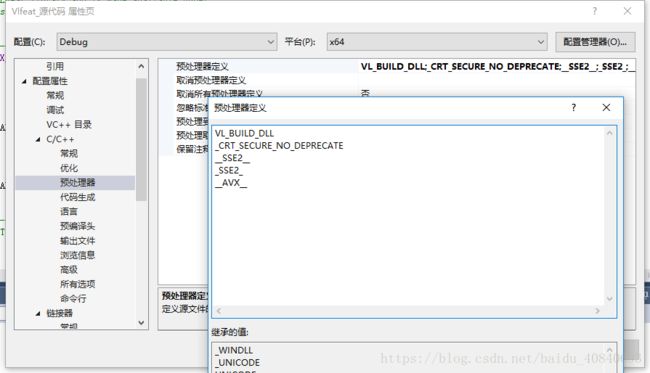
将宏VL_BUILD_DLL加入到预处理器定义中;
第三种
三个类似的错误,fatal error C1189: #error : "Compiling with SSE2 enabled, …”:
解决:
分别将三个宏 __SSE2__、_SSE2_、__AVX__加入到预处理器定义中;
第四种
六个类似的错误,error C4146 一元负运算符应用于无符号类型,结果仍为无符号类型:
解决:
将C/C++--> 常规--> SDL检查改为否(/sdl-)。
最后展示一下预处理器定义
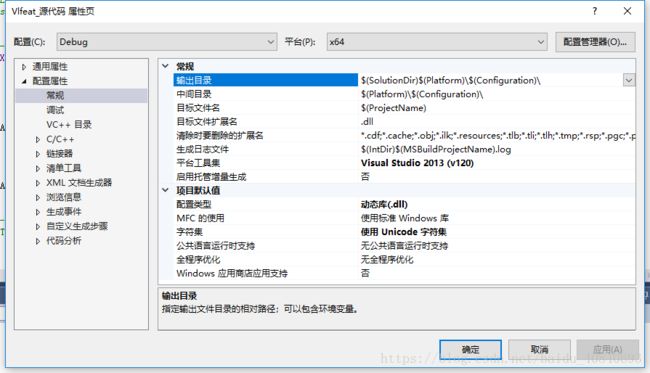
这里还有一点问题,将我们新建的这个工程,改为动态库.dll
然后添加输出库的名字

然后添加输出调试库pdb的名字

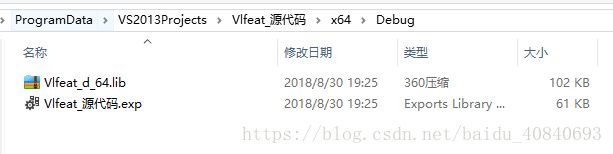
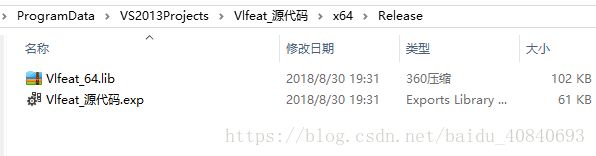
这些都是我们在Debug下完成的,切换到Release
同样上面的步骤,预处理器那些,输出名称改为
..\VLfeat_64.dll
调试库信息加上,但不生成,因为Release下不太需要这个,所以改为了否

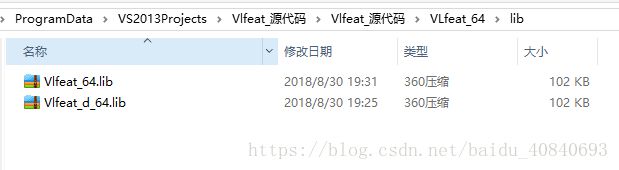
然后,分别在Debug和Release点击生成,此时就可以看到
VLfeat库了
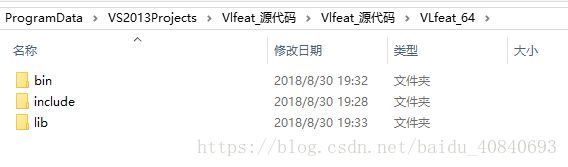
最后自己整理一下,新建文件夹,里面有三个子文件夹,bin,lib,include
各自放入


最后说几句,如果你要跑vlfeat的例子,mser这个例子中,有个错误,
C++: malloc : error: invalid conversion from ‘void*’ to ‘uint8_t*’
vl_int8 buffer;
buffer = malloc(numBytes);
应该改为
vl_int8 buffer;
buffer = (vl_int8 *)malloc(numBytes);
最后最后,关于vlfeat的c接口的使用,其实就是与opencv对接,用opencv的读取和显示功能,其他,全部是vlfeat
比如
// OpenCV can be used to read images.
#include

// The VLFeat header files need to be declared external.
extern "C" {
    #include "vl/generic.h"
    #include "vl/slic.h"
}

int main() {
    // Read the Lenna image. The matrix 'mat' will have 3 8 bit channels
    // corresponding to BGR color space.
    cv::Mat mat = cv::imread("Lenna.png", CV_LOAD_IMAGE_COLOR);

    // Convert image to one-dimensional array.
    float* image = new float[mat.rows*mat.cols*mat.channels()];
    for (int i = 0; i < mat.rows; ++i) {
        for (int j = 0; j < mat.cols; ++j) {
            // Assuming three channels ...
            image[j + mat.cols*i + mat.cols*mat.rows*0] = mat.at(i, j)[0];
            image[j + mat.cols*i + mat.cols*mat.rows*1] = mat.at(i, j)[1];
            image[j + mat.cols*i + mat.cols*mat.rows*2] = mat.at(i, j)[2];
        }
    }

    // The algorithm will store the final segmentation in a one-dimensional array.
    vl_uint32* segmentation = new vl_uint32[mat.rows*mat.cols];
    vl_size height = mat.rows;
    vl_size width = mat.cols;
    vl_size channels = mat.channels();

    // The region size defines the number of superpixels obtained.
    // Regularization describes a trade-off between the color term and the
    // spatial term.
    vl_size region = 30;
    float regularization = 1000.;
    vl_size minRegion = 10;

    vl_slic_segment(segmentation, image, width, height, channels, region, regularization, minRegion);

    // Convert segmentation.
    int** labels = new int*[mat.rows];
    for (int i = 0; i < mat.rows; ++i) {
        labels[i] = new int[mat.cols];

        for (int j = 0; j < mat.cols; ++j) {
            labels[i][j] = (int) segmentation[j + mat.cols*i];
        }
    }

    // Compute a contour image: this actually colors every border pixel
    // red such that we get relatively thick contours.
    int label = 0;
    int labelTop = -1;
    int labelBottom = -1;
    int labelLeft = -1;
    int labelRight = -1;

    for (int i = 0; i < mat.rows; i++) {
        for (int j = 0; j < mat.cols; j++) {

            label = labels[i][j];

            labelTop = label;
            if (i > 0) {
                labelTop = labels[i - 1][j];
            }

            labelBottom = label;
            if (i < mat.rows - 1) {
                labelBottom = labels[i + 1][j];
            }

            labelLeft = label;
            if (j > 0) {
                labelLeft = labels[i][j - 1];
            }

            labelRight = label;
            if (j < mat.cols - 1) {
                labelRight = labels[i][j + 1];
            }

            if (label != labelTop || label != labelBottom || label!= labelLeft || label != labelRight) {
                mat.at(i, j)[0] = 0;
                mat.at(i, j)[1] = 0;
                mat.at(i, j)[2] = 255;
            }
        }
    }

    // Save the contour image.
    cv::imwrite("Lenna_contours.png", mat);

    return 0;
}
哈哈哈哈哈哈,最后最后最后,再废话一句,别嫌我唠叨,为什么要pdb,如果没有pdb,我们Debug,只能停在函数那里

如果你加上了pdb,程序跑起来,dll和lib,会自动加载pdb,Debug调试的时候,可以跳进函数内部,比如单步调试


函数内部信息,一览无余,这样,你可以快速的学习VLfeat的每一个函数
当然,你不要pdb也能进入,是因为,你在本机上编译了这个dll。lib,pdb,只要你别动工程的位置,还是能进,我们说的是,假如,你把这个生成的库,拿到另外的电脑上,还能进入源代码,就必须一定一定一定一定一定一定,需要pdb文件了,而且,他和对应的dll,尽量放在一个路径,名字相同,但是,不同模式下编译的,名字要有别,以便Debug和Release分开!!!
我的修改版
// OpenCV can be used to read images.
#include
// The VLFeat header files need to be declared external.
extern "C" { //告诉编译器,这部分代码按C语言的格式进行编译,而不是C++的
#include "vl/generic.h"
#include "vl/slic.h"
}
int main() {
// Read the Lenna image. The matrix 'mat' will have 3 8 bit channels
// corresponding to BGR color space.
cv::Mat mat = cv::imread("img1.ppm", CV_LOAD_IMAGE_COLOR);
// BGR
// Convert image to one-dimensional array.
// 将图像转换为一维数组。
float* image = new float[mat.rows*mat.cols*mat.channels()];
for (int i = 0; i < mat.rows; ++i) {
for (int j = 0; j < mat.cols; ++j) {
// Assuming three channels ...
image[j + mat.cols*i + mat.cols*mat.rows * 0] = mat.at(i, j)[0];
image[j + mat.cols*i + mat.cols*mat.rows * 1] = mat.at(i, j)[1];
image[j + mat.cols*i + mat.cols*mat.rows * 2] = mat.at(i, j)[2];
}
}
// The algorithm will store the final segmentation in a one-dimensional array.
// 算法将最终分段存储在一维数组中
vl_uint32* segmentation = new vl_uint32[mat.rows*mat.cols];
vl_size height = mat.rows;
vl_size width = mat.cols;
vl_size channels = mat.channels();
// The region size defines the number of superpixels obtained.
// Regularization describes a trade-off between the color term and the
// spatial term.
//区域大小定义了获得的超像素的数量。
//正则化描述了颜色术语和空间术语之间的权衡。
vl_size region = 30;
float regularization = 1000.;
vl_size minRegion = 10;
vl_slic_segment(segmentation, image, width, height, channels, region, regularization, minRegion);
// Convert segmentation. 按行走,一行一行的遍历,把segmentation 划分成 labels[i][j] 图像定位格式
// 转换 segmentation
int maxlabels= 0;
int** labels = new int*[mat.rows]; //行
for (int i = 0; i < mat.rows; ++i) {
labels[i] = new int[mat.cols]; // 列
for (int j = 0; j < mat.cols; ++j) {
labels[i][j] = (int)segmentation[j + mat.cols*i];
if (labels[i][j]> maxlabels){
maxlabels = labels[i][j];
}
}
}
/* opencv与二维数组相互转换 */
// labels[m][n] 二维数组-m代表行,n代表列
cv::Mat opencv_labels = cv::Mat::ones(mat.rows, mat.cols, CV_32S);
cv::Mat new_opencv_labels;
new_opencv_labels.create(opencv_labels.rows, opencv_labels.cols, CV_64F);
int *ptmp = NULL;
double *new_ptmp = NULL;
int opencv_tmp = 0;
for (int m = 0; m < opencv_labels.rows; m++)
{
ptmp = opencv_labels.ptr(m);//指针指向img2的第i行
new_ptmp = new_opencv_labels.ptr(m);
for (int n = 0; n < opencv_labels.cols; n++)
{
//ptr[i][j] = mat.at(i, j);//img的矩阵数据传给二维数组ptr[][]
opencv_tmp = labels[m][n];
ptmp[n] = opencv_tmp;//二维数组数据传给img2的第i行第j列
new_ptmp[n] = ((double)opencv_tmp / (double)maxlabels) * (double)255;
}
}
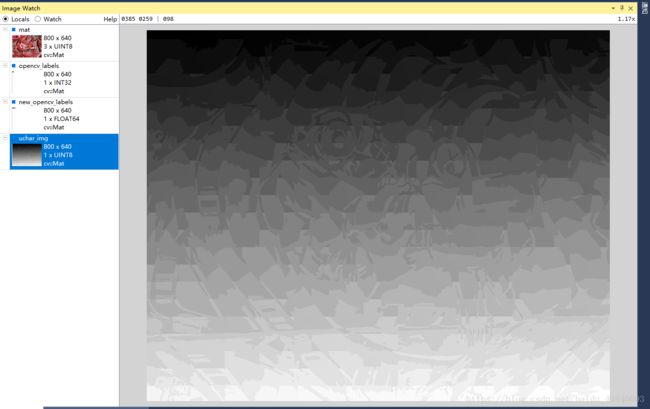
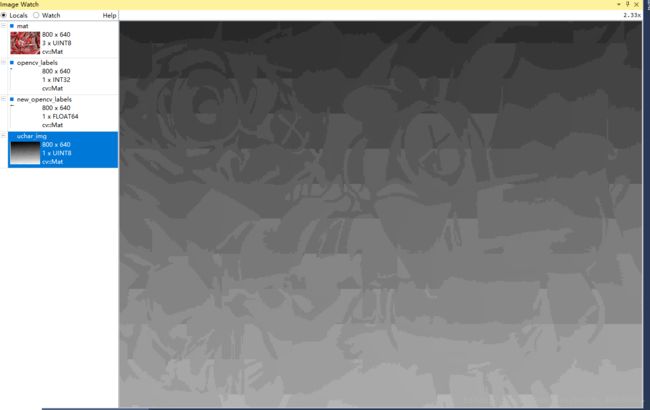
cv::Mat uchar_img;
uchar_img.create(opencv_labels.rows, opencv_labels.cols, CV_8UC1);
new_opencv_labels.convertTo(uchar_img, CV_8UC1); // or CV_32F works (too)
cv::imshow("Lenna", uchar_img); // 感受一下分割
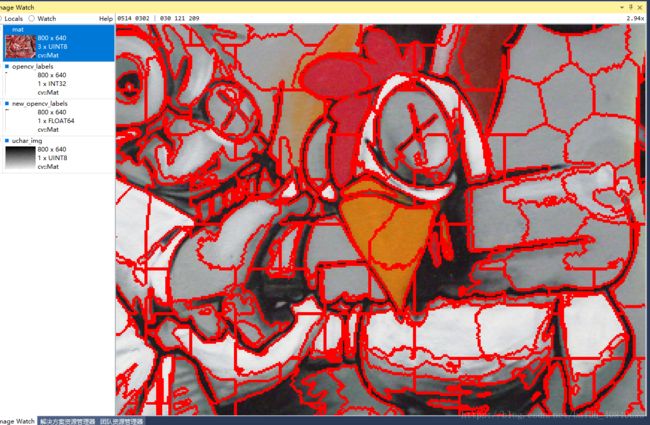
// Compute a contour image: this actually colors every border pixel
// red such that we get relatively thick contours.
// 计算轮廓图像:这实际上会为每个边框像素着色
// 红色使得我们得到相对较厚的轮廓。
int label = 0;
int labelTop = -1;
int labelBottom = -1;
int labelLeft = -1;
int labelRight = -1;
for (int i = 0; i < mat.rows; i++) {
for (int j = 0; j < mat.cols; j++) {
label = labels[i][j];
labelTop = label;
if (i > 0) {
labelTop = labels[i - 1][j];
}
labelBottom = label;
if (i < mat.rows - 1) {
labelBottom = labels[i + 1][j];
}
labelLeft = label;
if (j > 0) {
labelLeft = labels[i][j - 1];
}
labelRight = label;
if (j < mat.cols - 1) {
labelRight = labels[i][j + 1];
}
if (label != labelTop || label != labelBottom || label != labelLeft || label != labelRight) {
mat.at(i, j)[0] = 0;
mat.at(i, j)[1] = 0;
mat.at(i, j)[2] = 255;
}
}
}
cv::imshow("Lenna_contours", mat);
// Save the contour image.
cv::imwrite("Lenna_contours.png", mat);
cv::waitKey();
return 0;
}