Spring Boot源码——源码阅读环境搭建
前言
阅读Spring Boot源码,需要先有所了解Spring Framework相关知识或者源码细节等,可以参考我之前的相关博客内容。接下来,主要着手研究Spring Boot这一块,如果还不知道怎么用Spring Boot,建立花费一些时间入门一下。
本文主要是阅读源码的第一步,搭建阅读Spring Boot源码的环境,我们依然使用的是IDEA工具。
环境准备
- JDK8+
- Maven3.5+
- IntelliJ IDEA
下载源码
写这篇文章的时候在19年4月20日左右,2.2.0版本的源码在编译时一直存在问题。故折中下载了2.1.x版本的源代码进行编译
直接下载2.1.x版本的源代码只有10Mb多,很快便可以下载完毕。
《============================ 以下为克隆最新源码的方式 =============================》
官方的仓库地址是在:https://github.com/spring-projects/spring-boot
如果直接 git clone https://github.com/spring-projects/spring-boot.git 有问题,会报出:
error: RPC failed; curl 18 transfer closed with outstanding read data remaining
fatal: The remote end hung up unexpectedly
fatal: early EOF
fatal: index-pack failed
主要解决方案就是两种:
一种,用 ssh 方式克隆,前提你需要 fork 官方的仓库到自己的 github,然后创建一个 ssh 的 key。然后直接克隆即可:
git clone 自己仓库的ssh地址
大概400Mb+,最近学校网特别慢,下了整整一天……
另一种方案,就是只检出最新的一版代码,版本更新历史就丢弃了,前提你对Spring Boot的发展史不在乎可以这么做:
git clone --depth 1 https://github.com/spring-projects/spring-boot.git
第二种方案相对大小减少很多,速度更快了。
导入IDEA
导入IDEA前,一定要确认安装好了Maven3.5以上的版本,因为之前的版本在编译时,Maven插件好像会报错。
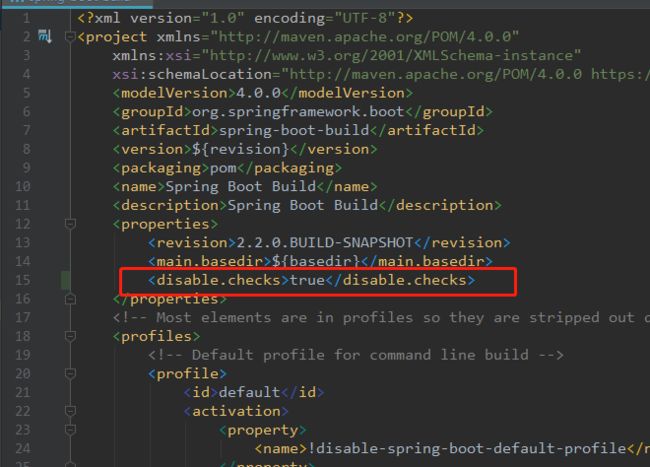
修改根目录下的 pom 文件,在第15行添加上
为了加速下载所有的 jar 包,记得修改 settings.xml 文件将 Maven 源配置成阿里云镜像仓库。
<mirrors>
    <mirror>
        <id>nexus-aliyunid>
        <mirrorOf>centralmirrorOf>
        <name>Nexus aliyunname>
        <url>http://maven.aliyun.com/nexus/content/groups/publicurl>
    mirror>
mirrors>
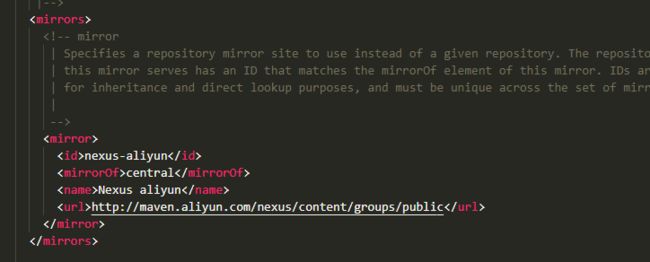
换源之后下载舒服飞速提升,原本下了一下午的时间大幅缩短,而且不会报出一些莫名奇妙的错误。因为有时候下载失败,导致编译不过去。出了问题我的做法很暴力,直接将本地仓库删干净,然后重新编译。
编译步骤就是进入源码根目录,执行:
mvn clean install -DskipTests -Pfast
等到编译成功,然后就可以利用IDEA导入Spring Boot工程源码了。
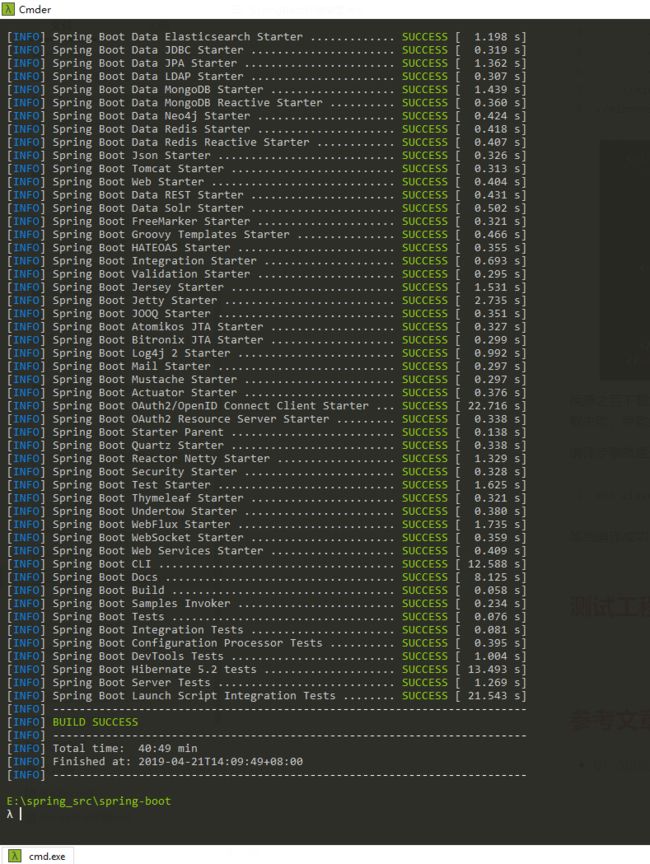
然后导入到IDEA中即可,记得IDEA的 Maven 版本也要选择3.5+版本的才行。
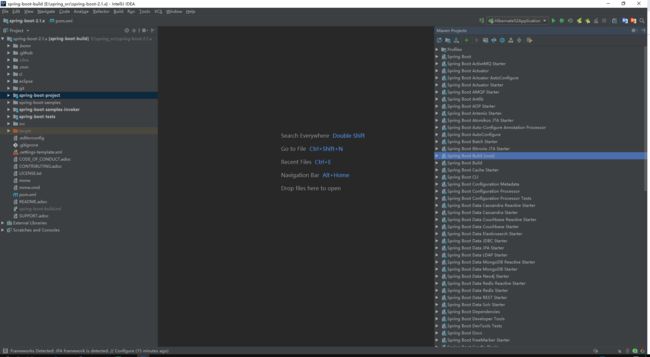
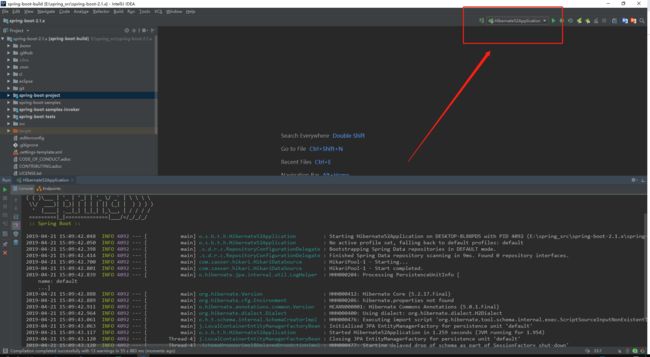
打开 spring-boot-hibernate52-tests 项目的 Hibernate52Application 类,直接点击运行,查看是否成功。
测试工程搭建
选中 spring-boot-tests 模块,右键 New -》Moudle,新建一个名为 spring-boot-guoping-tests 的测试模块,和 spring-boot-integration-tests 同级并类似。
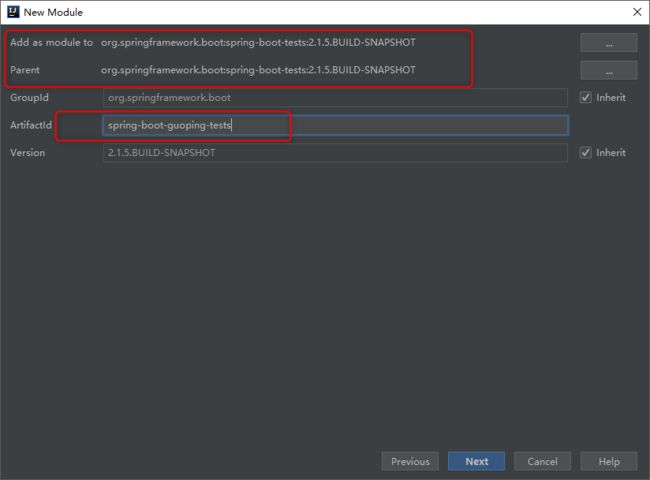
修改的 pom 文件。
<project xmlns="http://maven.apache.org/POM/4.0.0"
		 xmlns:xsi="http://www.w3.org/2001/XMLSchema-instance"
		 xsi:schemaLocation="http://maven.apache.org/POM/4.0.0 http://maven.apache.org/xsd/maven-4.0.0.xsd">
	<parent>
		<artifactId>spring-boot-testsartifactId>
		<groupId>org.springframework.bootgroupId>
		<version>${revision}version>
	parent>
	<modelVersion>4.0.0modelVersion>

	<artifactId>spring-boot-guoping-testsartifactId>
	<packaging>pompackaging>
	<modules>
		<module>spring-boot-guoping-mvc-testsmodule>
	modules>

	<description>我的Spring Boot测试模块description>

	<properties>
		<main.basedir>${basedir}/../..main.basedir>
		<java.version>1.8java.version>
	properties>

project>
再选中刚刚创建的 spring-boot-guoping-tests 的测试模块,继续右键 New -》Moudle,新建一个名为 spring-boot-guoping-mvc-tests 的模块,类似于 spring-boot-integration-tests 中的 spring-boot-configuration-processor-tests 等。
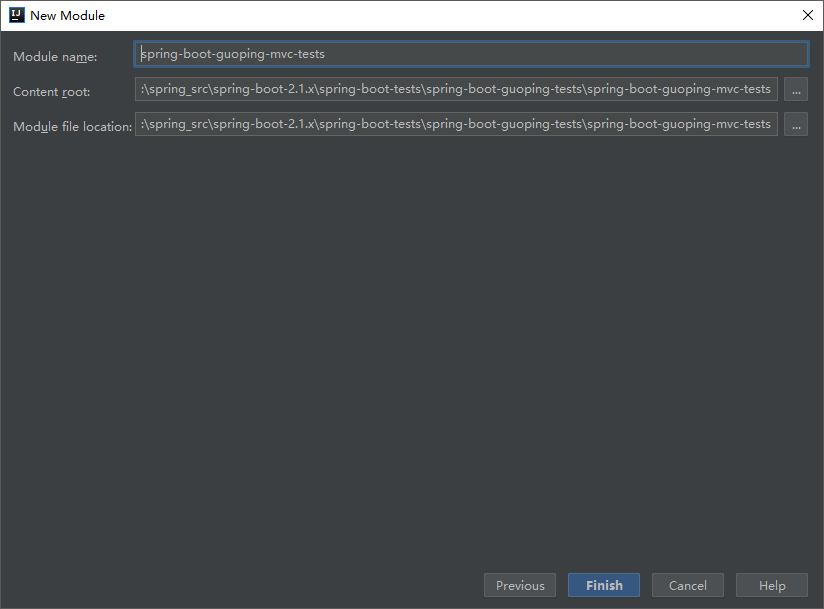
接下来我们就是在 spring-boot-guoping-mvc-tests 模块中新建测试项目,主要新建一个 hello world 的MVC测试工程。
编辑 spring-boot-guoping-mvc-tests 模块的 pom 文件,就像平常使用Spring Boot一样。
<project xmlns="http://maven.apache.org/POM/4.0.0"
		 xmlns:xsi="http://www.w3.org/2001/XMLSchema-instance"
		 xsi:schemaLocation="http://maven.apache.org/POM/4.0.0 http://maven.apache.org/xsd/maven-4.0.0.xsd">
	<parent>
		<artifactId>spring-boot-guoping-testsartifactId>
		<groupId>org.springframework.bootgroupId>
		<version>${revision}version>
	parent>
	<modelVersion>4.0.0modelVersion>

	<artifactId>spring-boot-guoping-mvc-testsartifactId>
	<name>我的Spring Boot测试模块 之 MVC部分name>

	<description>${project.name}description>
	<properties>
		<main.basedir>${basedir}/../../..main.basedir>
	properties>

	<dependencies>

		<dependency>
			<groupId>org.springframework.bootgroupId>
			<artifactId>spring-boot-starter-webartifactId>
		dependency>
	dependencies>
	<build>
		<plugins>
			<plugin>
				<groupId>org.springframework.bootgroupId>
				<artifactId>spring-boot-maven-pluginartifactId>
			plugin>
		plugins>
	build>

project>
在 spring-boot-guoping-mvc-tests 模块中新建 SpringBootApplication 类 MyTestMVCApplication:
package guo.ping.test.mvc;

import org.springframework.boot.SpringApplication;
import org.springframework.boot.autoconfigure.SpringBootApplication;

/**
 * @description: 自己搭建的MVC测试工程
 * @author: guoping wang
 * @date: 2019/4/21 15:26
 * @project: spring-boot-build
 */
@SpringBootApplication
public class MyTestMVCApplication {

	public static void main(String[] args) {
		SpringApplication.run(MyTestMVCApplication.class, args);
	}
}
然后再新建一个 Controller:
package guo.ping.test.mvc.controller;

import org.springframework.stereotype.Controller;
import org.springframework.web.bind.annotation.RequestMapping;
import org.springframework.web.bind.annotation.ResponseBody;

/**
 * @description: 测试Controller
 * @author: guoping wang
 * @date: 2019/4/21 15:27
 * @project: spring-boot-build
 */
@Controller
@RequestMapping("/test")
public class MyTestController {

	@ResponseBody
	@RequestMapping("/hello")
	public String hello() {
		return "hello world";
	}
}
运行 MyTestMVCApplication 中的 main 方法:
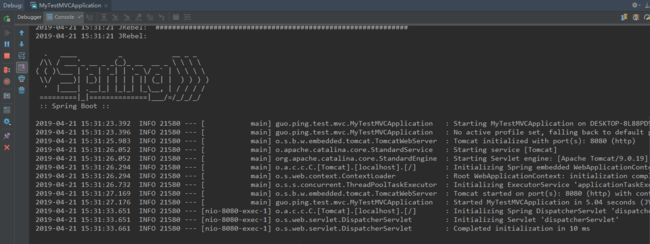
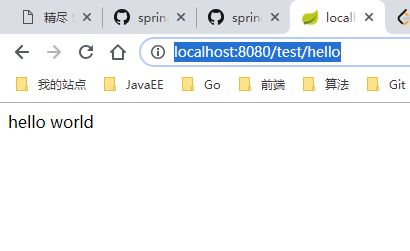
浏览器输入:http://localhost:8080/test/hello
喜极而泣,到这一步整整花了两天,该死的网络和 Maven 插件!!
参考文章
- 01–SpringBoot源码阅读环境搭建
