idea maven SpringMVC实例
之前都是在用MyEclipse进行程序编写,没有接触过idea,最近在学习《精通spring4.x》,书籍要求所以学着用,发现真的很好用,第一,自带maven,不用手动导入jar包了,前期布置很快速,熟练后很快就可以配置好环境,下面就来介绍一个简单的SpringMVC例子。
1.创建maven工程
记得选择maven-webapp

next
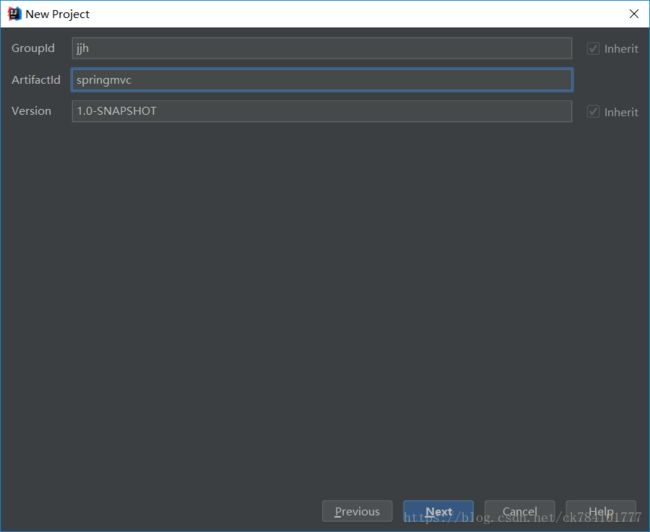
GroupId为单位名或者公司名,ArtifactID为工程名,然后next
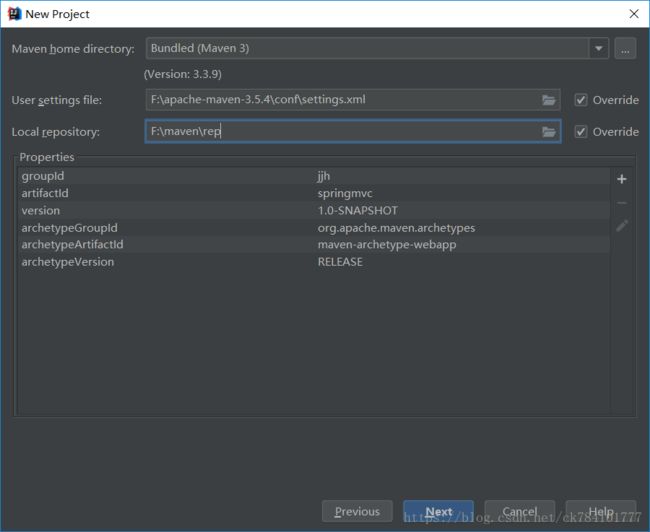
下面的两个分别是你的maven配置文件和你的仓库地址,默认是c盘下的文件,这里可以修改成自己存放maven项目的目录,这里可以加一条name=archetypeCatalog value=internal,代表先加载本地仓库没有在去访问远程仓库,另外在setting.xml下加入下面代码,这个地址在国内访问速度较快.
        alimaven
        central
        aliyun maven
      http://maven.aliyun.com/nexus/content/repositories/central/
next
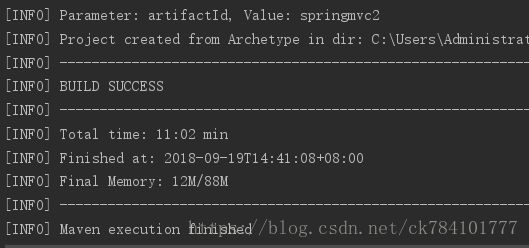
创建完成后跳到pom.xml文件下,默认的配置是空的,点击右下角的enable auto-import可以导入之前maven-webapp为你自动创建的web工程如图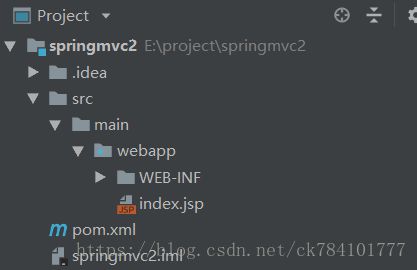
结构如图,如果没有这个文件目录,稍微等等,等maven完成下载
到这里框架完成初始化。
2.添加pom依赖
maven最大的好处就是可以帮助用户自动下载jar包,只需要用户提供jar包的信息即可,在pom.xml下完成这些操作。
默认信息如图

我用来掩饰的项目包括以下jar包,
      junit
      junit
      4.12
      test


      org.slf4j
      slf4j-log4j12
      1.7.21


      javax.servlet
      javax.servlet-api
      3.1.0


      javax.servlet.jsp
      jsp-api
      2.2


      javax.servlet
      jstl
      1.2


      mysql
      mysql-connector-java
      5.1.35


      org.springframework
      spring-web
      4.2.6.RELEASE


      org.springframework
      spring-webmvc
      4.2.6.RELEASE


      org.springframework
      spring-context
      4.2.6.RELEASE


      org.springframework
      spring-test
      4.2.6.RELEASE


          org.springframework
          spring-jdbc
          4.2.6.RELEASE


      com.github.stefanbirkner
      system-rules
      1.16.1
      test


      org.aspectj
      aspectjweaver
      1.8.9


        org.apache.commons
        commons-lang3
        3.4
这里复制粘贴就好了,默认的jar包是不会变得,不用刻意去记,将代码粘贴过去后开始可能会冒红字,别担心,maven在帮你下载,等一下就好了

右键项目

导入springmvc配置

如果打开后没有spring,参考https://blog.csdn.net/dainandainan1/article/details/80318780
完成操作后

4.构建文件结构

点击那个长的像文件夹的按钮
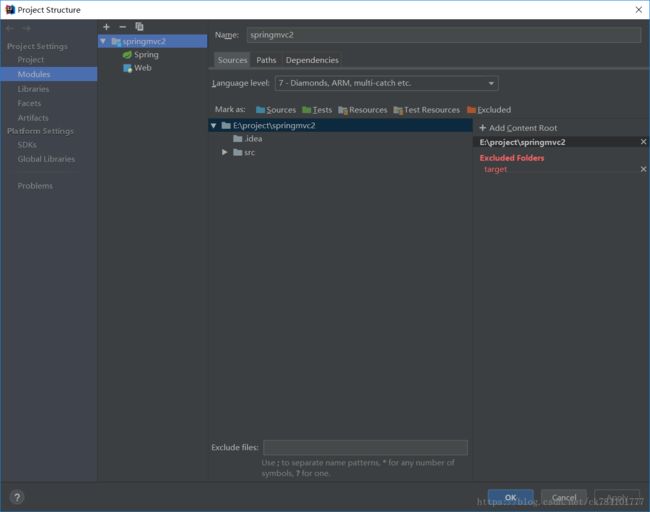

Modules->项目名->src->右键创建新文件夹

建立如图所示的文件目录格式
5.web.xml配置
  Archetype Created Web Application


        contextConfigLocation
        /WEB-INF/applicationContext.xml


        org.springframework.web.context.ContextLoaderListener


        springMVC
        org.springframework.web.servlet.DispatcherServlet


            contextConfigLocation
            /WEB-INF/dispatcher-servlet.xml

        1


        springMVC
        /


        dispatcher
        org.springframework.web.servlet.DispatcherServlet
        1


        dispatcher
        *.form
web.xml里添加了springmvc的分发器
下面是dispatcher-servlet.xml的配置文件
基本的配置,直接复制就好了,注意自动扫描装配的路径,修改成自己的目录路径即可
测试
在controller下创建一个类用来测试
package example.controller;

import org.springframework.stereotype.Controller;
import org.springframework.web.bind.annotation.RequestMapping;

@Controller
public class IndexController {
    @RequestMapping("/index")
    public String index() {
        return "index";
    }
}
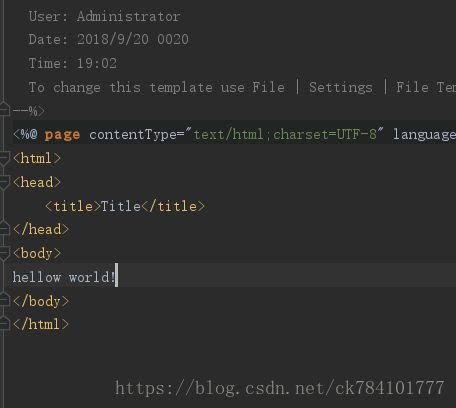
在views目录下创建i视图ndex.jsp
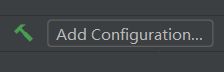
6.Tomcat部署
点Add Configurations
tomcat -> local->deployment
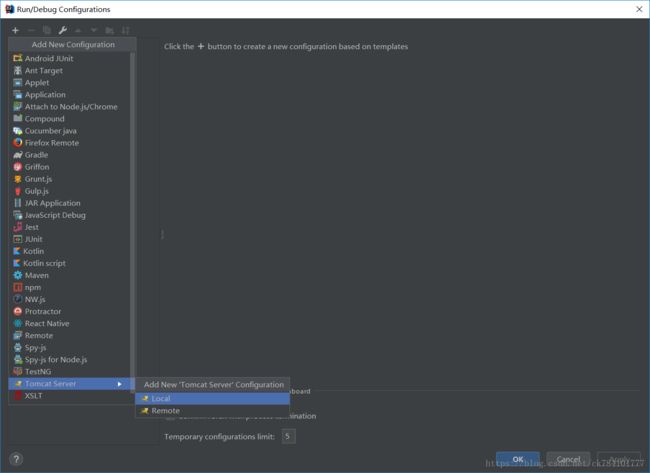
Application server用本地tomcat即可


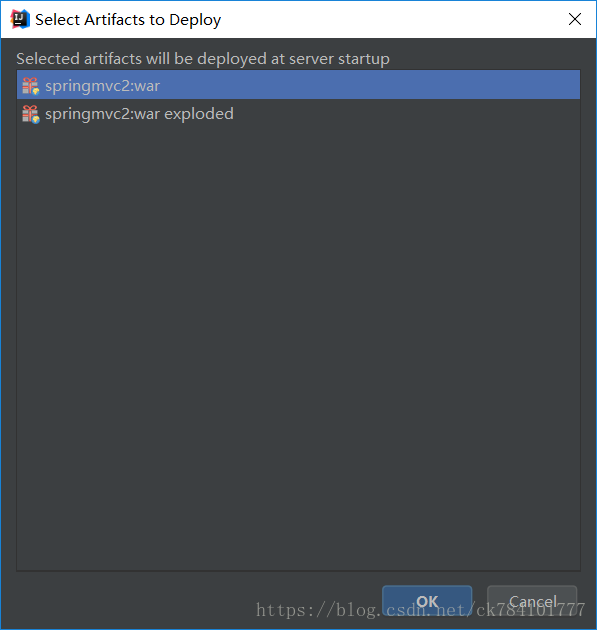
选择第一个就好了
这是发布后的上下文,填写项目名即可

点击ok完成。
点击运行,在游览器链接上输入http://localhost:8080/springmvc/index 第二反斜杠后发布的上下文

调试成功
一个简单的springmvc项目就完成了。这是最简单配置,没有涉及到数据库,下一次我会写一个登陆注册,用mysql数据库实现数据存储交换。