VirtualBox下载安装,Ubuntu 下载安装设置
一、VitualBox 下载
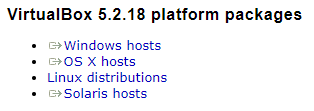
1.从 https://www.virtualbox.org下载VirtualBox 5.2,登录网址点击一下图标
2.选择Windows host
3. 从下载的路径双击VitualBox 安装
![]()
4.按照默认设置一路确定知道安装完成。打开如下图。
5. 至此VirtualBox安装完成。
二、下载Ubuntu
Ubuntu 14.04:
从http://releases.ubuntu.com/14.04/
下载ubuntu-14.04.3-desktop-i386.iso (32bits) / ubuntu-14.04.3-desktop-amd64.iso (64bits)
Ubuntu 16.06:
从http://releases.ubuntu.com/16.04/
ubuntu-16.04-desktop-i386.iso (32bits) / ubuntu-16.04-desktop-amd64.iso (64bits) from
或者从https://wiki.ubuntu.com/Releases可以下载最新我的LTS版本
三、VitualBox扩展包下载及安装
1. 登陆 https://www.virtualbox.org/wiki/Downloads
2. 点击All supported platforms
3. 打开VBox,点击左上角File--->Preferences
4. 点击加好添加安装包
5. 浏览到扩展包的下载位置选中然后点击打开。
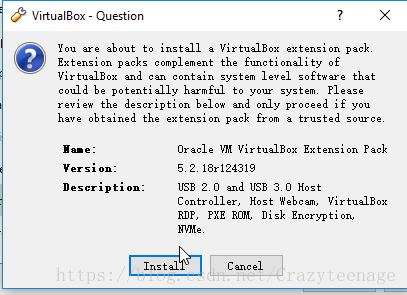
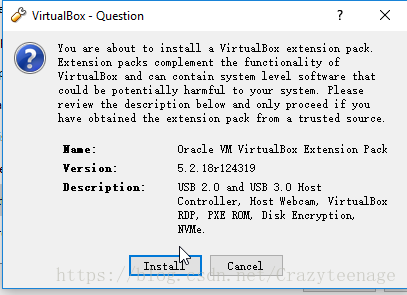
6. 点击Install
7. 点击I agree
8. 至此完成扩展包安装。
四、安装Ubuntu
1.打开虚拟机点击左上角New
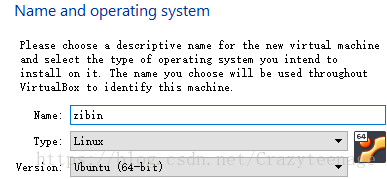
2. 输入username,选择 Linux,Version选择Ubuntu,点击Next
4. 一路Next知道虚拟机创建成功。
5. 双击虚拟机启动虚拟机
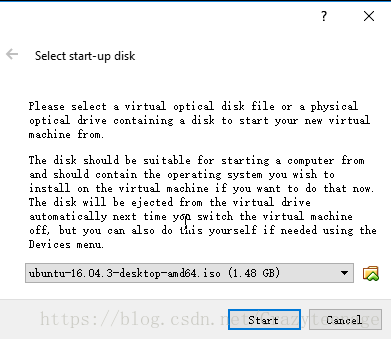
6. 选择ubuntu映像文件,点击start
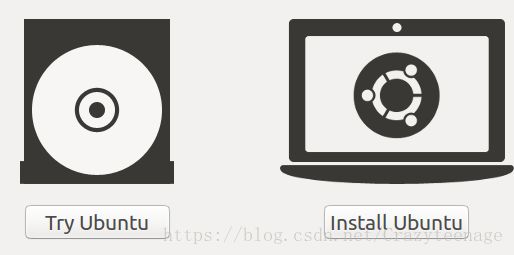
7. 选择 Install Ubuntu
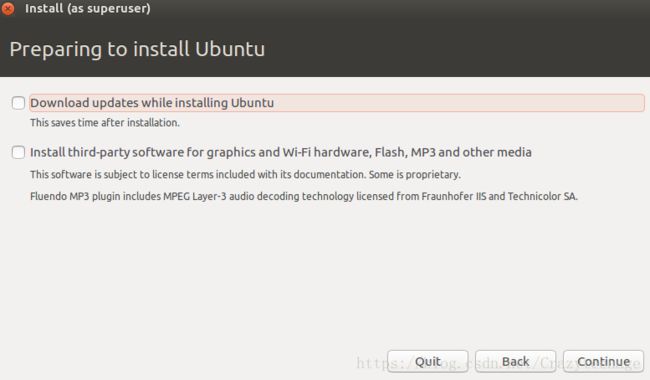
8. 点击Continue
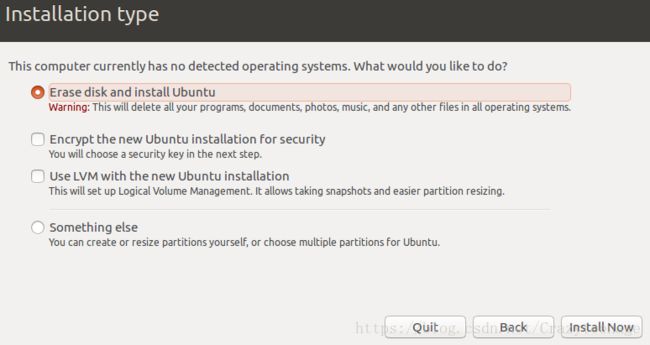
9. 点击Install Now
10. 点击Continue
11. 填写地址,点击Continue
12. 选择Keyboard layout
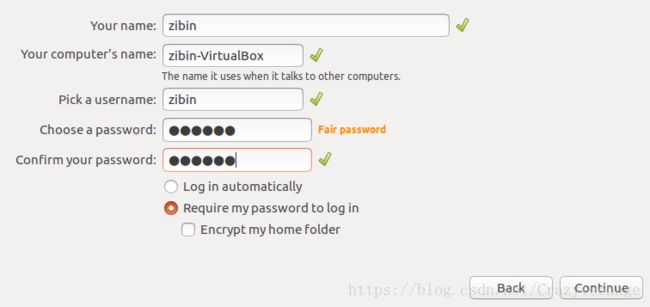
13. 设置用户名,密码,点击continue
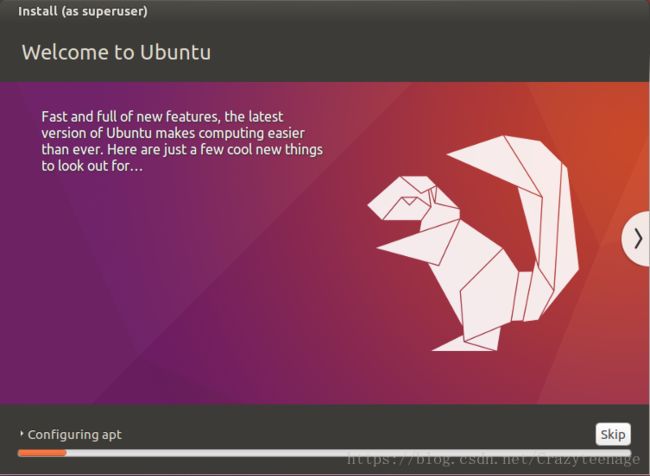
14. 等待安装系统,安装完成按提示重启。
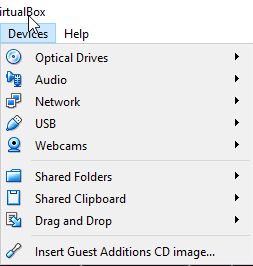
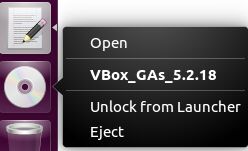
 15. 重启后Devices--> Insert Guest Addtions CD image
安装好 Insert Guest Addtions CD image 可以使能全屏,硬盘共享,双向粘贴板等功能。
16. 点击Run
17. 输入密码点击授权
正常启动如下
18. Devices->Shared Clipboard->Bidirectional
19. Devices->Drag and Drop->Bidirectional
四、网络配置
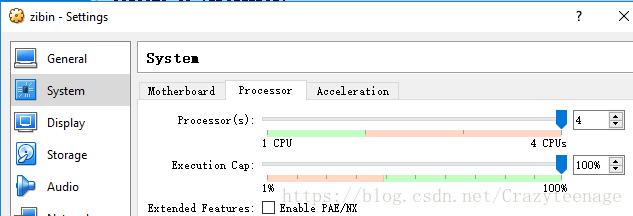
1. 在虚拟机关闭状态下,点击左上角setting
2. 设置Processor到4
3. Audio使能输入输出
4. Adapter 设置
Adapter 1
Adapter 2 设置为桥接模式,桥接到有线网卡上
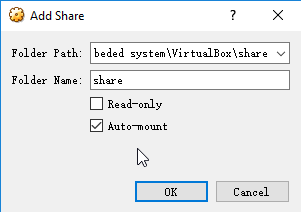
5. 设置Shared Folder,现在Windows上新建一个共享文件夹,选中然后勾选 Auto-mount
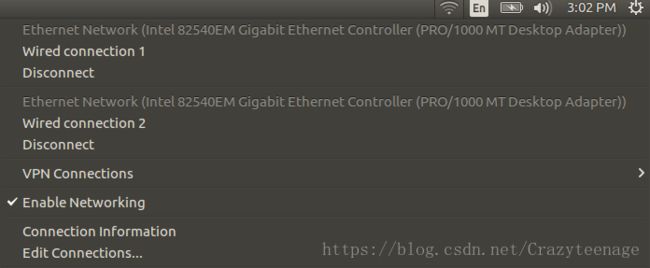
6. 设置 对于有线网卡的ip地址->开启虚拟机->点击右上角wifi标志->edit connections
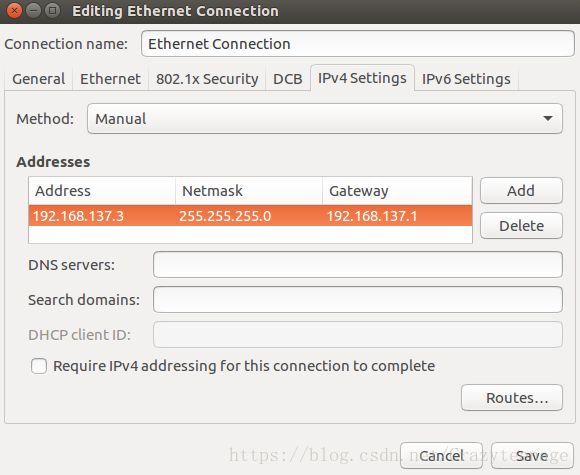
7.设置有线网卡连接method->manual
点击Add 填写ip 网关 子网掩码
点击 Save
五、配置共享文件夹Shared Folder 开机自动mount
1. 虚拟机上新建虚拟文件夹
sudo mkdir /share
2. 继续输入命令“sudo mount –t vboxsf share /share" //注意share /share 要跟据自己的情况修改
3.输入命令“sudo gedit /etc/fstab”
在弹出的文本末尾添加一行下面的内容:
share /share vboxsf rw,gid=100,uid=1000,auto 0 0
六、配置DNS 永久
参考:https://jingyan.baidu.com/article/a501d80c1e92a8ec630f5e83.html
1. 输入 sudo gedit /etc/resolvconf/resolv.conf.d/base 回车
2. 在里面输入 nameserver 8.8.8.8(每个人的DNS域IP不同)
之后按ESC键,shift+: 之后输入wq 保存退出
3. 执行sudo resolvconf -u ,
执行cat /etc/resolv.conf
看看下面是否多了一行 nameserver 8.8.8.8
七、配置apt源网址
参考:https://blog.csdn.net/peakguy/article/details/52444768
1. 进入虚拟机,点击左侧setting图标
2. 点击software & update
3. Download from other
4. 选择 US-->Choose server-->Close
5. sudo gedit /etc/hosts
键入如下,每个网址可以通过ip.chinaz.com核对 ip
八、配置FTP, SSH, NFS
配置NFS
https://blog.csdn.net/Crazyteenage/article/details/82725241
配置 TFTP
1. 执行此命令安装FTP服务sudo apt-get install vsftpd。
2. 修改 vsftpd的配置文件/etc/vsftpd.conf,将下面两行前面#去掉
sudo gedit /etc/vsftpd.conf
#local_enable=YES
#local_enable=YES
上面第一行表示是否允许本地用户登录,第二行表示是否允许上传文件。重启FTP服务。
sudo /etc/init.d/vsftpd restart
配置SSH
sudo apt-get install openssh-server
它的配置文件为/etc/ssh/sshd_config,使用默认配置即可。
九、转换成DASH
sudo dpkg-reconfigure dash
选择

