React-Native中的flexbox布局的使用
转载请标明出处:
http://blog.csdn.net/hai_qing_xu_kong/article/details/72672404
本文出自:【顾林海的博客】
前言
在编写React Native应用时,我们最常做的就是对界面的一个布局,而在React Native中使用flexbox来布局,它是CSS3中的布局模式,同时是W3C提出的UI设计模型规范的一种实现,使用这种布局可以简单快速地完成各种伸缩性的设计,因此我们称它为弹性盒子布局,接下来就来介绍flexbox的使用。
flexbox属性说明
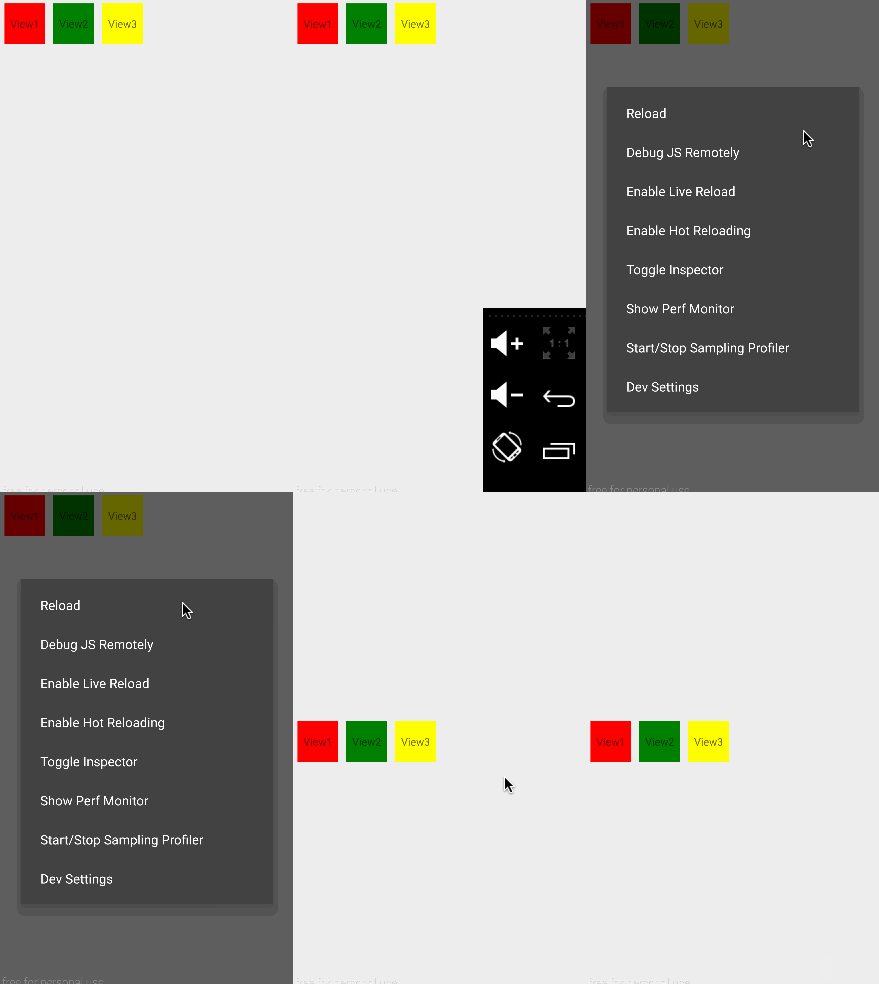
在讲解flexbox属性前,先编写我们的初始化文件,整个布局是这样的,在屏幕中创建3个Text,分别背景是红、绿、黄这三种颜色,文字居中
flex
具体代码如下:
import React, { Component } from 'react';
import {
  AppRegistry,
  StyleSheet,
  Text,
  View,
} from 'react-native';

export default class ReactDeomo01 extends Component {
  render() {
    return (
      parent}>
         View1
         View2
         View3

    );
  }
}

const styles=StyleSheet.create({

  parent:{
    flex:1
  },
  childfirst:{
    backgroundColor:'red',
    width:50,
    height:50,
    fontSize:13,
    textAlign:'center',
    textAlignVertical:'center',
    margin:5
  },
  childsecond:{
    backgroundColor:'green',
    width:50,
    height:50,
    fontSize:13,
    textAlign:'center',
    textAlignVertical:'center',
    margin:5
  },
  childthird:{
    backgroundColor:'yellow',
    width:50,
    height:50,
    fontSize:13,
    textAlign:'center',
    textAlignVertical:'center',
    margin:5
  }
});

AppRegistry.registerComponent('ReactDeomo01', () => ReactDeomo01);
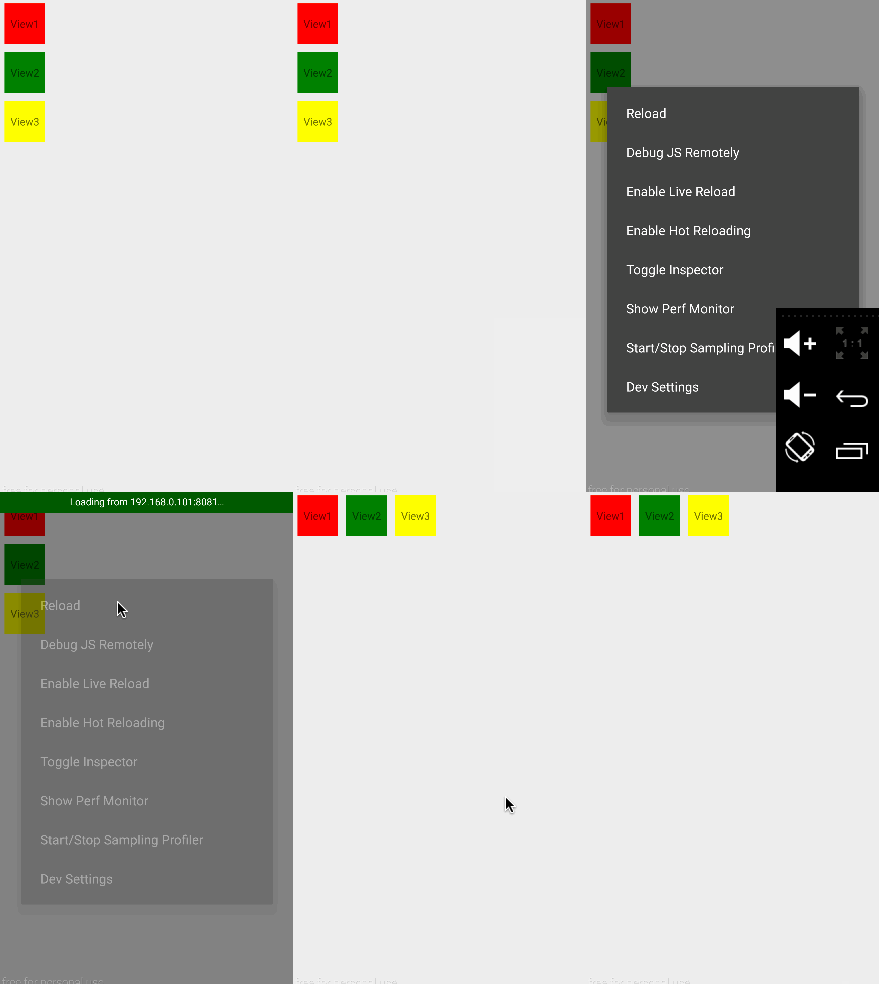
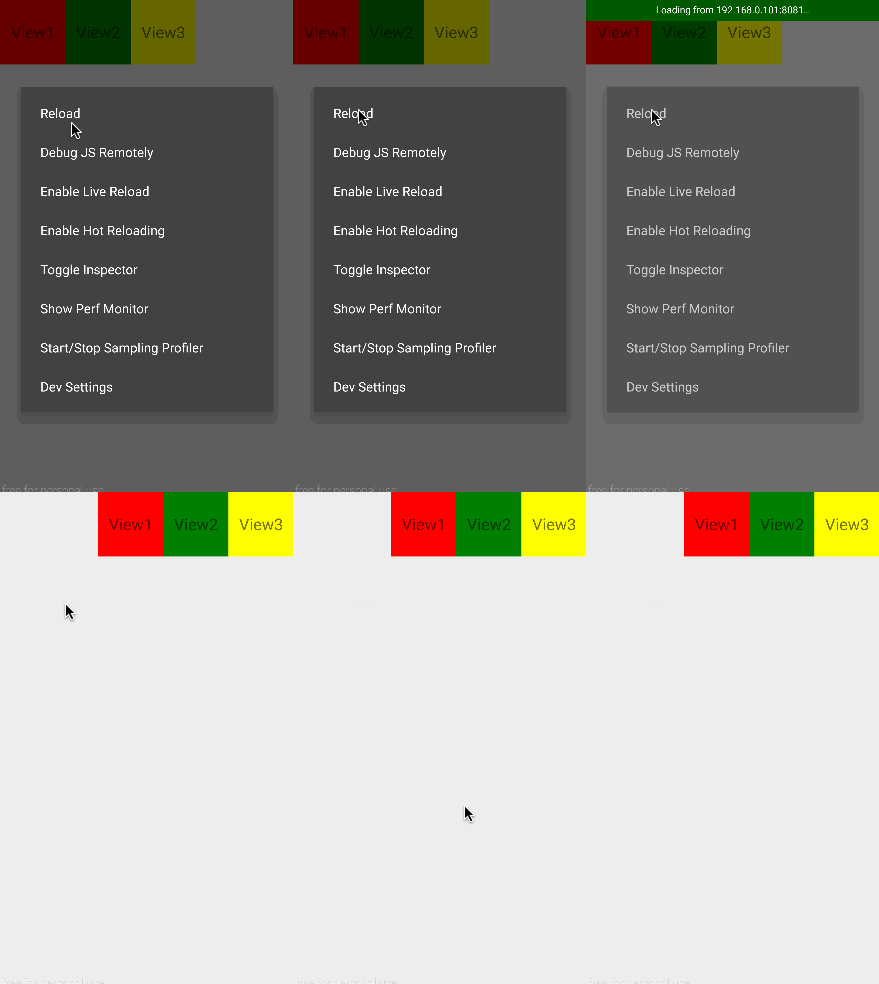
执行react-native run-android,效果如下:
通过Stylesheet.create方法创建来父子元素的样式,可以看到在父元素的样式中是这样定义的:
parent:{
    flex:1
  }
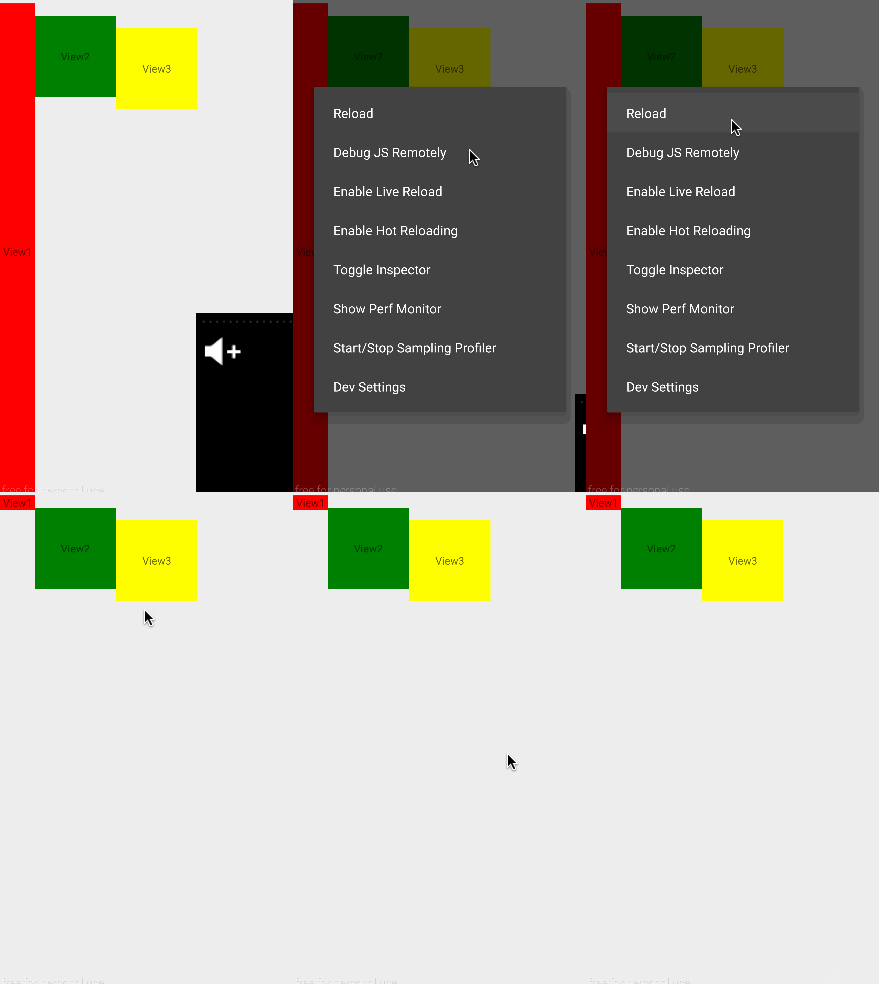
flex键的类型是数值,取值有0和1,默认值是0,如果值为1的话,子组件将自动缩放以适应父组件剩下的空白空间,我们在第一个子元素的样式属性中添加flex属性,如下:
childfirst:{
    backgroundColor:'red',
    flex:1,
    width:50,
    height:50,
    fontSize:13,
    textAlign:'center',
    textAlignVertical:'center',
    margin:5
  }
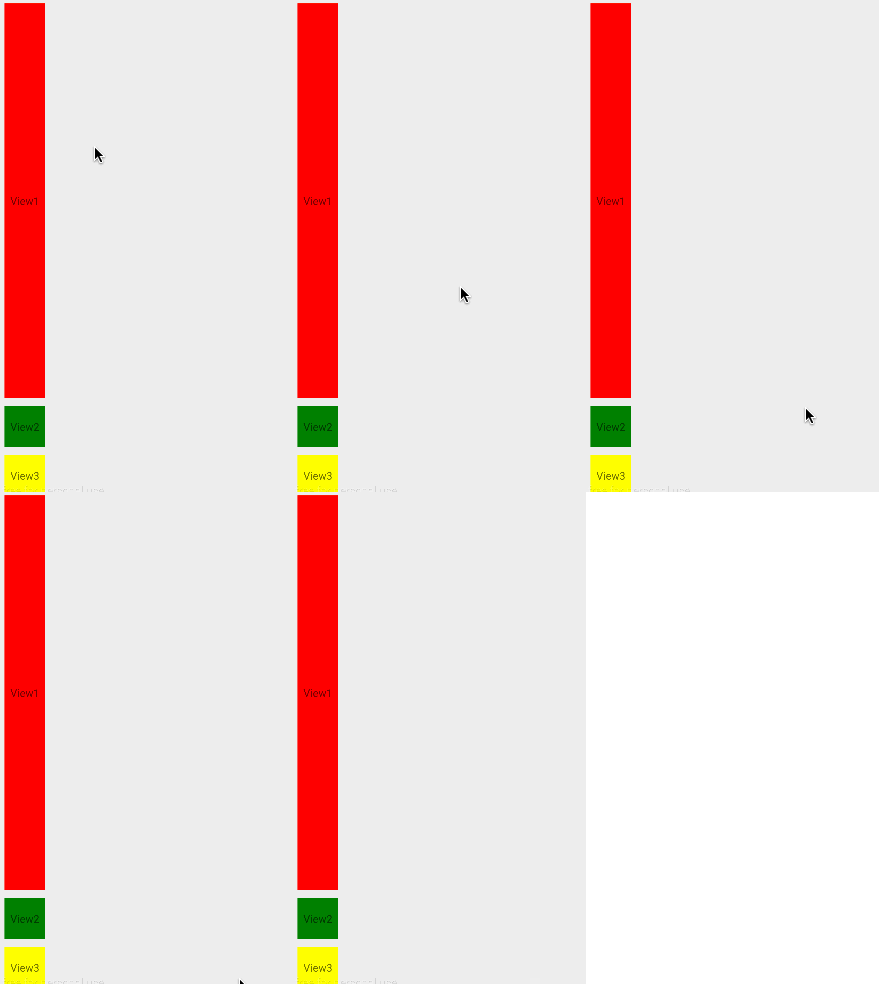
运行如下:
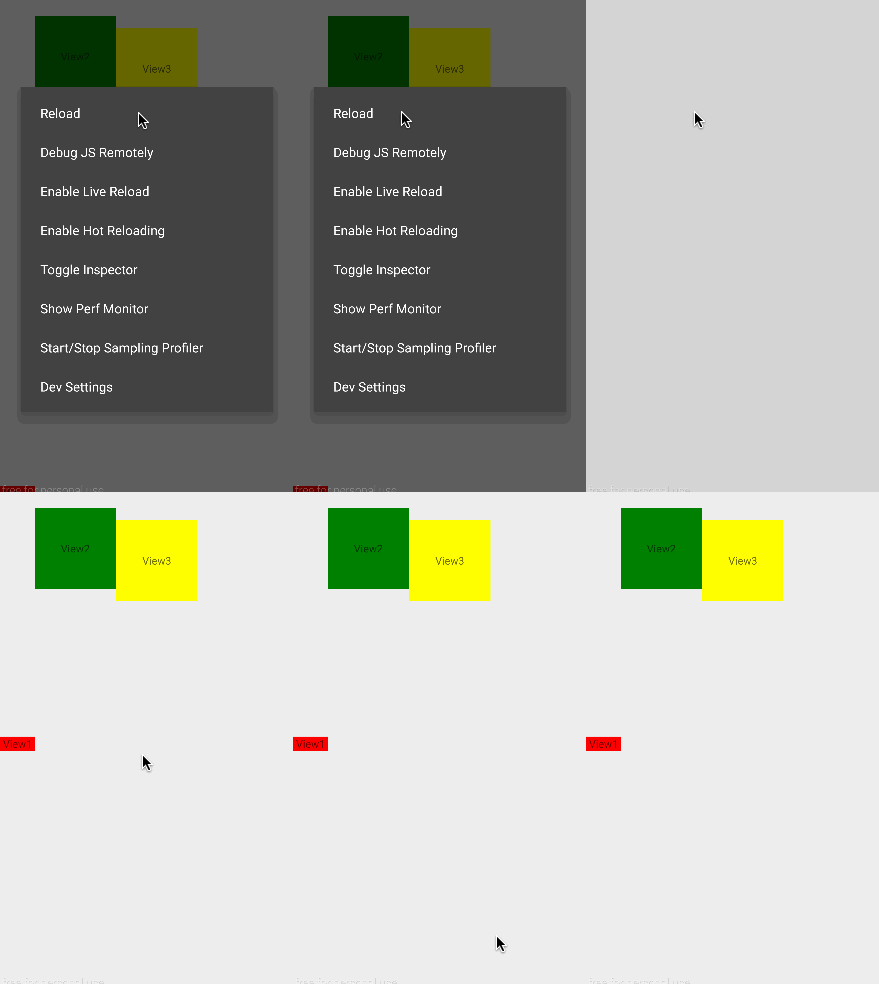
运行结果显示来View1自动填充父元素剩余的空间,接下来在View2中也添加flex,如下:
childsecond:{
    backgroundColor:'green',
    flex:1,
    width:50,
    height:50,
    fontSize:13,
    textAlign:'center',
    textAlignVertical:'center',
    margin:5
  }
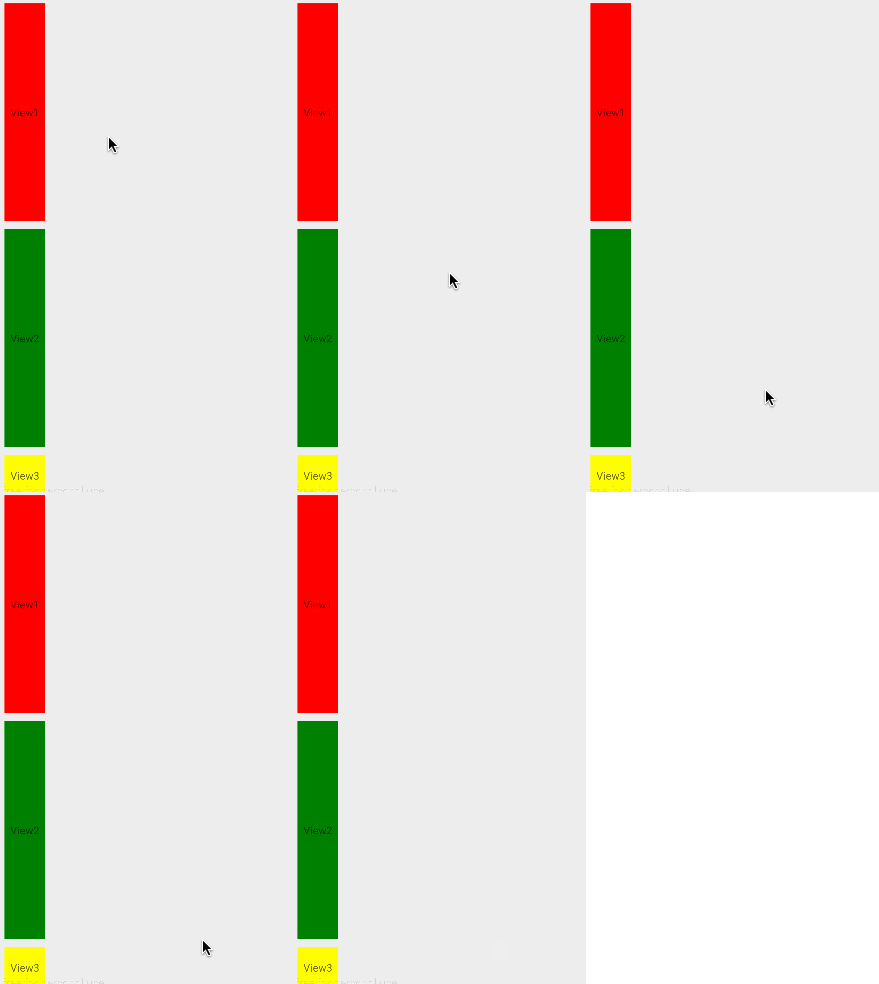
运行如下:
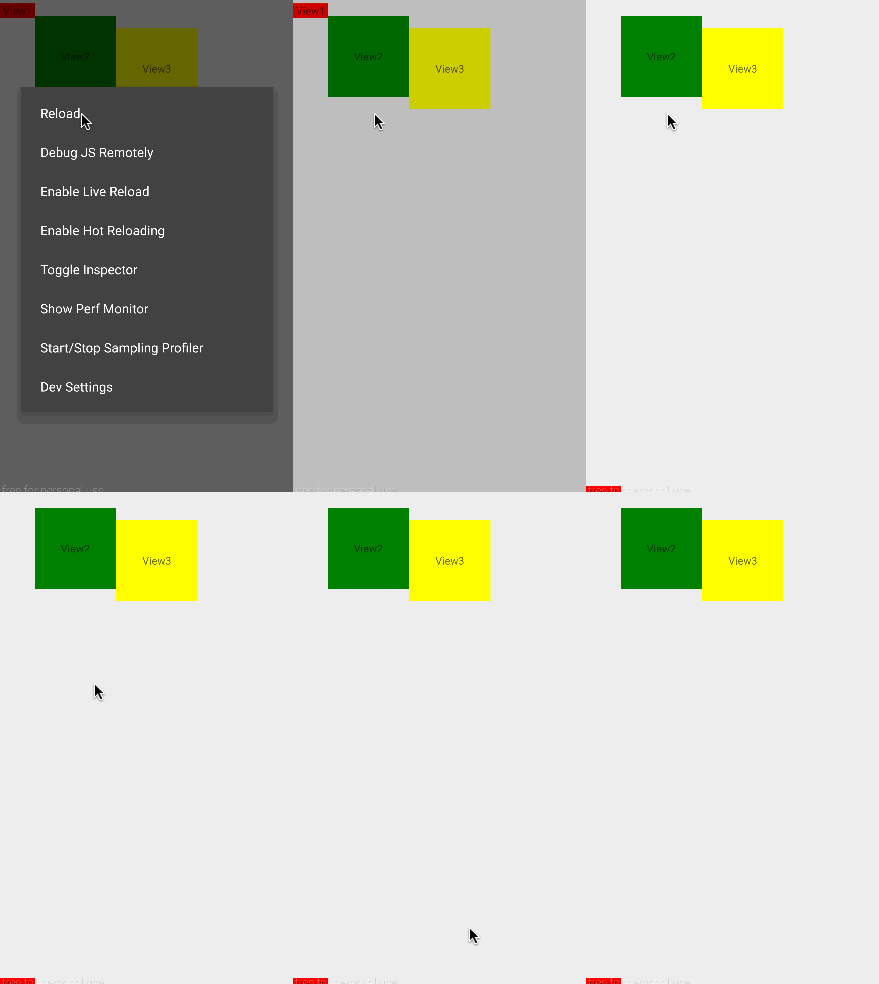
View1和View2平分了父元素剩余的空间,flex决定了子元素获得相对权重的大小,
flexDirection
修改styles:
const styles=StyleSheet.create({

  parent:{
    flex:1,
    flexDirection:'row'
  },
  childfirst:{
    backgroundColor:'red',
    width:50,
    height:50,
    fontSize:13,
    textAlign:'center',
    textAlignVertical:'center',
    margin:5
  },
  childsecond:{
    backgroundColor:'green',
    width:50,
    height:50,
    fontSize:13,
    textAlign:'center',
    textAlignVertical:'center',
    margin:5
  },
  childthird:{
    backgroundColor:'yellow',
    width:50,
    height:50,
    fontSize:13,
    textAlign:'center',
    textAlignVertical:'center',
    margin:5
  }
});
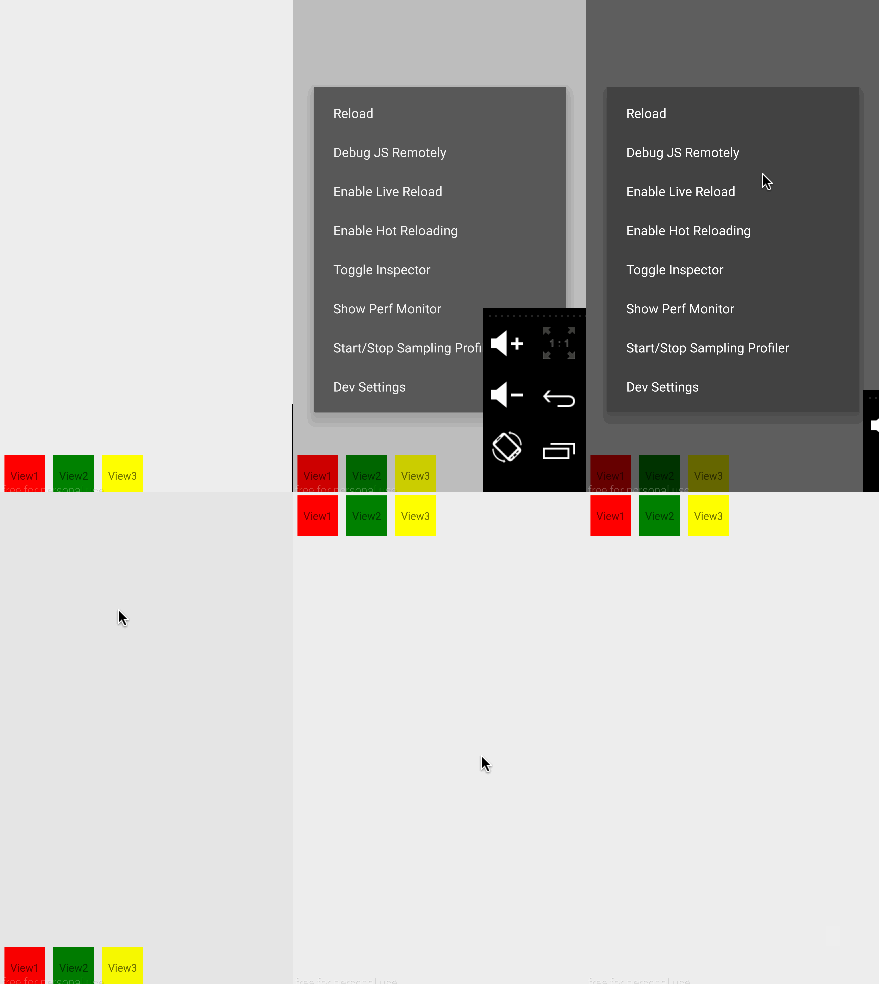
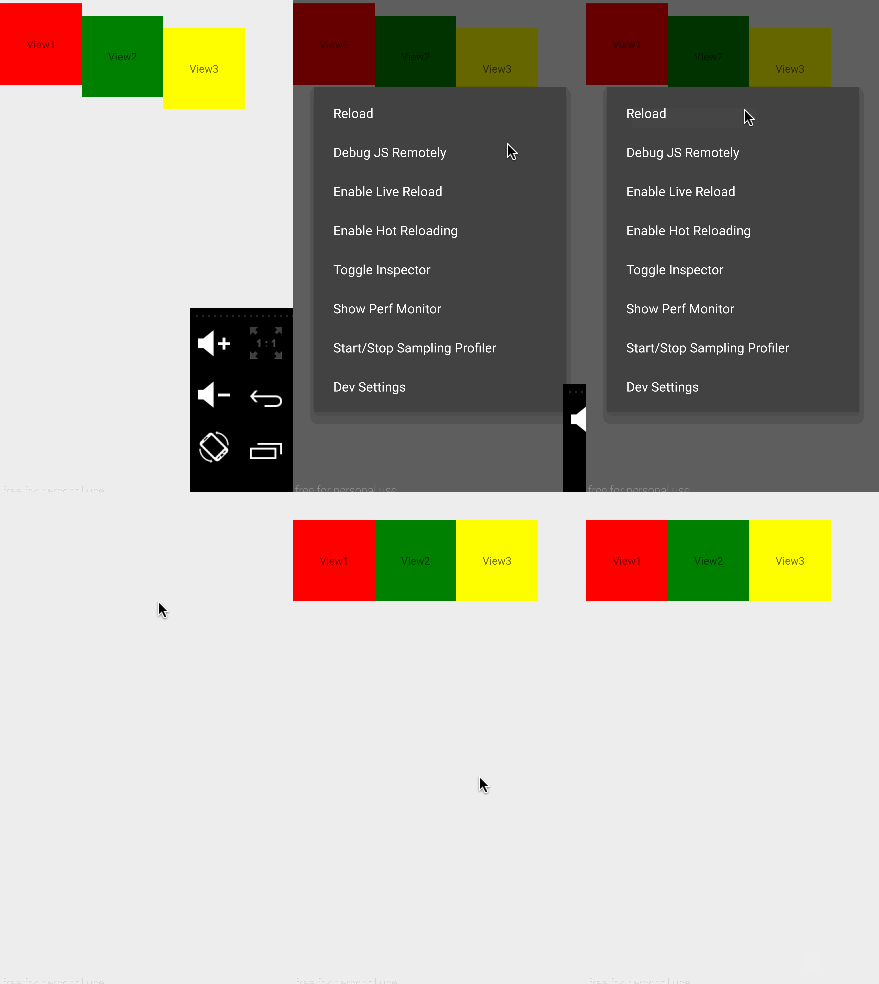
在父元素中添加了flexDirection:’row’ ,代表了组件的排列方式,属性row表示横向排列,column表示纵向排列,默认是column,运行如下:
alignItems
在父元素中添加alignItems:’flex-end’,在讲alignItems键时,先看看网上的一张伸缩流布局的图片:
伸缩容器由两根轴组成,主轴(main axis)和交叉轴(cross axis),主轴的开始位置叫做main start ,结束位置叫做main end。交叉轴的开始位置叫做cross start,结束位置叫做cross end。伸缩项目在主轴上占据的空间叫做main size,在交叉轴上占据的空间叫做cross size。
讲完这个布局模型后,我们回到上面的例子,alignItems是用来定义伸缩项目在伸缩容器的交叉轴上的对其方式,就像上面的flex-end表示项目向交叉轴的结束位置靠齐,除了flex-end外,还有以下属性:
flex-start(默认值):伸缩项目向交叉轴的起始位置靠齐,父元素样式下:
parent:{
    flex:1,
    flexDirection:'row',
    alignItems:'flex-start'
  }
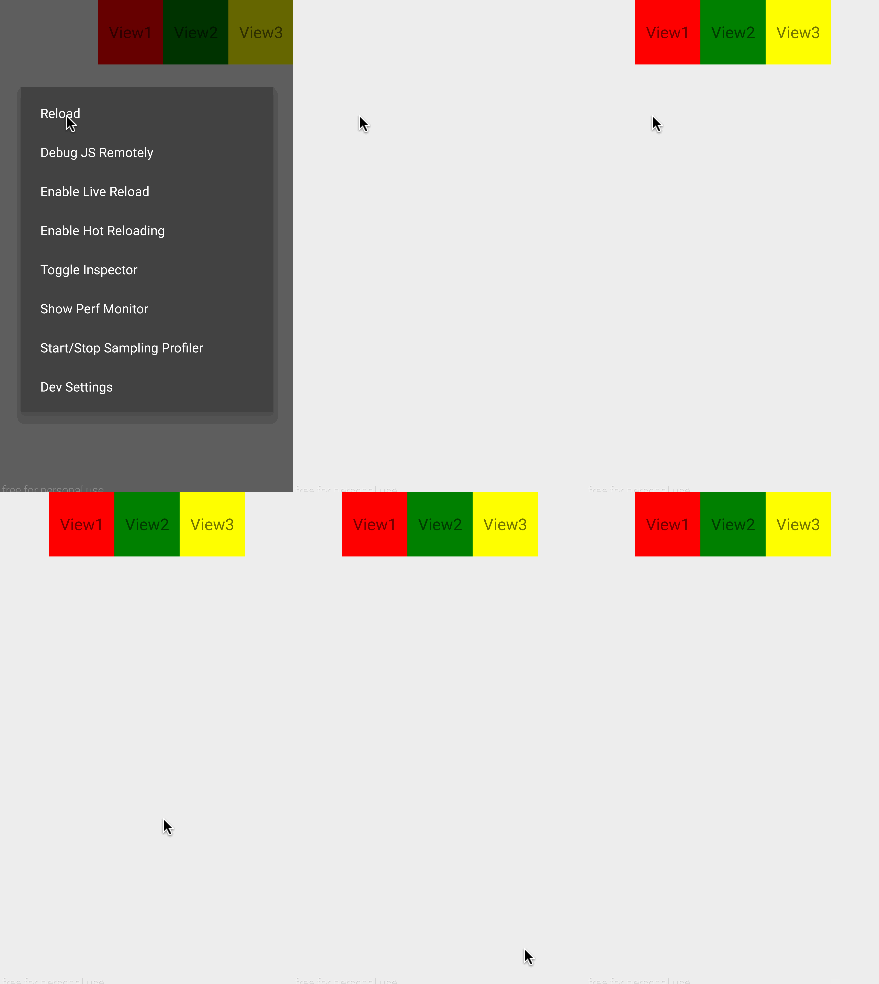
运行效果:
center:伸缩项目向交叉轴的中间位置靠齐,父元素样式如下:
parent:{
    flex:1,
    flexDirection:'row',
    alignItems:'center'
  }
运行效果如下:
baseline:伸缩项目根据它们的基线对齐,在展示这个属性的效果前,我们把父子元素的样式修改如下:
const styles=StyleSheet.create({

  parent:{
    flex:1,
    flexDirection:'row',
    alignItems:'flex-start'
  },
  childfirst:{
    backgroundColor:'red',
    width:100,
    height:100,
    fontSize:13,
    textAlign:'center',
    textAlignVertical:'center',
    marginTop:5
  },
  childsecond:{
    backgroundColor:'green',
    width:100,
    height:100,
    fontSize:13,
    textAlign:'center',
    textAlignVertical:'center',
    marginTop:20
  },
  childthird:{
    backgroundColor:'yellow',
    width:100,
    height:100,
    fontSize:13,
    textAlign:'center',
    textAlignVertical:'center',
    marginTop:35
  }
});
增加来子元素的宽高,并设置了View1距离上边5,View2距离上边20,View3距离上边35,父元素的alignItems设置为flex-start(伸缩项目向交叉轴的其实位置靠齐),运行效果:
三个View排列参差不齐,这时给父元素的 alignItems设置为baseline,再运行程序,效果如下:
三个View以它们的基线对齐了。
stretch(默认值):伸缩项目在交叉轴方向拉伸填充整个伸缩容器,修改styles:
const styles=StyleSheet.create({

  parent:{
    flex:1,
    flexDirection:'row',
    alignItems:'stretch'
  },
  childfirst:{
    backgroundColor:'red',
    width:100,
    fontSize:13,
    textAlign:'center',
    textAlignVertical:'center',
    marginTop:5
  },
  childsecond:{
    backgroundColor:'green',
    width:100,
    fontSize:13,
    textAlign:'center',
    textAlignVertical:'center',
    marginTop:20
  },
  childthird:{
    backgroundColor:'yellow',
    width:100,
    fontSize:13,
    textAlign:'center',
    textAlignVertical:'center',
    marginTop:35
  }
});
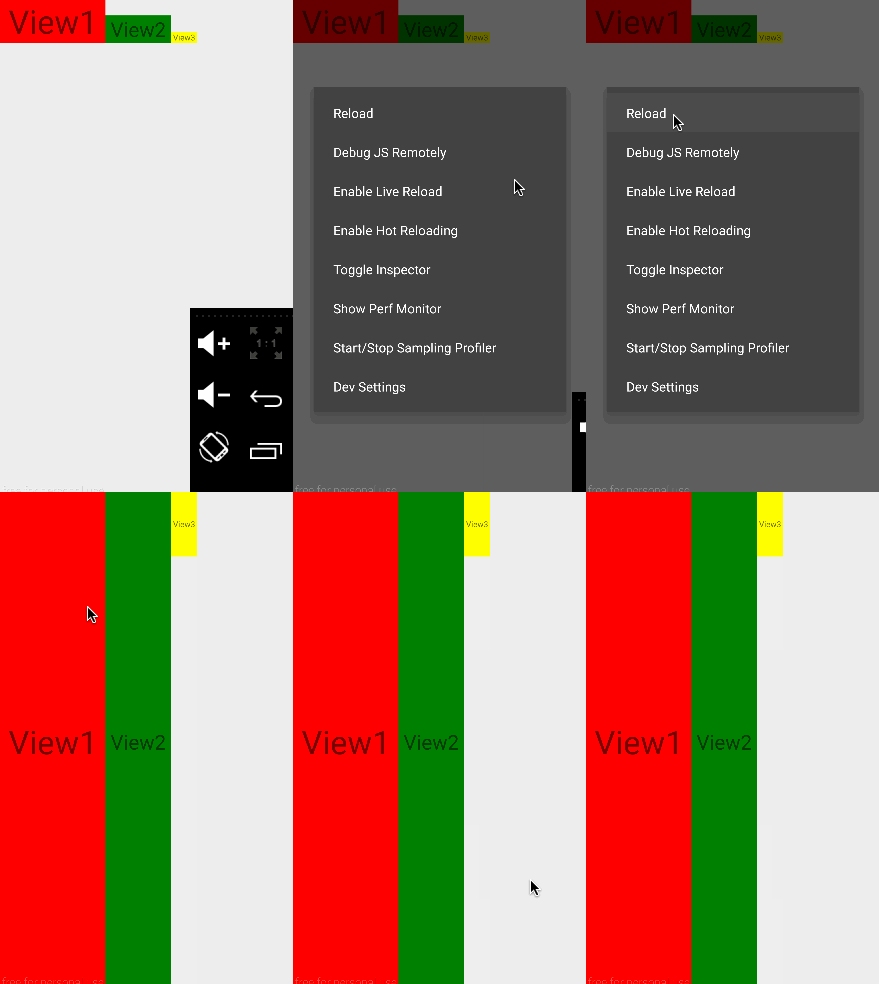
只定义三个View的宽度,父元素以alignItems:’stretch’来设置,这时三个View会在交叉轴方向拉伸填充整个伸缩容器。运行效果:
alignSelf
alignSelf用来设置单独的伸缩项目在交叉轴上的对齐方式,总共有6个属性:
auto:伸缩项目按照自身设置的宽高显示,如果没有设置,则按stretch来计算其值,下面是没有设置宽高的伸缩项目:
const styles=StyleSheet.create({

  parent:{
    flex:1,
    flexDirection:'row',
    alignItems:'stretch'
  },
  childfirst:{
    backgroundColor:'red',
    fontSize:13,
    textAlign:'center',
    textAlignVertical:'center',
    marginTop:5,
    alignSelf:'auto'
  },
  childsecond:{
    backgroundColor:'green',
    width:100,
    height:100,
    fontSize:13,
    textAlign:'center',
    textAlignVertical:'center',
    marginTop:20
  },
  childthird:{
    backgroundColor:'yellow',
    width:100,
    height:100,
    fontSize:13,
    textAlign:'center',
    textAlignVertical:'center',
    marginTop:35
  }
});
flex-start:伸缩项目向交叉轴的开始位置靠齐,设置子元素如下:
childfirst:{
    backgroundColor:'red',
    fontSize:13,
    textAlign:'center',
    textAlignVertical:'center',
    marginTop:5,
    alignSelf:'flex-start'
  }
运行效果:
flex-end:伸缩项目向交叉轴的结束位置靠齐,代码如下:
childfirst:{
    backgroundColor:'red',
    fontSize:13,
    textAlign:'center',
    textAlignVertical:'center',
    marginTop:5,
    alignSelf:'flex-end'
  }
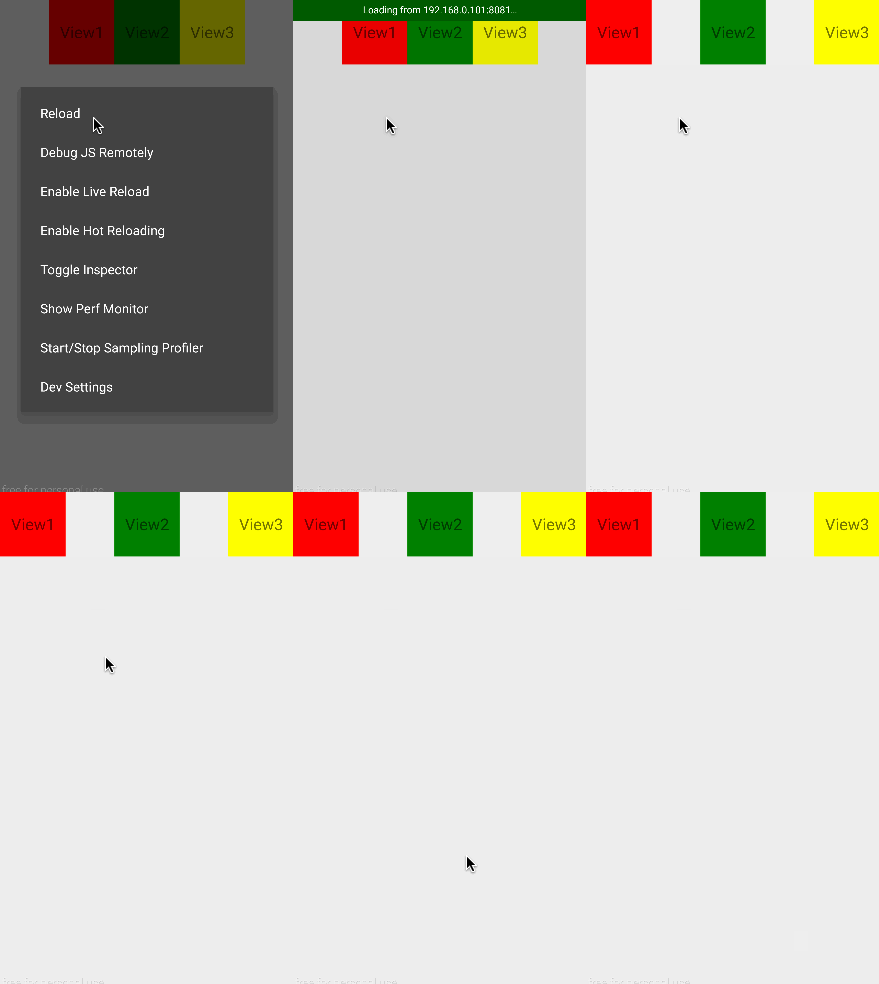
运行效果:
center:伸缩项目向交叉轴的中心位置靠齐,代码如下:
 childfirst:{
    backgroundColor:'red',
    fontSize:13,
    textAlign:'center',
    textAlignVertical:'center',
    marginTop:5,
    alignSelf:'center'
  }
运行效果:
baseline:伸缩项目按基线对齐,代码如下 :
 const styles=StyleSheet.create({

  parent:{
    flex:1,
    flexDirection:'row',
    alignItems:'stretch'
  },
  childfirst:{
    backgroundColor:'red',
    fontSize:40,
    textAlign:'center',
    textAlignVertical:'center',
    alignSelf:'center',
    alignSelf:'baseline'
  },
  childsecond:{
    backgroundColor:'green',
    fontSize:25,
    textAlign:'center',
    textAlignVertical:'center',

    alignSelf:'baseline'
  },
  childthird:{
    backgroundColor:'yellow',
    fontSize:10,
    textAlign:'center',
    textAlignVertical:'center',
    alignSelf:'baseline'
  }
});
运行效果:
stretch:伸缩项目在交叉轴方向占满伸缩容器,代码如下:
onst styles=StyleSheet.create({

  parent:{
    flex:1,
    flexDirection:'row',
    alignItems:'stretch'
  },
  childfirst:{
    backgroundColor:'red',
    fontSize:40,
    textAlign:'center',
    textAlignVertical:'center',
    alignSelf:'stretch'
  },
  childsecond:{
    backgroundColor:'green',
    fontSize:25,
    textAlign:'center',
    textAlignVertical:'center',
    alignSelf:'stretch'
  },
  childthird:{
    backgroundColor:'yellow',
    fontSize:10,
    height:80,
    textAlign:'center',
    textAlignVertical:'center',
    alignSelf:'stretch'
  }
});flexWrap
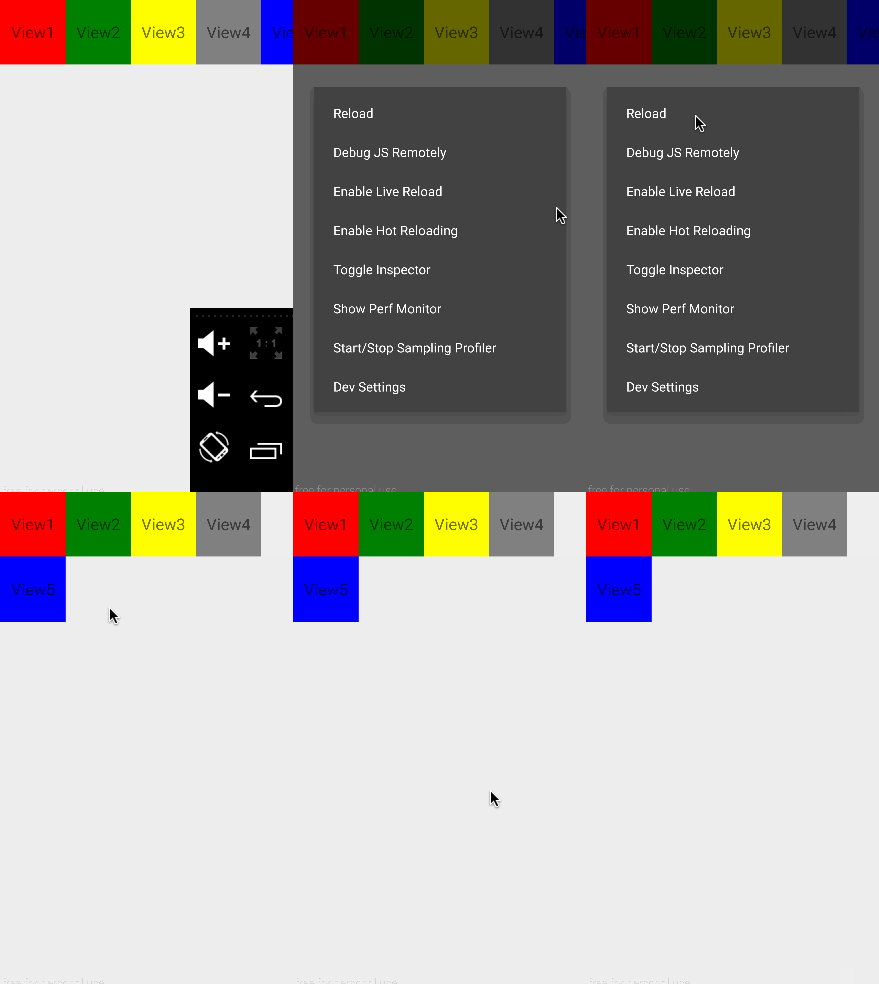
flexWrap用来指定伸缩容器的主轴线方向空间不足的情况下,是否换行以及该如何换行。
nowrap(默认值):即使空间不足,伸缩容器也不允许换行,代码如下:
import React, { Component } from 'react';
import {
  AppRegistry,
  StyleSheet,
  Text,
  View,
} from 'react-native';

export default class ReactDeomo01 extends Component {
  render() {
    return (
      parent}>
         View1
         View2
         View3
         View4
         View5

    );
  }
}

const styles=StyleSheet.create({

  parent:{
    flex:1,
    flexDirection:'row',
    flexWrap:'nowrap'
  },
  childfirst:{
    backgroundColor:'red',
    fontSize:20,
    height:80,
    width:80,
    textAlign:'center',
    textAlignVertical:'center',
  },
  childsecond:{
    backgroundColor:'green',
    fontSize:20,
    height:80,
    width:80,
    textAlign:'center',
    textAlignVertical:'center',
  },
  childthird:{
    backgroundColor:'yellow',
    fontSize:20,
    height:80,
    width:80,
    textAlign:'center',
    textAlignVertical:'center',
  },
   childfourth:{
    backgroundColor:'gray',
    fontSize:20,
    height:80,
    width:80,
    textAlign:'center',
    textAlignVertical:'center',
  },
   childfifth:{
    backgroundColor:'blue',
    fontSize:20,
    height:80,
    width:80,
    textAlign:'center',
    textAlignVertical:'center',
  }
});

AppRegistry.registerComponent('ReactDeomo01', () => ReactDeomo01);
wrap:伸缩容器在空间不足的情况下允许换行。如果主轴为水平轴,换行的方向为从上到下,代码如下,将父元素中的flexWrap改为wrap:
parent:{
    flex:1,
    flexDirection:'row',
    flexWrap:'wrap'
}justifyContent
用来定义伸缩项目沿主轴线的对齐方式。
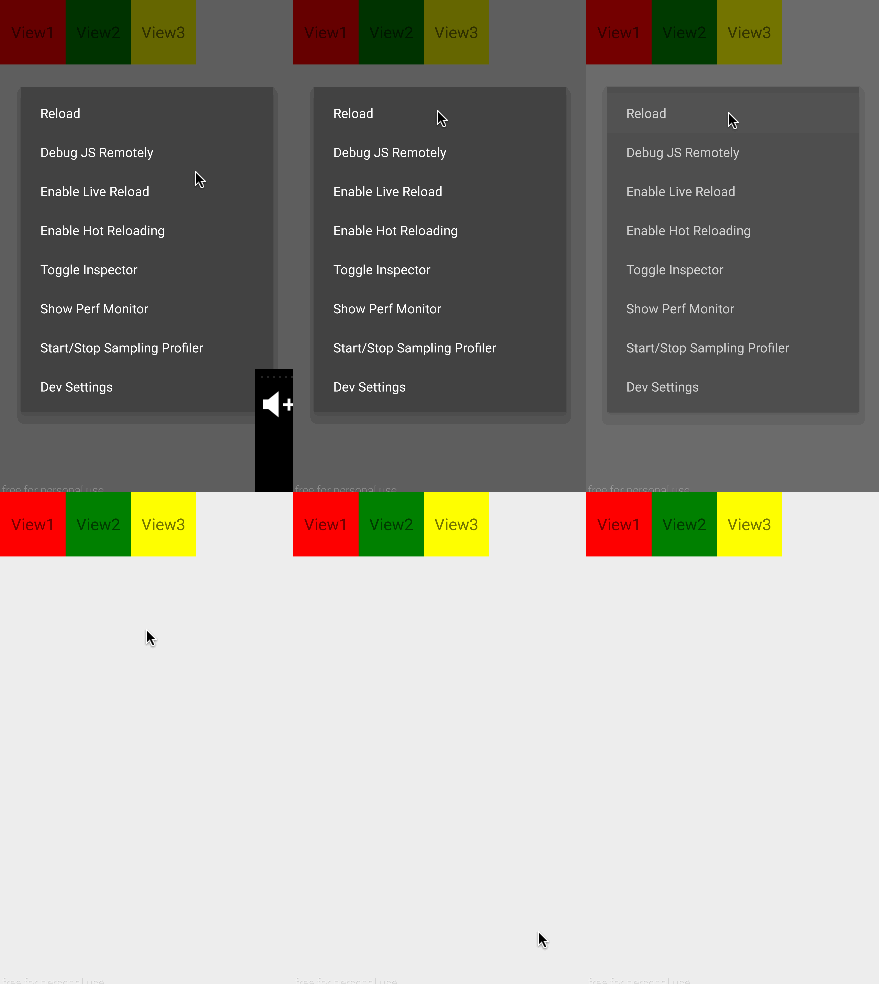
flex-start(默认值):伸缩项目向主轴线的起始位置靠齐,代码如下:
import React, { Component } from 'react';
import {
  AppRegistry,
  StyleSheet,
  Text,
  View,
} from 'react-native';

export default class ReactDeomo01 extends Component {
  render() {
    return (
      parent}>
         View1
         View2
         View3

    );
  }
}

const styles=StyleSheet.create({

  parent:{
    flex:1,
    flexDirection:'row',
    justifyContent:'flex-start'
  },
  childfirst:{
    backgroundColor:'red',
    fontSize:20,
    height:80,
    width:80,
    textAlign:'center',
    textAlignVertical:'center',
  },
  childsecond:{
    backgroundColor:'green',
    fontSize:20,
    height:80,
    width:80,
    textAlign:'center',
    textAlignVertical:'center',
  },
  childthird:{
    backgroundColor:'yellow',
    fontSize:20,
    height:80,
    width:80,
    textAlign:'center',
    textAlignVertical:'center',
  },

});

AppRegistry.registerComponent('ReactDeomo01', () => ReactDeomo01);
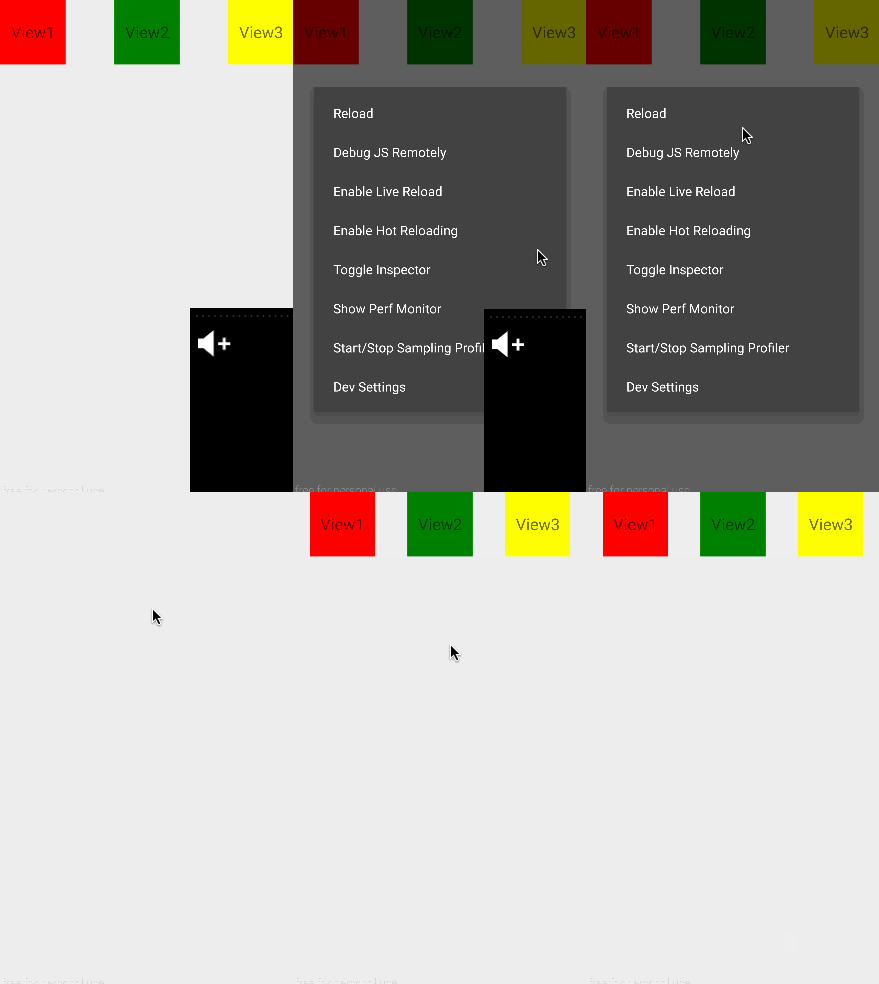
运行效果:
flex-end:伸缩项目向主轴线的结束位置靠齐,代码如下:
 parent:{
    flex:1,
    flexDirection:'row',
    justifyContent:'flex-end'
  }
运行效果:
center:伸缩项目向主轴线的中间位置靠齐,代码如下:
parent:{
    flex:1,
    flexDirection:'row',
    justifyContent:'center'
  }
运行效果:
space-between:伸缩项目回平均分布在主轴线上,第一个伸缩项目在主轴线的起始位置,最后一个伸缩项目在主轴线的结束位置,代码如下:
parent:{
    flex:1,
    flexDirection:'row',
    justifyContent:'space-between'
}space-around:伸缩项目会平均地分布在主轴线上,两端保留一半的空间,代码如下:
parent:{
    flex:1,
    flexDirection:'row',
    justifyContent:'space-around'
  }
运行效果:

