Activiti6.0流程引擎学习——(9)在Activiti源码中打开并剖析activiti-app
这节我们使用下载的源码来打开activiti-app,并且了解一下activiti-app的源码。
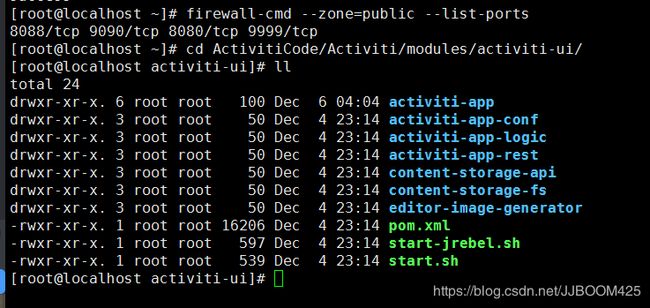
activiti-app保存在modules中的activiti-ui目录中:
| 目录 | 介绍 |
| activiti-app | 集成发布的war工程 |
| activiti-app-conf | UI独立于业务外的配置 |
| activiti-app-logic | UI的业务逻辑 |
| activiti-app-rest | 提供借口的rest api |
1、我们进入到源码的modules/activiti-ui/activitit-app目录中:
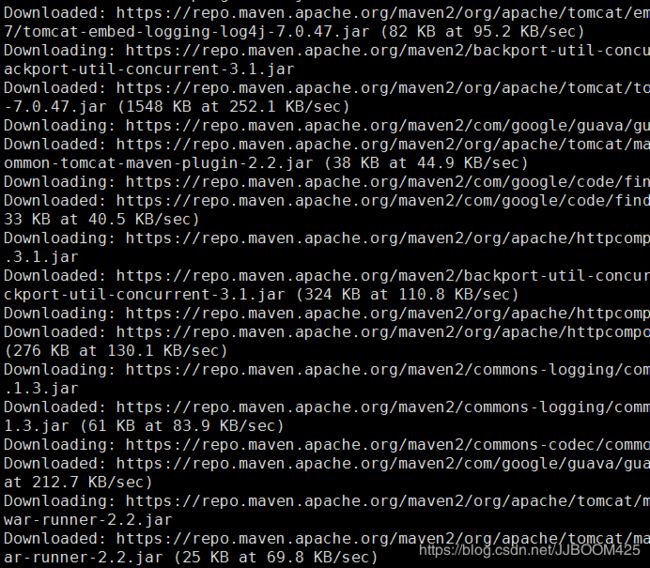
$ mvn clean tomcat7:run 在tomcat中执行activiti-app项目

第一次执行会要下载好多的文件,这里需要我们多等待一会。
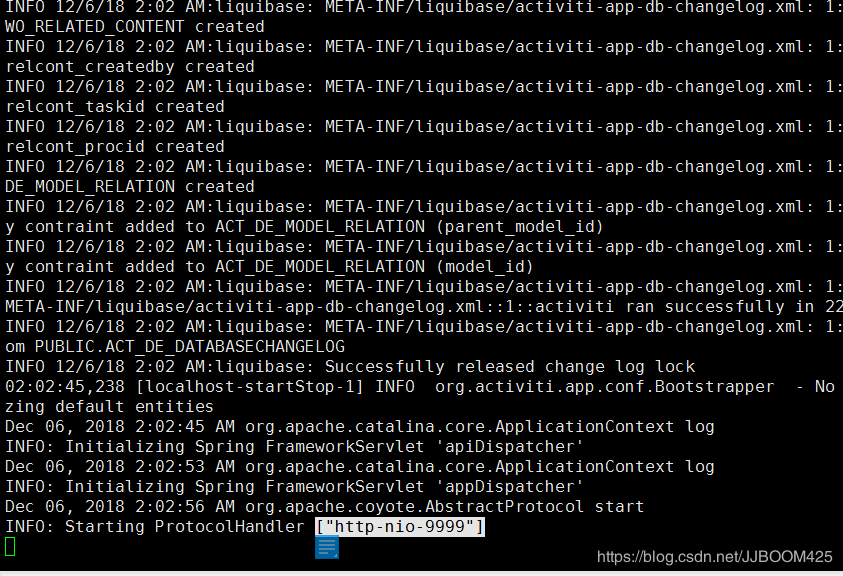
最后执行完结果如下图,最后一行很重要,告诉我们开放的端口时 9999,并不是8080,所以我们要现在服务器中打开9999端口才可以正常访问,打开端口的操作可以看这篇文章:https://blog.csdn.net/JJBOOM425/article/details/83992240
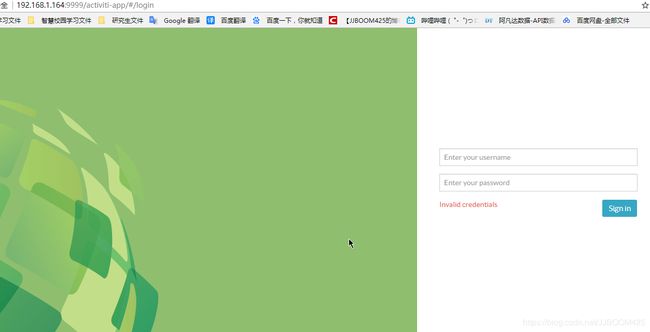
2、在浏览器中直接输入 IP:9999/activiti-app可以访问以下网页:
3、UI相关下面模块介绍
content-storage-api: 存储相关的api
editor-image-generator: 跟图片渲染相关的文件
start-jrebel.sh: 修改java代码后,tomcat不用重启可以直接应用到应用服务器中,节省重启时间,加大工作效率。
start.sh:可以通过这个shell脚本也可以启动activiti-app文件
4、查看activiti-app下的arc文件:
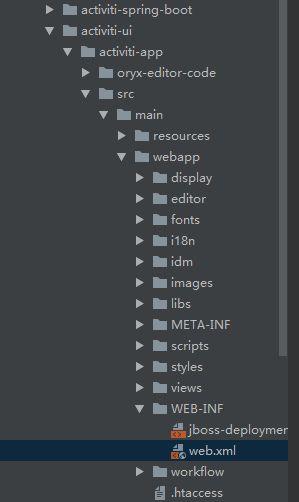
这里我们直接打开web.xml文件,看到下图,这里的
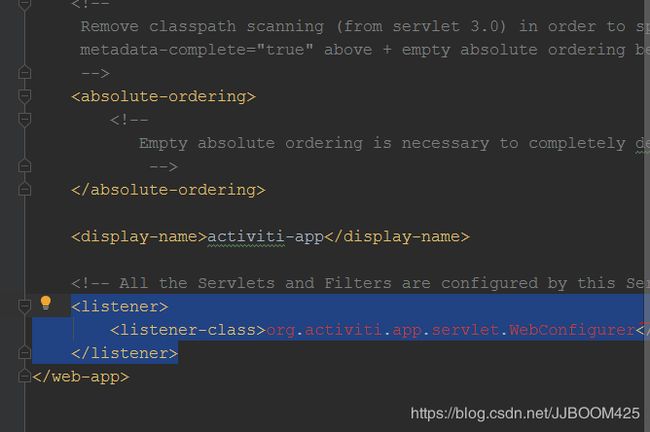
我们Control进入这个类,这里讲解一下初始化的方法:
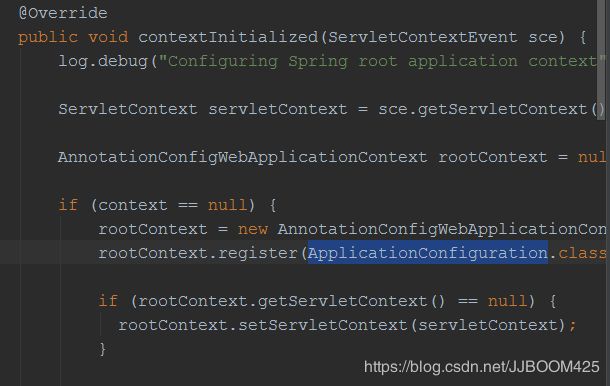
源代码如下:(包含解释)
@Override
    public void contextInitialized(ServletContextEvent sce) {
        log.debug("Configuring Spring root application context");

        ServletContext servletContext = sce.getServletContext();

        AnnotationConfigWebApplicationContext rootContext = null;    //构建一个容器

        if (context == null) {    //如果为空
            rootContext = new AnnotationConfigWebApplicationContext();
            rootContext.register(ApplicationConfiguration.class);   //定义根容器

            if (rootContext.getServletContext() == null) {
              rootContext.setServletContext(servletContext);
            }

            rootContext.refresh();
            context = rootContext;

        } else {
            rootContext = context;
            if (rootContext.getServletContext() == null) {
              rootContext.setServletContext(servletContext);
            }
        }

        servletContext.setAttribute(WebApplicationContext.ROOT_WEB_APPLICATION_CONTEXT_ATTRIBUTE, rootContext);    //这里将spring的容器与servlet容器做了双向绑定,作为其中的一个属性

        EnumSet disps = EnumSet.of(DispatcherType.REQUEST, DispatcherType.FORWARD, DispatcherType.ASYNC);

        initSpring(servletContext, rootContext);    //初始化spring相关的内容
        initSpringSecurity(servletContext, disps);   //初始化spring安全相关的内容

        log.debug("Web application fully configured");
    }
下面我们看看initSpring初始化spring相关的方法:
/**
     * Initializes Spring and Spring MVC.
     */
    private void initSpring(ServletContext servletContext, AnnotationConfigWebApplicationContext rootContext) {
        log.debug("Configuring Spring Web application context");
        AnnotationConfigWebApplicationContext appDispatcherServletConfiguration = new AnnotationConfigWebApplicationContext();
        appDispatcherServletConfiguration.setParent(rootContext);   //设置根容器
        appDispatcherServletConfiguration.register(AppDispatcherServletConfiguration.class);  //注册一个AppDispatcherServletConfiguration子容器

        log.debug("Registering Spring MVC Servlet");
        ServletRegistration.Dynamic appDispatcherServlet = servletContext.addServlet("appDispatcher",
                new DispatcherServlet(appDispatcherServletConfiguration));
        appDispatcherServlet.addMapping("/app/*");
        appDispatcherServlet.setLoadOnStartup(1);
        appDispatcherServlet.setAsyncSupported(true);

        log.debug("Registering Activiti public REST API");
        AnnotationConfigWebApplicationContext apiDispatcherServletConfiguration = new AnnotationConfigWebApplicationContext();
        apiDispatcherServletConfiguration.setParent(rootContext);
        apiDispatcherServletConfiguration.register(ApiDispatcherServletConfiguration.class);  //注册一个AppDispatcherServletConfiguration子容器

        ServletRegistration.Dynamic apiDispatcherServlet = servletContext.addServlet("apiDispatcher",
                new DispatcherServlet(apiDispatcherServletConfiguration));
        apiDispatcherServlet.addMapping("/api/*");
        apiDispatcherServlet.setLoadOnStartup(1);
        apiDispatcherServlet.setAsyncSupported(true);
    }