Python Matplotlib Cheatsheet
Python Matplotlib
官方教程地址https://matplotlib.org/users/index.html
# 导入必要库
import matplotlib.pyplot as plt
import numpy as np
基础绘图
# 设置简单的绘图数据
x = np.array([1,2,3,4,5,6,7,8])
y = np.array([3,5,7,6,2,6,10,15])

# 折线绘图
plt.plot(x, y, color='r')
# 柱状绘图
plt.bar(x, y, color='b')
# 数据个数
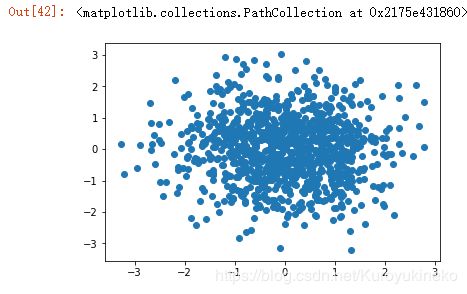
n = 1024
# 均值为0, 方差为1的随机数
x_scatter = np.random.normal(0, 1, n)
y_scatter = np.random.normal(0, 1, n)
# 绘制scatter散点图
plt.scatter(x_scatter, y_scatter)根据函数进行绘图
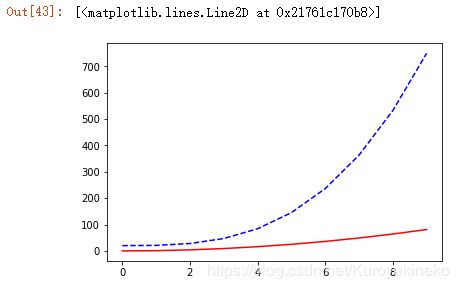
将y设置为关于x的函数即可进行函数绘图
# 根据函数进行绘图
# 设置简单的绘图数据
x1 = np.array(range(10))
y1 = x1**2
y2 = x1**3 + 20

plt.plot(x1,y1,'r')
plt.plot(x1,y2,'b', linestyle='--') # 注意有两个短横线
使用figure使用建立一个画布
class matplotlib.figure.Figure(figsize=None, dpi=None, facecolor=None, edgecolor=None, linewidth=0.0, frameon=None, subplotpars=None, tight_layout=None, constrained_layout=None)
fig = plt.figure(figsize=(16, 8),edgecolor='orange',linewidth=5)
plt.plot(x,y,color = 'deepskyblue')
画布上多图绘制
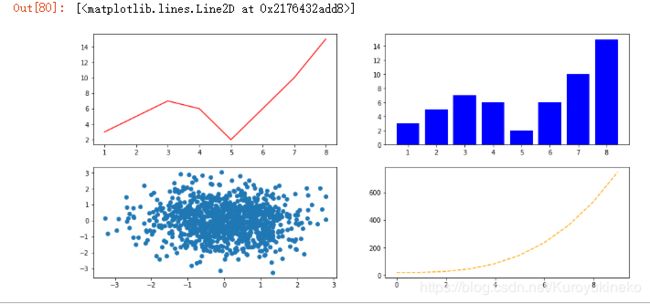
fig, axes = plt.subplots(2,2,figsize=(15,7)) # 在画布上建立2*2=4个子图
# 各个子图的绘制
ax1 ,ax2, ax3, ax4 = axes[0,0], axes[0,1], axes[1,0], axes[1,1]
ax1.plot(x, y, color='r')
ax2.bar(x, y, color='b')
ax3.scatter(x_scatter, y_scatter)
ax4.plot(x1,y2,'orange', linestyle='--')
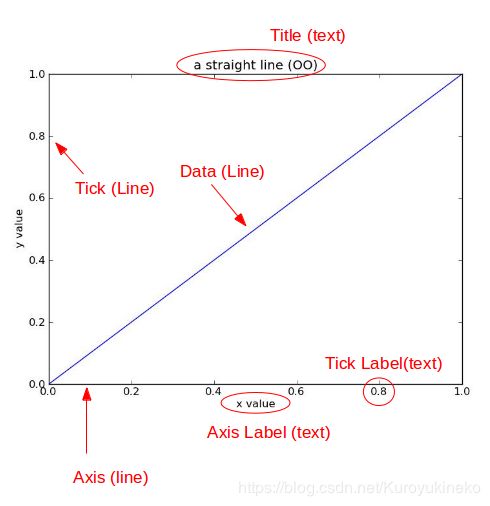
Title、Labels、Ticks、Legend、设置
# 刻度标签
month =  np.array(['Jan', 'Feb', 'Mar', 'Apr', 'May', 'Jun', 'Jul', 'Aug'])

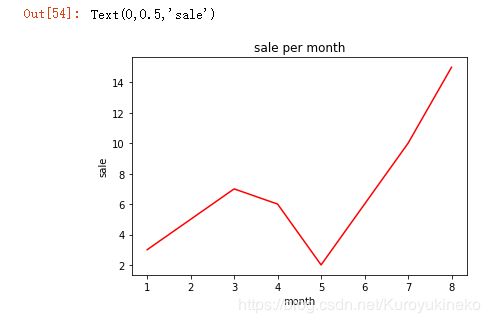
# 设置标题
plt.plot(x, y, color='r')
plt.title('sale per month')

# 设置x、y轴标签
plt.xlabel('month')
plt.ylabel('sale')
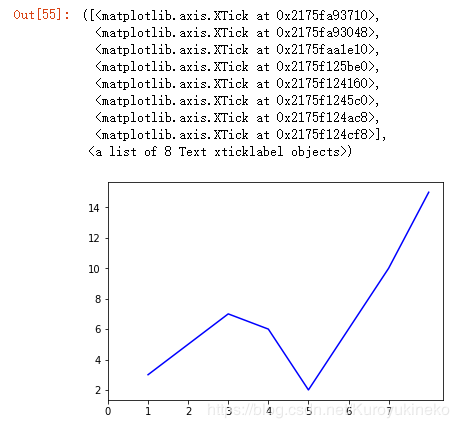
# 设置x、y轴刻度
plt.plot(x, y, color='b')
#更换刻度为0~7
plt.xticks(range(8))# 设置x、y轴刻度
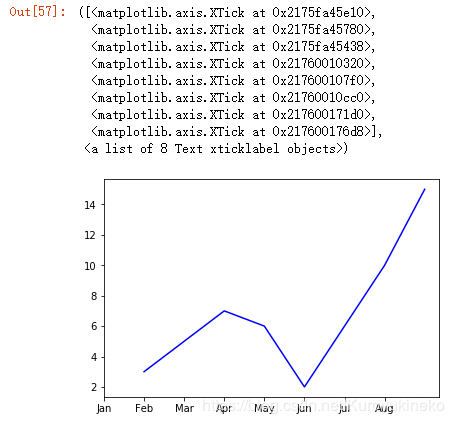
plt.plot(x, y, color='b')
# 显示x轴的刻标以及对应的标签
plt.xticks(range(8),month)# 设置图例
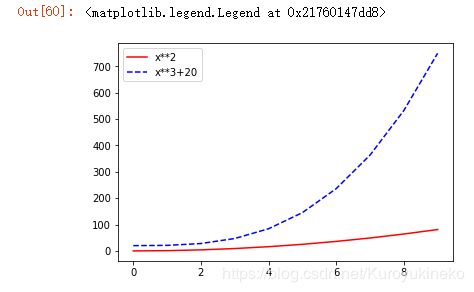
# 设置简单的绘图数据
x1 = np.array(range(10))
y1 = x1**2
y2 = x1**3 + 20
plt.plot(x1,y1,'r')
plt.plot(x1,y2,'b', linestyle='--') # 注意有两个短横线
plt.legend(['x**2', 'x**3+20'], loc = 'best')# 设置坐标轴属性
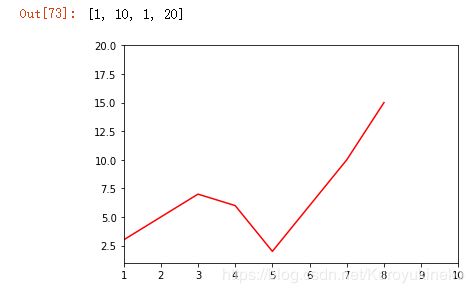
plt.plot(x, y, color='r')
plt.axis([1,10,1,20])
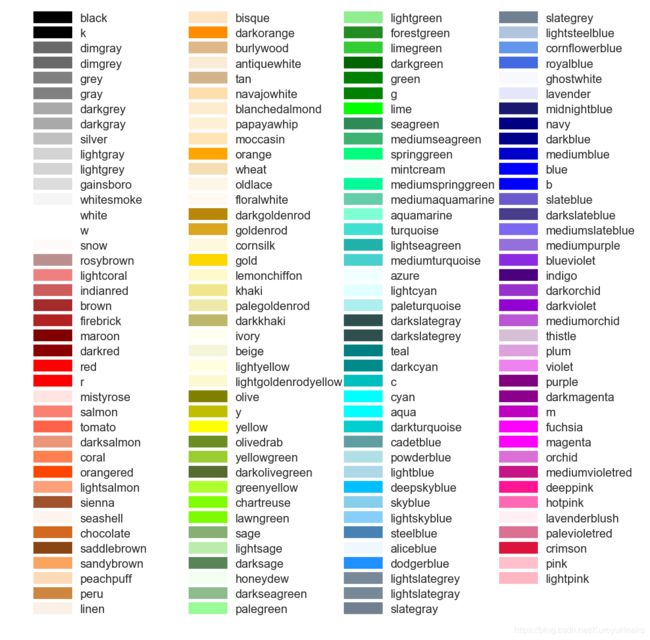
颜色设置

