【4】cpp_redis hello world
【1】cpp_redis (Windows C++ Redis客户端)(C++11实现)官方最新源码编译
正文如下
下面的代码展示的一个完整的cpp_redis发送字符串并取回字符串的完整过程。包括如下几个步骤:
1 启动Windowst通信库WSA
2 连接redis服务端
3 发送数据给redis
4接收数据给redis
5 停止Windows通讯库WSA
6 cpp_redis通过异常来做错误处理:所以一个业务模块如果只处理一个问题的话,应该把异常放到外围,内部各种操作,最后一起处理异常,这样代码比较好理解。
7 所有通信的成功与不成功都应该依赖于异常
8 所有的业务数据合理与不合理都应该依赖于is_###()来判断
代码(Hello World):
#include
#include
#include "TestRedis.h"
using namespace std;

#ifdef _WIN32
#include
#endif /* _WIN32 */
#pragma comment( lib, "ws2_32.lib")//最好的方法是包含在项目属性中,因为那样可以根据Debug、Release、x86、x64来区分。这里仅仅是为了突出引用了这个库写在这里

bool StartWSA(void)
{
	//! Windows netword DLL init
	WORD version = MAKEWORD(2, 2);
	WSADATA data;

	if (WSAStartup(version, &data) != 0)
	{
		std::cerr << "WSAStartup() failure" << std::endl;
		return false;
	}
	return true;
}
void StopWSA(void)
{
	WSACleanup();
}

int main(void)
{
	//启动Windows网络通信库
	if (!StartWSA())
	{
		return -1;
	}
	try
	{
		//! Enable logging
		cpp_redis::active_logger = std::unique_ptr(new cpp_redis::logger);
		cpp_redis::redis_client client;
		client.connect("127.0.0.1", 6379, [](cpp_redis::redis_client&)
		{
			std::cout << "client disconnected (disconnection handler)" << std::endl;
		});

		client.set("hello", "Hello World!");
		client.get("hello", [](cpp_redis::reply& reply)
		{
			std::cout << "get hello: " << reply << std::endl;
		});

		// synchronous commit, no timeout
		client.sync_commit();
	}
	catch (cpp_redis::redis_error e)
	{
		std::cout << e.what() << endl;
	}


	//关闭Windows网络通信库
	StopWSA();

  return 0;
}
输出:我们给redis不同的外部环境,看看跑出来的效果
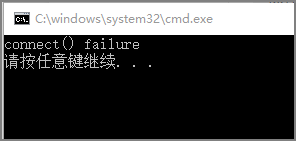
(1)关闭redis服务:连接失败被捕获并显示出来
(2)启动redis服务:执行效果

(3)如果我们发送的hello,取的时候写成了首字母大写Hello会输出:
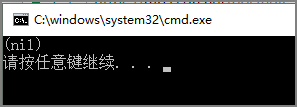
之所以会输出(nil)是因为reply的输出操作符重载中定义的:
case cpp_redis::reply::type::null:
os << std::string("(nil)");
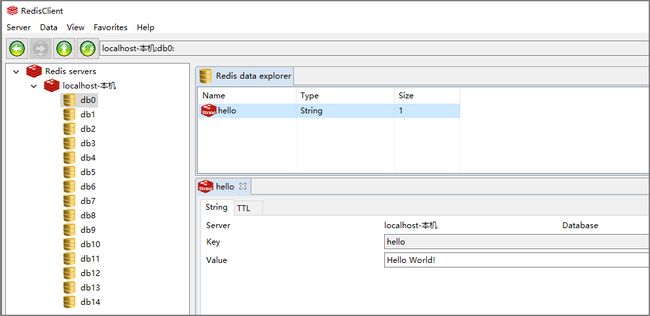
break;客户端查看:
下篇文章重点讲一下返回值的结构reply