二.搭建介绍
单机系统:Centos7
1.安装java环境![]()
rpm包安装即可rpm -ivh jdk-8u121-linux-x64.rpm
2.安装tomcat
本文为搭建tomcat负载均衡,所以启动两个tomcat实例
解压拷贝到/usr/local/tomcat/
tar zxf apache-tomcat-8.5.35.tar.gz
cp apache-tomcat-8.5.35 /usr/local/tomcat
cp -r apache-tomcat-8.5.35 /usr/local/tomcat
cd /usr/local/tomcat/
创建tomcat集群 mkdir /usr/local/cluster,拷贝tomcat到系群里,命名实例1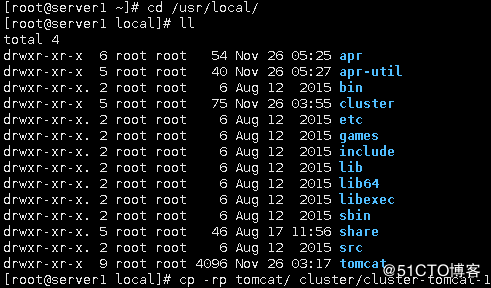
添加测试页面:index.jsp
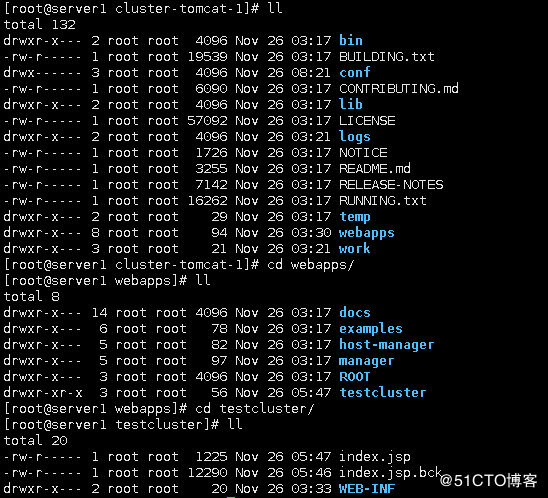
注:
将默认的WEB-INF和index.jsp拷到新建的testcluster下
修改WEB-INF下的web.xml,在最下面加上
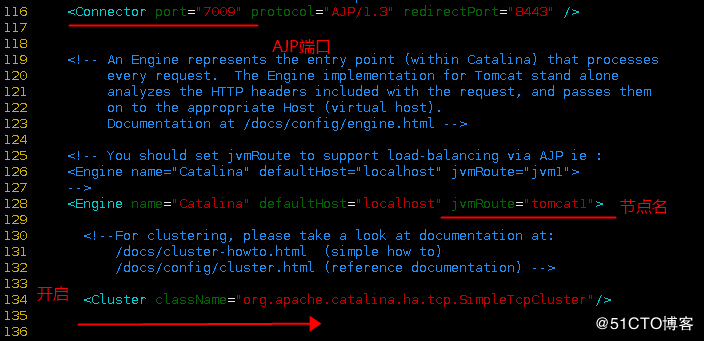
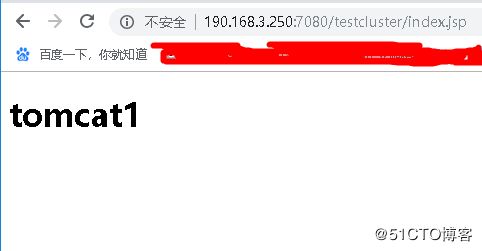
用同样的方法设置实例2,将端口改为8080![]()

![]


启动tomcat实例2并测试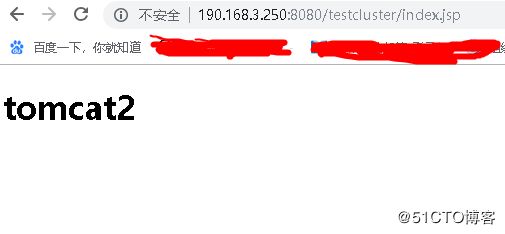

3.安装apache
×××http://httpd.apache.org/ httpd-2.4.37.tar.gz
下载组件http://apr.apache.org/ apr-1.6.5.tar.gz apr-util-1.6.1.tar.gz
yum install -y gcc
yum install -y pcre-devel lua-devel libxml2-devel
tar apr-1.6.5.tar.gz
cd apr-1.6.5/
./configure --prefix=/usr/local/apr
make
make install
yum install expat-devel -y
tar zxf apr-util-1.6.1.tar.gz
cd apr-util-1.6.1/
./configure --prefix=/usr/local/apr-util --with-apr=/usr/local/apr
make
make install
组件安装完成后,安装apache
cd httpd-2.4.37/
./configure --prefix=/usr/apache24 --with-apr=/usr/local/apr --with-apr-util=/usr/local/apr-util
make
make install
启动apache
/usr/apache24/bin/apachectl start
/usr/apache24/bin/apachectl stop
/usr/apache24/bin/apachectl start
浏览器输入190.168.0.250
显示 it works! 正常
mod_jk.so模块安装完成
拷贝到/usr/apache24/modules下
cp mod_jk.so /usr/apache24/modules/
三.创建负载均衡,测试结果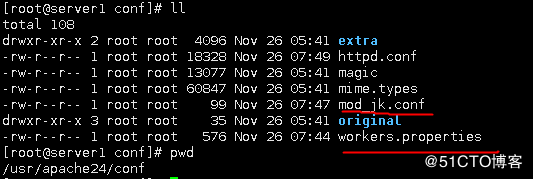
1.创建控制文件
vim workers.properties
worker.list=controller,tomcat1,tomcat2
#tomcat1实例配置 这里要和tomcat配置文件Service.xml的jvmRoute保持一致
worker.tomcat1.host=127.0.0.1
worker.tomcat1.port=7009
worker.tomcat1.type=ajp13
#分发权重 值越大负载越大
worker.tomcat1.lbfactor=1
#tomcat2实例配置
worker.tomcat2.host=127.0.0.1
worker.tomcat2.port=8009
worker.tomcat2.type=ajp13
#分发权重 值越大负载越大
worker.tomcat2.lbfactor=1
#负载均衡分发控制器
worker.controller.type=lb
worker.controller.balance_workers=tomcat1,tomcat2
worker.controller.sticky_session=false
2.创建JK配置文件
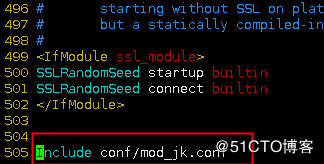
vim mod_jk.conf
LoadModule jk_module modules/mod_jk.so
JkWorkersFile conf/workers.properties
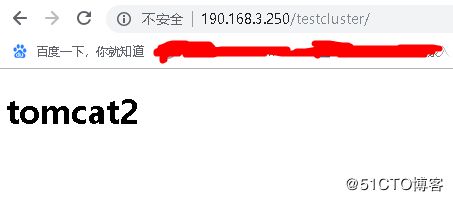
JkMount /* controller


