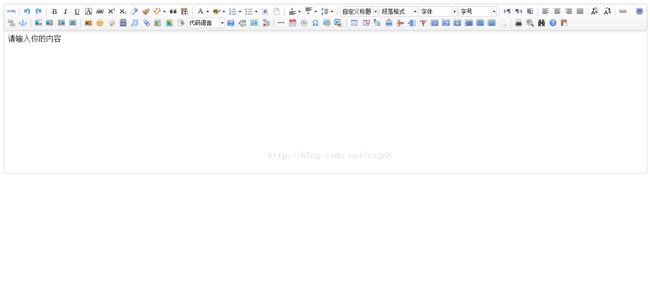
UEditor编辑器通过实现图片上传
1.新建一个index.html,引入一下2个编辑器js文件:
JavaScript Code
|
1 2 3 4 |
|
接着,在body里写入以下js:
JavaScript Code
|
1
2 3 4 5 6 7 8 9 10 11 12 13 14 15 16 17 18 19 20 21 22 |
请输入你的内容 UE.getEditor( 'myEditor',{ //这里可以选择自己需要的工具按钮名称,此处仅选择如下五个 //focus时自动清空初始化时的内容 autoClearinitialContent: true, //关闭字数统计 wordCount: false, //关闭elementPath elementPathEnabled: false, //默认的编辑区域高度 //initialFrameWidth:700, //默认的编辑区域高度 initialFrameHeight: 300, imageUrl: "http://localhost/framework/plugin/ueditor/imageUp.php", imagePath: "" //更多其他参数,请参考ueditor.config.js中的配置项 }) |
接着打开一个UEditor找到imageUp.php,修改 $imgSavePathConfig,
JavaScript Code
|
$title = htmlspecialchars($_POST[
'pictitle'], ENT_QUOTES);
$path = htmlspecialchars($_POST[
'dir'], ENT_QUOTES);
// $globalConfig = include( "config.php" );
// $imgSavePathConfig = $globalConfig[ 'imageSavePath' ];
/**
* 文件上传保存目录
*/
$saveDir=
"upload/".date(
"Y/m/d");
is_dr:#008000;">// $globalConfig = include( "config.php" );
// $imgSavePathConfig = $globalConfig[ 'imageSavePath' ];
/**
* 文件上传保存目录
*/
$saveDir=
"upload/".date(
"Y/m/d");
is_dr:#008000;">// $globalConfig = include( "config.php" );
// $imgSavePathConfig = $globalConfig[ 'imageSavePath' ];
/**
* 文件上传保存目录
*/
$saveDir=
"upload/".date(
"Y/m/d");
is_dir($saveDir) || mkdir($saveDir,
0755,
true);
$imgSavePathConfig=array($saveDir);
//获取存储目录
if
( isset( $_GET[
'fetch'
] ) ) {
header(
'Content-Type: text/javascript'
);
echo
'updateSavePath('
. json_encode($imgSavePathConfig) .
');'
;
return
;
}
//上传配置
$config = array(
"savePath"
=> $imgSavePathConfig,
"maxSize"
=>
1000
,
//单位KB
"allowFiles"
=> array(
".gif"
,
".png"
,
".jpg"
,
".jpeg"
,
".bmp"
),
if
( !in_array( $path, $config[
'savePath'
] ) ) %7nbsp; );
if
( empty( $path ) ) {
$path = $config[
'savePath'
][
0
];
}
//上传目录验证
if
( !in_array( $path, $config[
'savePath'
] ) ) {
//非法上传目录
echo
'{"state":"\u975e\u6cd5\u4e0a\u4f20\u76ee\u5f55"}'
;
return
;
}
$config[
'savePath'
] = $path .
'/'
;
//生成上传实例对象并完成上传
$up =
new
Uploader(
"upfile"
, $config);
/**
* 得到上传文件所对应的各个参数,数组结构
* array(
* "originalName" => "", //原始文件名
* "name" => "", //新文件名
* "url" => "", //返回的地址
* "size" => "", //文件大小
* "type" => "" , //文件类型
* "state" => "" //上传状态,上传成功时必须返回"SUCCESS"
* )
*/
$info = $up->getFileInfo();
/**
* 向浏览器返回数据json数据
* {
* 'url' :'a.jpg', //保存后的文件路径
* 'title' :'hello', //文件描述,对图片来说在前端会添加到title属性上
* 'original' :'b.jpg', //原始文件名
* 'state' :'SUCCESS' //上传状态,成功时返回SUCCESS,其他任何值将原样返回至图片上传框中
* }
*/
echo
"{'url':'"
.
'http://localhost/framework/plugin/ueditor/'
.$info[
"url"
] .
"','title':'"
. $title .
"','original':'"
. $info[
"originalName"
] .
"','state':'"
. $info[
"state"
] .
"'}"
;
|
最后完成,只需要需改4处地方
