在慕课网上学习了 Canvas绘图详解 这门教程,写了这篇canvas教程,想和大家分享学习的过程,希望和大家共同进步.=_=
这么久才更教程的第二篇,我该打(;′⌒`)
- 1.效果展示
- 2.图形的变换和保存
2.1.位移(translate)
2.2.旋转(rotate)
2.3.缩放(scale) - 3.填充样式
3.1.渐变
3.2.使用图片填充
3.3.使用canvas填充
1. 效果展示
完整代码请戳Lesson2/demo9.html
2. 图像的变换和保存
2.1 位移 translate(x,y)
完整代码请戳Lesson2/demo1.html
 //第一个正方形从(0,0)点开始,x轴平移100像素,y轴平移100像素
   context.fillStyle = "#559ABB";
   context.translate(100,100);
   context.fillRect(0, 0, 100, 100);

   //第二个正方形从(100,100)点开始,x轴平移100像素,y轴平移100像素
   context.fillStyle = "#F8D184";
   context.translate(100,100);
   context.fillRect(0, 0, 100, 100);
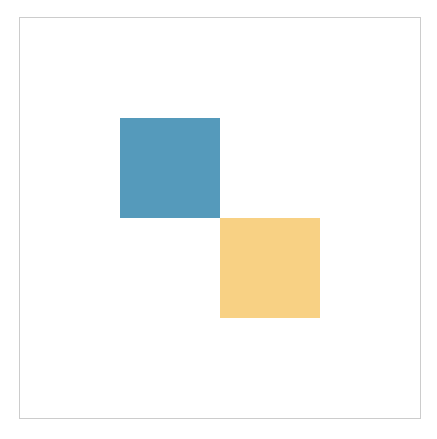
可以看出两个translate的效果是叠加的,为了使用图形变换时效果不影响可保存canvas的状态。
Canvas状态的保存和恢复
save(): 保存当前图形的状态
restore(): 返回save的canvas的所有状态
完整代码请戳Lesson2/demo2.html
  //保存第一个正方形的状态
  //从(0,0)点开始,x轴平移100像素,y轴平移100像素
  context.save();
  context.fillStyle = "#559ABB";
  context.translate(100,100);
  context.fillRect(0, 0, 100, 100);
  context.restore();

  //保存第二个正方形的状态
  //从(0,0)点开始,x轴平移100像素,y轴平移100像素
  context.save();
  context.fillStyle = "#F8D184";
  context.translate(100,100);
  context.fillRect(0, 0, 100, 100);
  context.restore();
均以(0,0)为起点x,y轴平移100像素,蓝色的正方形被黄色的正方形盖住了
2.2 旋转rotate(deg)
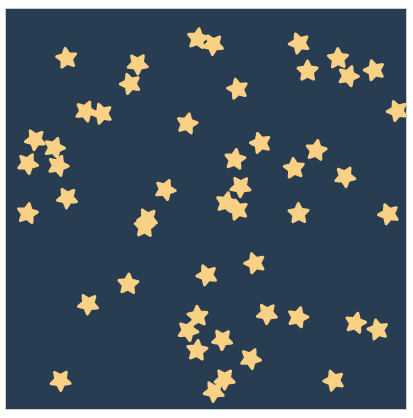
使用translate,rotate的星空图
完整代码请戳Lesson2/demo3.html
 window.onload = function () {
    var canvas = document.getElementById("canvas");
    var context = canvas.getContext("2d");
    canvas.width = 400;
    canvas.height = 400;
    context.fillStyle = "#283D52";
    context.fillRect(0, 0, canvas.width, canvas.height);
    //假设画布中有50个星星
    for (var i = 0; i <= 50; i++) {
        //x轴偏移量
        var x = Math.random() * canvas.width;
        //y轴偏移量
        var y = Math.random() * canvas.height;
        //任意角度
        var a = Math.random() * 360;
        draw(context, x, y, a);
    }
};

    //绘制星星
    function draw(cxt, x, y, rot) {
        //保存canvas的状态
        cxt.save();
        //x,y轴的偏移量
        cxt.translate(x, y);
        //旋转的角度
        cxt.rotate(rot / 180 * Math.PI);
        //绘制星星的路径
        starPath(cxt);

        cxt.fillStyle = "#F8D184";
        cxt.strokeStyle = "#FAD085";
        cxt.lineWidth = 2;
        cxt.lineJoin = "round";

        cxt.fill();
        cxt.stroke();
        cxt.restore();
    }

    //绘制一个星星的路径,这里绘制星星时设定大圆半径为10,小圆半径为大圆半径的一半
    function starPath(cxt) {
        cxt.beginPath();
        for (var i = 0; i < 5; i++) {
            cxt.lineTo(Math.cos((18 + i * 72) / 180 * Math.PI) * 10,
                   -Math.sin((18 + i * 72) / 180 * Math.PI) * 10);
            cxt.lineTo(Math.cos((54 + i * 72) / 180 * Math.PI) * 0.5 * 10,
                   -Math.sin((54 + i * 72) / 180 * Math.PI) * 0.5 * 10);
        }
        cxt.closePath();
    }
如何绘制星星 可参考 Canvas从入门到放弃 (一)
只有平移和旋转,所有星星都是一样大
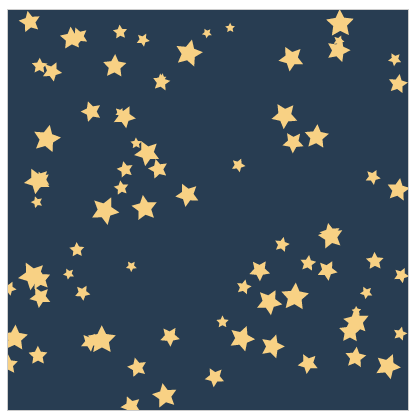
2.3 缩放scale(sx,sy)
完整代码请戳Lesson2/demo4.html
window.onload = function () {
    var canvas = document.getElementById("canvas");
    canvas.width = 400;
    canvas.height = 400;
    var context = canvas.getContext("2d");

    context.fillStyle = "#283D52";
    context.fillRect(0, 0, canvas.width, canvas.height);
    for (var i = 0; i < 80; i++) {
        //大圆半径在[5-15)之间
        var R = Math.random() * 10 + 5;
        //x轴偏移量
        var x = Math.random() * canvas.width;
        //y轴偏移量
        var y =Math.random() * canvas.height;
        //旋转角度
        var a = Math.random() * 360;
        drawStar(context, x, y, R, a);
     }
};
    function drawStar(cxt, x, y, R, rot) {
        cxt.save();
        //x,y轴的偏移量
        cxt.translate(x, y);
        //旋转的角度
        cxt.rotate(rot / 180 * Math.PI);
        //缩放的大小
        cxt.scale(R, R);
        drawPath(cxt);

        cxt.fillStyle = "#F8D184";
        cxt.lineJoin = "round";
        cxt.fill();
        cxt.restore();
    }
    //绘制一个星星的路径(绘制的星星看不见,因为这里没有设置半径,在上面用scale控制半径)
    function drawPath(cxt) {
        cxt.beginPath();
        for (var i = 0; i < 5; i++) {
            //绘制大圆上的五个坐标点
            cxt.lineTo(Math.cos((18 + i * 72 ) / 180 * Math.PI),
                   -Math.sin((18 + i * 72) / 180 * Math.PI));
            //绘制小圆上的五个坐标点
            cxt.lineTo(Math.cos((54 + i * 72) / 180 * Math.PI) * 0.5,
                   -Math.sin((54 + i * 72) / 180 * Math.PI) *0.5);
        }
        cxt.closePath();
    }
3. 填充样式
3.1 渐变
线性渐变
step1: 设置渐变线
//参数是两个坐标,构成了一条线段
var linearGrad = context.createLinearGradient(xstart,ystart,xend,yend)
step 2:在渐变线上设置关键色
//stop决定关键色的位置,color决定关键色的颜色
 linearGrad.addColorStop(stop,color);
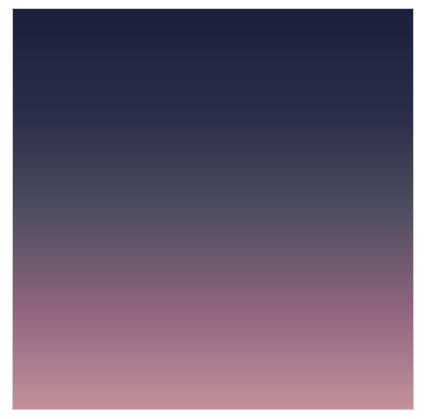
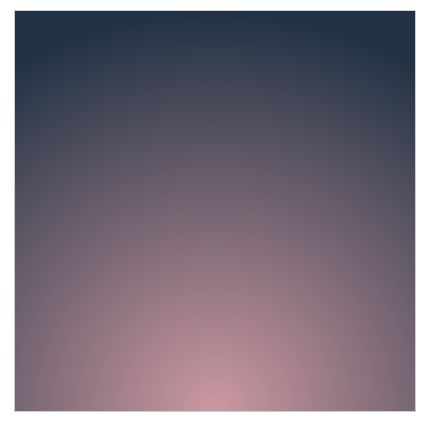
绘制一片线性渐变的星空
完整代码请戳Lesson2/demo5.html
   var canvas = document.getElementById("canvas");
   canvas.width = 400;
   canvas.height = 400;
   var context = canvas.getContext("2d");

   var linearGrad = context.createLinearGradient(0, 0, 0, 400);
   linearGrad.addColorStop(0, '#1C213B');
   linearGrad.addColorStop(0.25, '#2A2D49');
   linearGrad.addColorStop(0.5, '#4D4D5F');
   linearGrad.addColorStop(0.75, '#916580');
   linearGrad.addColorStop(1.0, '#C3919A');
   context.fillStyle = linearGrad;
   context.fillRect(0, 0, canvas.width, canvas.height);
径向渐变
step 1: 设置渐变线
   //参数为第一个圆的圆心,半径,第二个圆的圆心,半径
   var linearGrad = context.createRadialGradient(x0,y0,r0,x1,y1,r1);
step 2: 在渐变线上设置渐变色
//stop决定关键色的位置,color决定关键色的颜色
linearGrad.addColorStop(stop,color);
绘制一片径向渐变的星空
完整代码请戳Lesson2/demo6.html
 var canvas = document.getElementById("canvas");
 canvas.width = 400;
 canvas.height = 400;
 var context = canvas.getContext("2d");

 var linearGrad = context.createRadialGradient(canvas.width/2, canvas.height, 0,
                     canvas.width/2,canvas.height,canvas.height);
linearGrad.addColorStop(0, '#CC99A1');
linearGrad.addColorStop(1.0, '#213244');

context.fillStyle = linearGrad;
context.fillRect(0, 0, canvas.width, canvas.height);
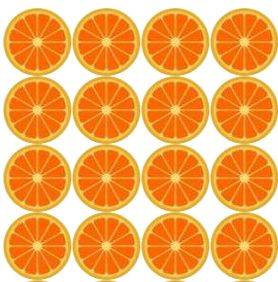
3.2 使用图片填充画布
完整代码请戳Lesson2/demo7.html
//第一个参数,表示填充一个图片,第二个参数填充方式
createPattern(img,repeat-style)
 window.onload = function () {
    var canvas = document.getElementById("canvas");
    canvas.width = 300;
    canvas.height = 300;
    var context = canvas.getContext("2d");

  //创建一个图片对象
    var backGroundImage = new Image();
    backGroundImage.src = "lemon.png";
    backGroundImage.onload = function () {
        var pattern = context.createPattern(backGroundImage, "repeat");
        context.fillStyle = pattern;
        context.fillRect(0, 0, 300, 300);
    }
}
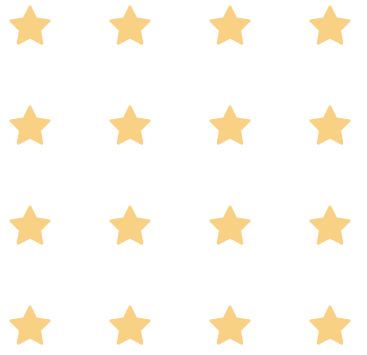
3.3 使用另一个canvas填充画布
完整代码请戳Lesson2/demo8.html
//第一个参数,表示填充另外一个画布,第二个参数填充方式
createPattern(canvas,repeat-style)
window.onload = function () {
    var canvas = document.getElementById("canvas");
    canvas.width = 400;
    canvas.height = 400;
    var context = canvas.getContext("2d");

    var backCanvas = creatBackCanvas();
    var pattern = context.createPattern(backCanvas, "repeat");
    context.fillStyle = pattern;
    context.fillRect(0, 0, 400, 400);
};
 //创建一个背景画布,画布中绘制一颗星星
function creatBackCanvas() {
    var backCanvas = document.createElement("canvas");
    backCanvas.width = 100;
    backCanvas.height = 100;

    var backCanvasContext = backCanvas.getContext("2d");
    drawStar(backCanvasContext, 50, 50, 20, 0);
    return backCanvas;
}
//绘制星星
function drawStar(cxt, x, y, R, a) {
    cxt.beginPath();
    for (let i = 0; i < 5; i++) {
        cxt.lineTo(Math.cos((18 + i * 72 - a) / 180 * Math.PI) * R + x,
                  -Math.sin((18 + i * 72 - a) / 180 * Math.PI) * R + y);
        cxt.lineTo(Math.cos((54 + i * 72 - a) / 180 * Math.PI) * R/2 + x,
                  -Math.sin((54 + i * 72 - a) / 180 * Math.PI) * R/2 + y);
    }
    cxt.closePath();

    cxt.fillStyle = "#F8D184";
    cxt.strokeStyle = "#FAD085";
    cxt.lineWidth = 3;
    cxt.lineJoin = "round";
    cxt.fill();
    cxt.stroke();
}
总结:填充样式 fillStyle
fillStyle = color   (颜色)
            gradient(渐变)
            image   (图片)
            canvas  (画布)
下节预告:曲线的绘制,文字的渲染

