手绘 v.s 码绘 (1.1 Processing——MyConfuse)
目标
- 用手绘和码绘两种方式创作“运动”主题的作品,并撰写报告,对比二者在表现“动态”方面的异同。
- 至少有一幅手绘作品,允许采取纸面绘画或电脑绘画两种方式
- 可以结合速写课作业完成多幅作品,形成组图,以尝试不同的表现”动感“的手法
- 编程工具默认包括p5.js, processing, openframeworks, unity
- 必须运用到条件分支、循环、函数等流程控制方法,尽可能运用周期性、随机性的控制技术
手绘作品
工具:
SketchBook
介绍:
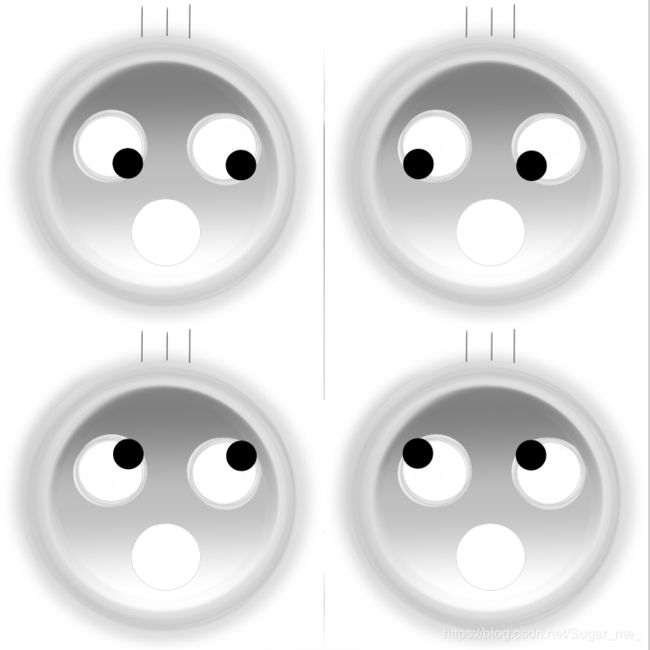
这个图片参考了律老师画的confuseface,其圆润可爱的轮廓和逼真传神的表情给我留下了深刻印象,所以当我打开画图准备写这次作业时,随手画了个草图就是一张还原度很高的confuseface。
在它简洁的基础形态上,层叠的黑眼圈不健康的灰白肤色以及比原版更加纤细的3根毛发都显示出了这位惊恐同学的与众不同,同时也侧面反映出它缺乏睡眠的现状。
码绘作品
工具:
Processing
(展示图片画质不佳,如引起不适请试用源代码)
作品1
开始码绘啦,先试着画点简单的吧。
微笑眨动小眼睛 ;-)
关键代码/函数:
- 为背景色、眼睛位置获取鼠标坐标:mouseX,mouseY
- 判断鼠标按下与否:mousePressed
- 实现鼠标按下眨眼的效果:if()…else…条件分支
完整代码展示:
PImage img;
void setup(){
 size(400, 400);
}

void draw(){
 //background(#FFEE31);
   background(mouseX,mouseY, 100);
 pushMatrix();
 translate(200, 200 - 60);
 //eyes
 PVector mouse = new PVector(mouseX, mouseY);
 mouse.sub(200, 200 - 60, 0);
 mouse.limit(7);
 fill(0);
 noStroke();
 rectMode(CENTER);
 rect(-1*40+mouse.x, -15+mouse.y, 15, 25, 8);
 if(mousePressed)
   rect(40+mouse.x, -15+mouse.y, 28, 10, 5);
 else
   rect(40+mouse.x, -15+mouse.y, 15, 25, 8);
 //mouth
 noFill();
 strokeWeight(12);
 stroke(0);
 arc(0, 0, 150, 120, PI/4, PI-PI/4);
 popMatrix();
 //text
 textSize(25);
 textAlign(CENTER);
 text("Wellcome to my ConfuseFace!", width/2,height/2+100);
}
作品2
回归正题,在灯光下泛着冷酷金属光泽的confuseface……
它的眼睛去哪里了呢?
关键代码/函数:
- 读取图片像素:img.loadPixels();
- 使用for循环确定坐标范围
- 鼠标处亮度值最高,周围逐渐减弱:float d = dist(x, y, mouseX, mouseY);float adjustbrightness = 70*(maxdist-d)/maxdist;
完整代码展示:
PImage img;

void setup() {
  size(747, 747);
  frameRate(30);
  img = loadImage("myface.png");
  img.loadPixels();
  // Only need to load the pixels[] array once, because we're only
  // manipulating pixels[] inside draw(), not drawing shapes.
  loadPixels();
}

void draw() {

  for (int x = 0; x < img.width; x++) {
    for (int y = 0; y < img.height; y++ ) {
      // Calculate the 1D location from a 2D grid
      int loc = x + y*img.width;
      // Get the R,G,B values from image
      float r,g,b;
      r = red (img.pixels[loc]);
      //g = green (img.pixels[loc]);
      //b = blue (img.pixels[loc]);
      // Calculate an amount to change brightness based on proximity to the mouse
      float maxdist = 200;//dist(0,0,width,height);
      float d = dist(x, y, mouseX, mouseY);
      float adjustbrightness = 70*(maxdist-d)/maxdist;
      r += adjustbrightness;
      //g += adjustbrightness;
      //b += adjustbrightness;
      // Constrain RGB to make sure they are within 0-255 color range
      r = constrain(r, 0, 255);
      //g = constrain(g, 0, 255);
      //b = constrain(b, 0, 255);
      // Make a new color and set pixel in the window
      //color c = color(r, g, b);
      color c = color(r);
      pixels[y*width + x] = c;
    }
  }
  updatePixels();
}
作品3
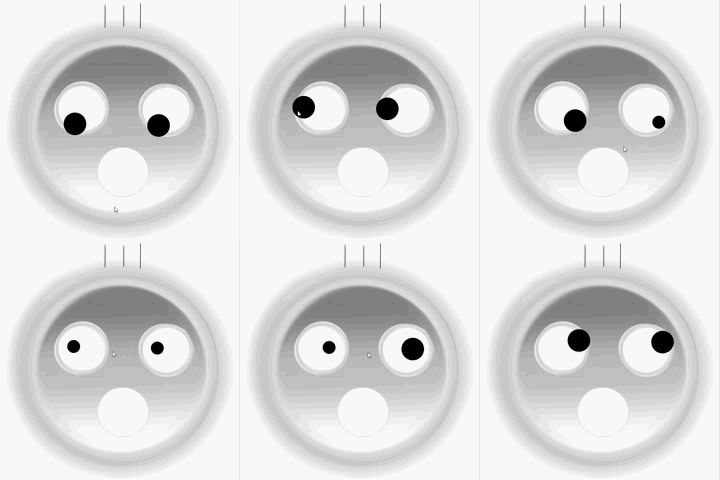
结合作品1和2,给手绘的confuseface加上会动的眼睛@_@ *_*
关键代码/函数:
- 自定义的画眼睛函数,里面有眼睛的相对位置、鼠标事件处理:void draweyes(int a,int b)
- 把眼睛限制在眼眶里:mouse.limit(57/t);
- 按下左键左眼变小,按下右键右眼变小,按下中键两个一起变小:if…else if…else…
完整代码展示:
PImage img;
int t=1;
void setup() {
  size(747, 747);
  img = loadImage("myface.png");
}

void draw() {
  image(img, 0, 0);
  //draweyes(375,350);
  setmyface();
}

void setmyface()
{
  //int t=3;
  for(int m=0;m
  作品4
  emmm……为什么上面那些看起来都很傻呢?太过简单了吧,不符合“码绘”complex又intelligent的人设啊。
  作品3里面的参数t和setmyface()函数可以改变脸的数量,改变t的值之后……

  是不是逐渐有眼花缭乱的感觉。
  但是魔性程度还远远不及律老师画的高级confuseface哦。

  总结
  这篇博客主要展示了我的手绘和码绘作品,通过几个简单的分支语句和循环实现有趣的动态效果。
  下一篇再写更多文字,从多个角度来研究对比手绘与码绘的不同。
  ^▼^


