使用labelImg图像标注工具制作VOC数据集
https://github.com/tzutalin/labelImg
1.Linux下安装
brew install qt qt4
brew install libxml2
make qt4py2
pythobelImg.py
2.windows下安装
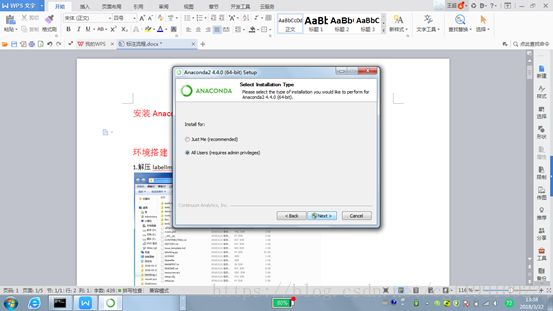
安装安装Anaconda2-4.4.0-Windows-x86_64.exe
https://pan.baidu.com/s/1Qddo-H80SSSL-nEYN8ixGQ
添加环境变量

3.解压labellmage到桌面,不能有中文路径,复制路径。

4.cmd进入路径
conda install pyqt=4
pyrcc4 -py3 -o resources.py resources.qrc
python labelImg.py 打开标记程序
5.标注流程
 打开需要标记的图片文件夹
 修改保存路径(XML文件夹)
 标注ROI区域,填写标签,矩形框可微调
 保存XML文件,有弹框提醒
 点击下一张图进行标记
快捷按键W是Create RectBox,按键D是下一张图,按键A是上一张图,Ctrl+S是保存。
6.生成VOC数据集需要的txt
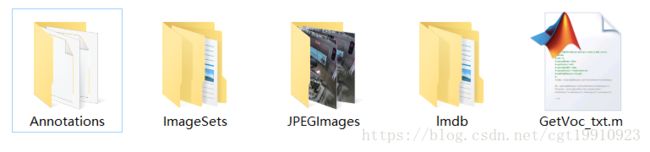
Annotations存放XML文件,JPEGImages下存放训练图片,新建一个GetVoc_txt.m用于生成txt文件到ImageSets文件夹下。
clear;clc;

file = dir('Annotations');
len = length(file)-2;

num_trainval=sort(randperm(len, floor(1*len/2)));%trainval集占所有数据的1/2,可以根据需要设置
num_train=sort(num_trainval(randperm(length(num_trainval), floor(1*length(num_trainval)/2))));%train集占trainval集的1/2,可以根据需要设置
num_val=setdiff(num_trainval,num_train);%trainval集剩下的作为val集


num_test=setdiff(1:len,num_trainval);%所有数据中剩下的作为test集

path = 'ImageSets/Main/';

fid=fopen(strcat(path, 'trainval.txt'),'a+');
for i=1:length(num_trainval)
    s = sprintf('%s',file(num_trainval(i)+2).name);
    fprintf(fid,[s(1:length(s)-4) '\n']);
end
fclose(fid);

fid=fopen(strcat(path, 'train.txt'),'a+');
for i=1:length(num_train)
    s = sprintf('%s',file(num_train(i)+2).name);
    fprintf(fid,[s(1:length(s)-4) '\n']);
end
fclose(fid);

fid=fopen(strcat(path, 'val.txt'),'a+');
for i=1:length(num_val)
    s = sprintf('%s',file(num_val(i)+2).name);
    fprintf(fid,[s(1:length(s)-4) '\n']);
end
fclose(fid);

fid=fopen(strcat(path, 'test.txt'),'a+');
for i=1:length(num_test)
    s = sprintf('%s',file(num_test(i)+2).name);
    fprintf(fid,[s(1:length(s)-4) '\n']);
end
fclose(fid);
https://tzutalin.github.io/labelImg/
目前windows下有可以直接下载使用的执行程序。