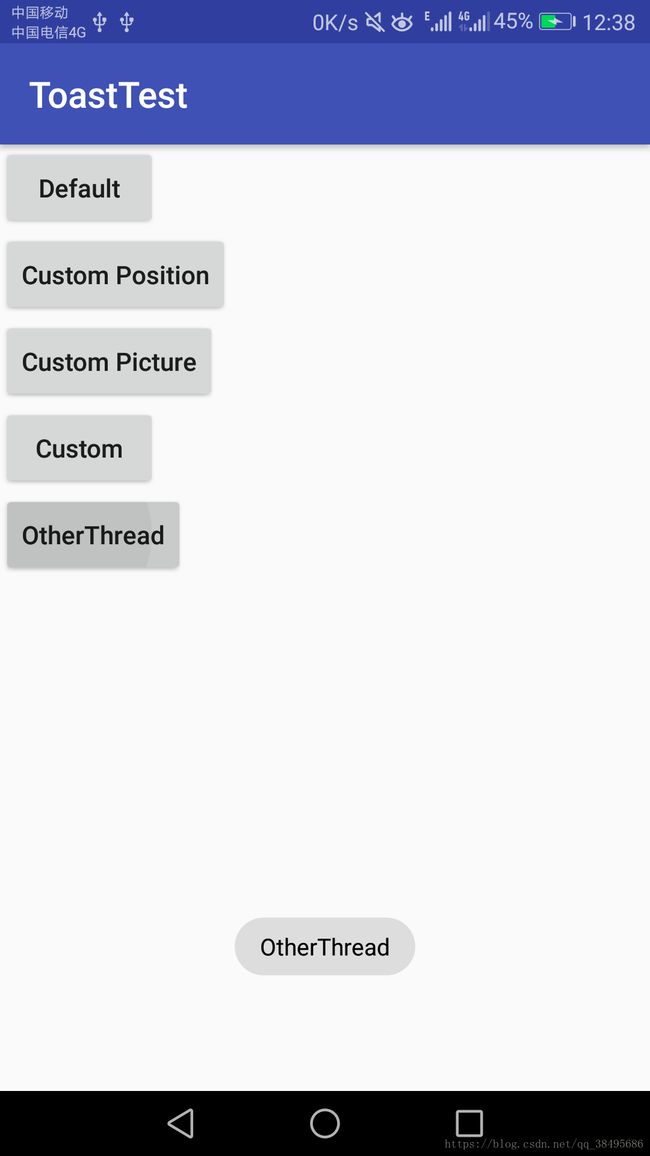
Toast 五种使用方法总结
对于 Toast,相信大家都很熟悉,这里进行一下总结,总共有五种用法:
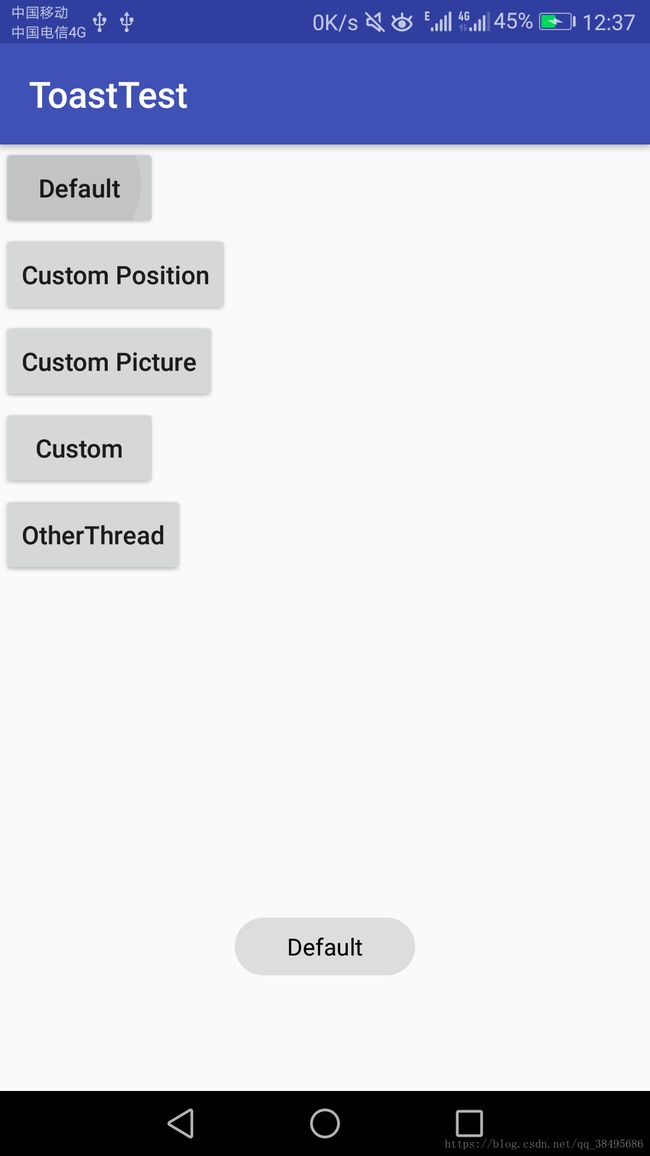
- 默认样式
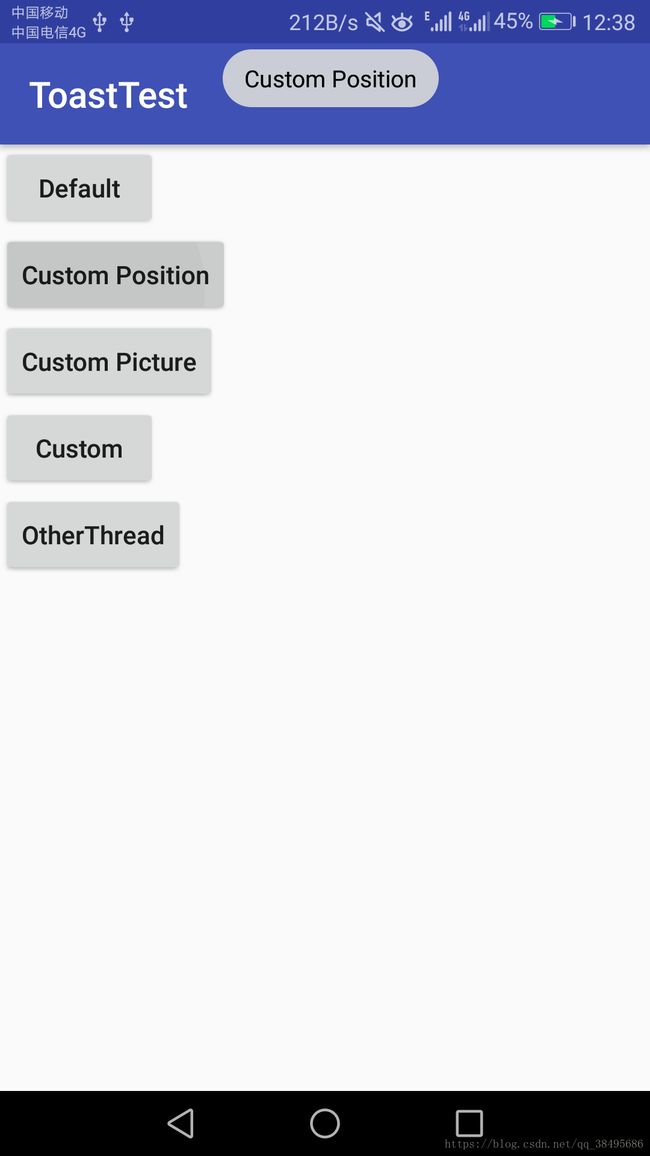
- 自定义位置
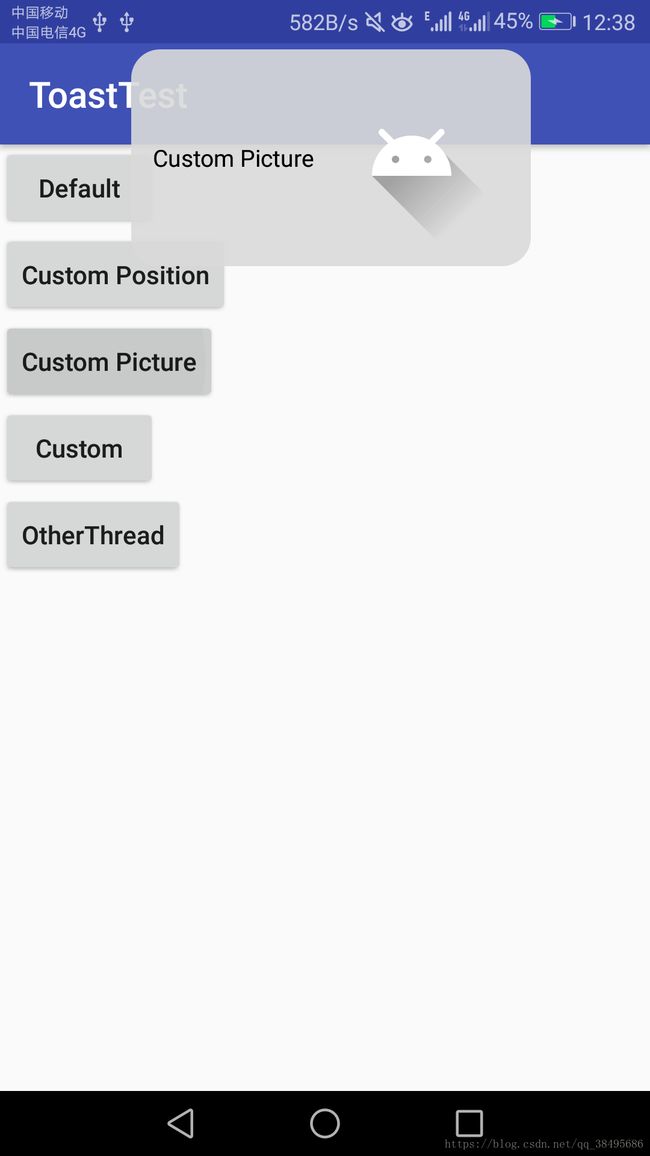
- 自定义图片
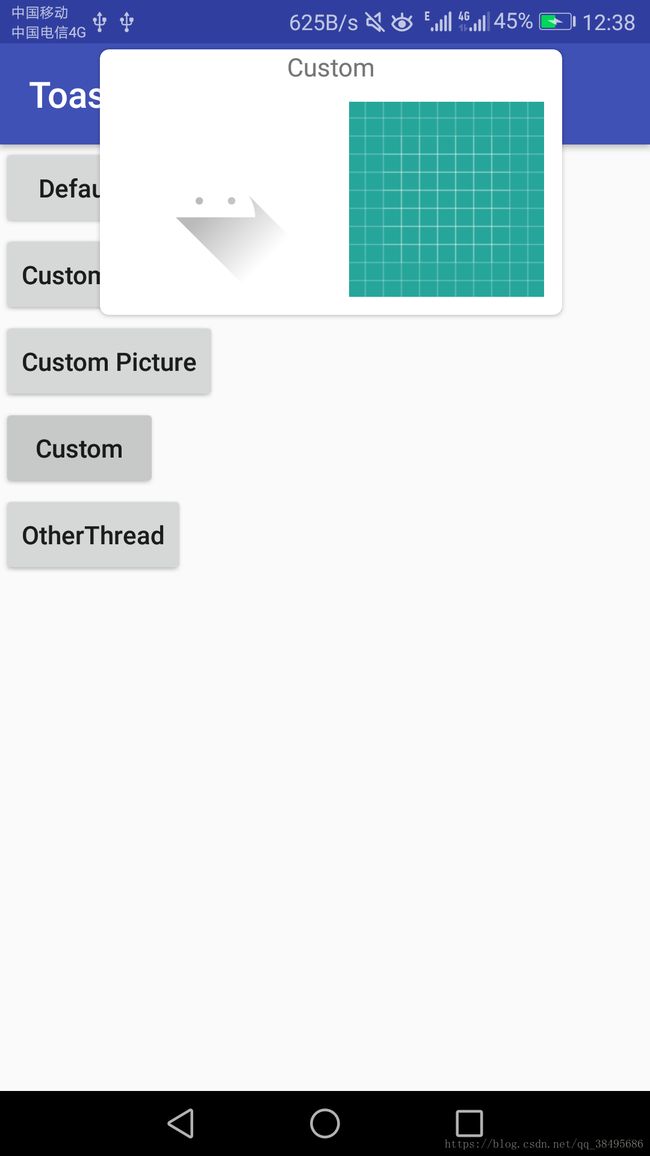
- 完全自定义布局
- 在其他线程中的使用
好了,废话不多说,直接看代码
1.首先在 activity.xml 文件中添加 5 个按钮,用于点击事件弹出 Toast
version="1.0" encoding="utf-8"?>
"http://schemas.android.com/apk/res/android"
android:layout_width="match_parent"
android:layout_height="match_parent"
android:orientation="vertical">
2.这里我将字符串都定义在values/strings 文件中,便于对应用进行本地化,虽然暂时不需要,但养成良好习惯还是不错的
    <string name="app_name">ToastTeststring>
    <string name="default_button">Defaultstring>
    <string name="custom_position">Custom Positionstring>
    <string name="custom_picture">Custom Picturestring>
    <string name="custom">Customstring>
    <string name="otherthread">OtherThreadstring>
3.然后是 button_item.xml 文件,用于完全自定义 Toast 的布局样式,这里我用了一个 CardView,这个控件需要添加依赖
.support.v7.widget.CardView
    xmlns:android="http://schemas.android.com/apk/res/android"
    xmlns:app="http://schemas.android.com/apk/res-auto"
    android:id="@+id/custom_layout"
    app:cardCornerRadius="5dp"
    android:layout_width="match_parent"
    android:layout_height="match_parent"
    android:background="#CDC9C9">

    "match_parent"
        android:layout_height="wrap_content"
        android:orientation="vertical">

        "@+id/custom_layout_text"
            android:layout_width="wrap_content"
            android:layout_height="wrap_content"
            android:layout_gravity="center_horizontal"/>

        "wrap_content"
            android:layout_height="wrap_content"
            android:orientation = "horizontal">

            "@+id/custom_layout_image1"
                android:layout_width="wrap_content"
                android:layout_height="wrap_content"
                android:padding= "10dp"/>

            "@+id/custom_layout_image2"
                android:layout_width="wrap_content"
                android:layout_height="wrap_content"
                android:padding= "10dp"/>


.support.v7.widget.CardView>
5.最后就是在活动中获取按钮的实例,注册点击事件,弹出相应的 Toast
首先是默认样式
Button default_button = (Button) findViewById(R.id.default_button);
default_button.setOnClickListener(new View.OnClickListener(){
    @Override
    public void onClick(View v){
        //静态方法makeText(),第一个参数是 context, 就是活动的上下文,第二个参数是 Toast 显示的文本内容, 第三个参数是显示的时长,有 Toast.LENGTH_LONG 和  Toast.LENGTH_SHORT
        Toast.makeText(MainActivity.this, R.string.default_button, Toast.LENGTH_SHORT).show();
    }
});然后是自定义位置型
Button custom_position = (Button) findViewById(R.id.custom_position);
custom_position.setOnClickListener(new View.OnClickListener(){
    @Override
    public void onClick(View v){
        Toast toast = Toast.makeText(MainActivity.this, R.string.custom_position, Toast.LENGTH_SHORT);
        //使用setGravity() 方法设置设置 Toast 在屏幕上的位置,第一个参数设置重力位置,有 TOP. BOTTOM. START 和 END 等值,第二.三个参数用于水平和垂直方向上的偏移量
        toast.setGravity(Gravity.TOP, 10, 10);
        toast.show();
    }
});
然后是自定义图片
Button custom_picture = (Button) findViewById(R.id.custom_picture);
custom_picture.setOnClickListener(new View.OnClickListener(){
     @Override
     public void onClick(View view){
         Toast toast = Toast.makeText(MainActivity.this, R.string.custom_picture, Toast.LENGTH_SHORT);
         toast.setGravity(Gravity.TOP, 10, 10);

         //使用 getView() 方法得到 Toast 的 View
         LinearLayout toastView = (LinearLayout) toast.getView();
         ImageView imageView = new ImageView(getApplicationContext());
         imageView.setImageResource(R.drawable.ic_launcher_foreground);

         toastView.setOrientation(LinearLayout.HORIZONTAL);
         //ViewGroup 的 addView() 方法用于添加子 View,第一个参数是 要添加的 View, 第二个是添加的位置
         toastView.addView(imageView, 1);

         toast.show();
     }
});然后是完全自定义型
Button custom = (Button) findViewById(R.id.custom);
custom.setOnClickListener(new View.OnClickListener(){
     @Override
     public void onClick(View v){
         Toast toast = Toast.makeText(MainActivity.this, R.string.custom, Toast.LENGTH_SHORT);

         //首先对定义的 Toast 布局进行加载
         View custom_layout = getLayoutInflater().inflate(R.layout.button_item, (ViewGroup) findViewById(R.id.custom_layout), false);

         //然后设置布局文件中的文本.图片
         TextView custom_layout_text = custom_layout.findViewById(R.id.custom_layout_text);
         custom_layout_text.setText(R.string.custom);
         ImageView custom_layout_image1 = custom_layout.findViewById(R.id.custom_layout_image1);
         custom_layout_image1.setImageResource(R.drawable.ic_launcher_foreground);
         ImageView custom_layout_image2 = custom_layout.findViewById(R.id.custom_layout_image2);
         custom_layout_image2.setImageResource(R.drawable.ic_launcher_background);

         toast.setGravity(Gravity.TOP, 10, 10);
         toast.setDuration(Toast.LENGTH_SHORT);

         //setView()方法设置 Toast 的 View
         toast.setView(custom_layout);
         toast.show();
     }
});然后是其他线程中使用 Toast, 这里使用了 异步消息处理
final Handler handler = new Handler(){
    @Override
    public void handleMessage(Message message){
        switch(message.what){
            case 1:
                showToast();
                break;
            default:
                break;
        }
    }
};
void showToast(){
Toast.makeText(MainActivity.this, R.string.otherthread, Toast.LENGTH_SHORT).show();
}Button otherThread = (Button) findViewById(R.id.otherthread);
otherThread.setOnClickListener(new View.OnClickListener(){
@Override
public void onClick(View v){
new Thread(new Runnable() {
@Override
public void run() {
Message message = new Message();
message.what =1;
handler.sendMessage(message);
}
}).start();
}
});6.写在最后
好了,以上就是 Toast 的五种用法,如果有什么不对或建议,欢迎各位批评指正。
参考资料:http://www.jb51.net/article/101948.htm
