在Paint 常用方法解析第一篇中分析了Paint的setColorFilter方法,下面接着分析Paint的其它set方法。
3 setMaskFilter
用来给Paint设置遮罩过滤器,该方法接受一个MaskFilter类型的参数,MaskFilter源码如下:
/**
 * MaskFilter is the base class for object that perform transformations on
 * an alpha-channel mask before drawing it. A subclass of MaskFilter may be
 * installed into a Paint. Blur and emboss are implemented as subclasses of MaskFilter.
 */
public class MaskFilter {

    protected void finalize() throws Throwable {
        nativeDestructor(native_instance);
        native_instance = 0;  // Other finalizers can still call us.
    }

    private static native void nativeDestructor(long native_filter);
    long native_instance;
}
从注释中可以得到如下两个信息:
1> MaskFilter是用来在绘制之前变化透明度通道值的基类。
2> MaskFilter不应该被直接使用,即应该使用MaskFilter的子类
Google一共为我们提供了2个MaskFilter子类:
3.1 BlurMaskFilter(模糊遮罩过滤器)
先来看看源码:
/**
 * This takes a mask, and blurs its edge by the specified radius. Whether or
 * or not to include the original mask, and whether the blur goes outside,
 * inside, or straddles, the original mask's border, is controlled by the
 * Blur enum.
 */
public class BlurMaskFilter extends MaskFilter {

    public enum Blur {
        /**
         * Blur inside and outside the original border.
         */
        NORMAL(0),

        /**
         * Draw solid inside the border, blur outside.
         */
        SOLID(1),

        /**
         * Draw nothing inside the border, blur outside.
         */
        OUTER(2),

        /**
         * Blur inside the border, draw nothing outside.
         */
        INNER(3);

        Blur(int value) {
            native_int = value;
        }
        final int native_int;
    }

    /**
     * Create a blur maskfilter.
     *
     * @param radius The radius to extend the blur from the original mask. Must be > 0.
     * @param style  The Blur to use
     * @return       The new blur maskfilter
     */
    public BlurMaskFilter(float radius, Blur style) {
        native_instance = nativeConstructor(radius, style.native_int);
    }

    private static native long nativeConstructor(float radius, int style);
}
上面代码的注释已经很清晰了,BlurMaskFilter通过指定的模糊半径来模糊边界,并且通过BlurMaskFilter.Blur来控制模糊的范围。
BlurMaskFilter的构造函数的参数:
1> radius 表示是Blur Radius,即阴影的模糊半径
2> style 用来控制模糊的范围
NORMAL :同时模糊边框的内部和外部
SOLID:加粗边框内部,模糊边框外部
OUTER:边框内部不绘制(即透明),模糊边框外部
INNER:模糊边框内部,边框外部不做处理
下面就举个例子:
public class MaskFilterView extends View {
    private Paint paint = null;
    private Bitmap bitmap = null;

    public MaskFilterView(Context context) {
        super(context);
        setLayerType(LAYER_TYPE_SOFTWARE, null);
    }

    public MaskFilterView(Context context, @Nullable AttributeSet attrs) {
        this(context, attrs, 0);
    }

    public MaskFilterView(Context context, @Nullable AttributeSet attrs, int defStyleAttr) {
        super(context, attrs, defStyleAttr);
        setLayerType(LAYER_TYPE_SOFTWARE, null);
        paint = new Paint(Paint.ANTI_ALIAS_FLAG | Paint.DITHER_FLAG);
        BlurMaskFilter blurMaskFilter = new BlurMaskFilter(30, BlurMaskFilter.Blur.NORMAL);
        paint.setMaskFilter(blurMaskFilter);
        paint.setColor(Color.BLUE);
        paint.setTextSize(210f);
        bitmap = BitmapFactory.decodeResource(getResources(), R.drawable.bitmap_shader);
    }

    @Override
    protected void onDraw(Canvas canvas) {
        super.onDraw(canvas);
        canvas.drawText("ANDROID", 100, 300, paint);
        canvas.drawRect(200, 500, 500, 800, paint);
        canvas.translate(200, 1000);
        canvas.drawBitmap(bitmap, 0, 0, paint);
    }
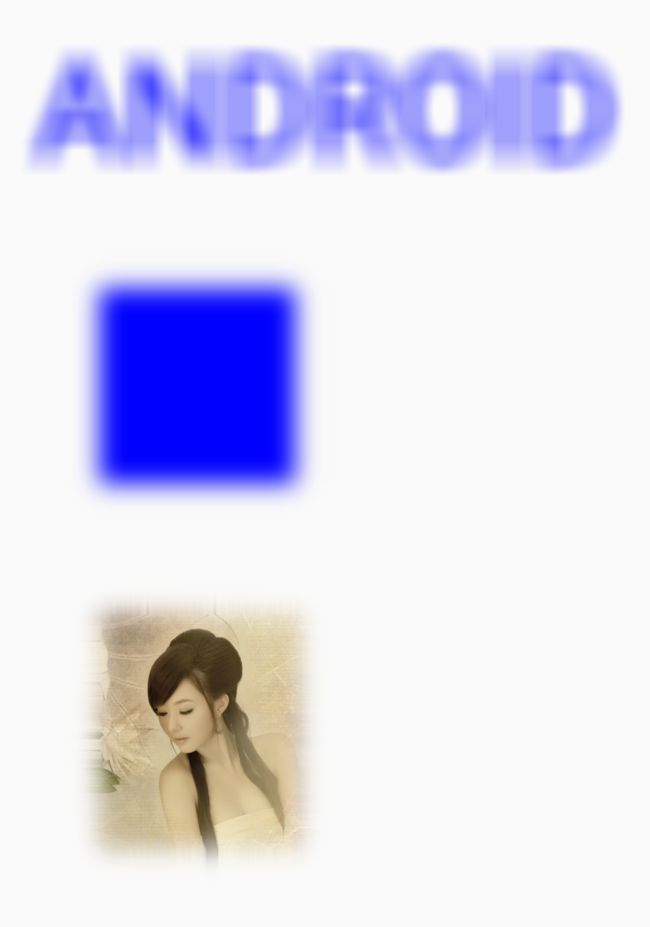
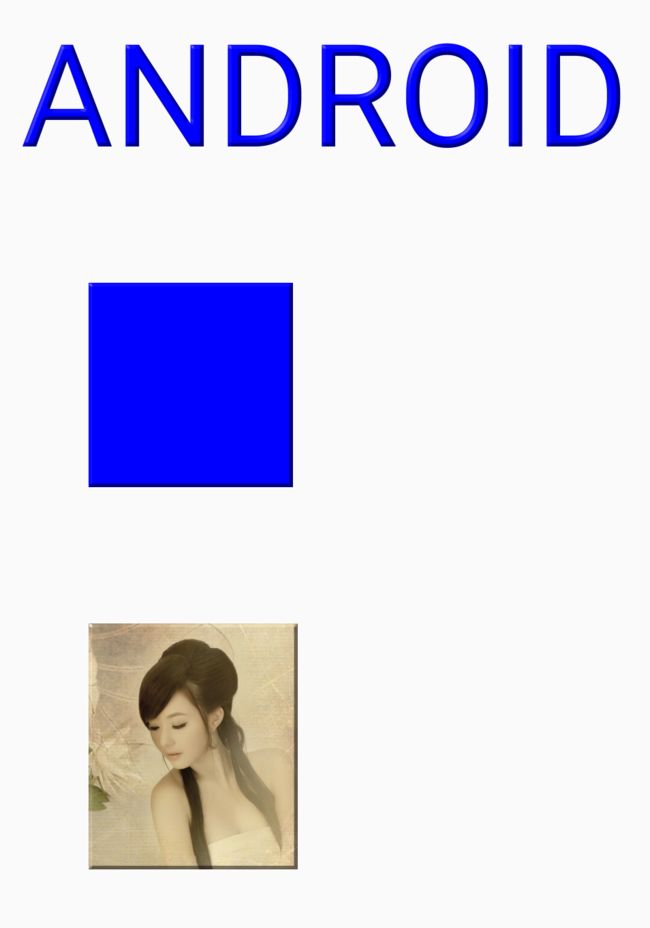
运行截图如下:
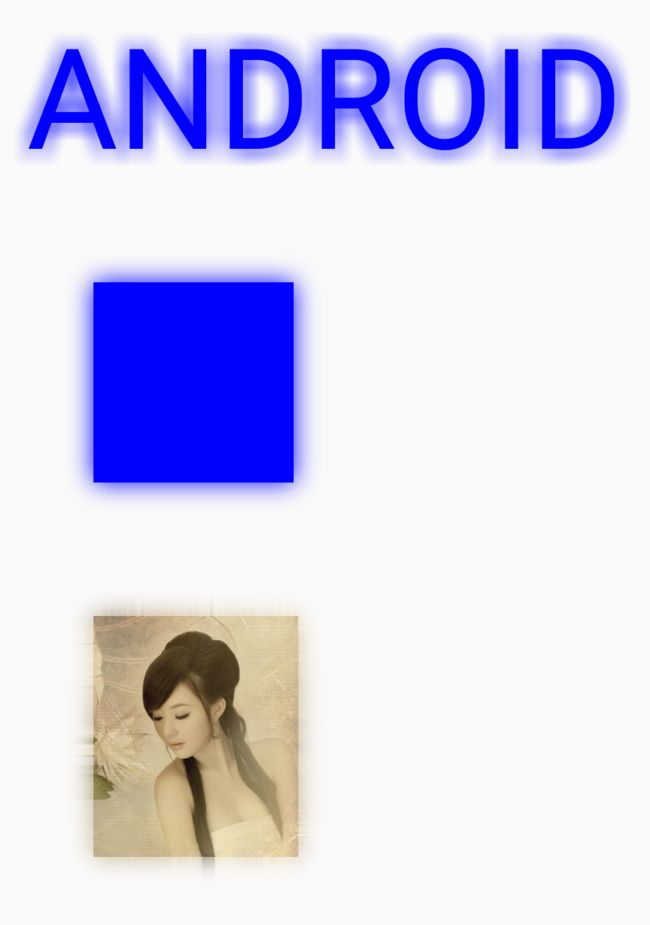
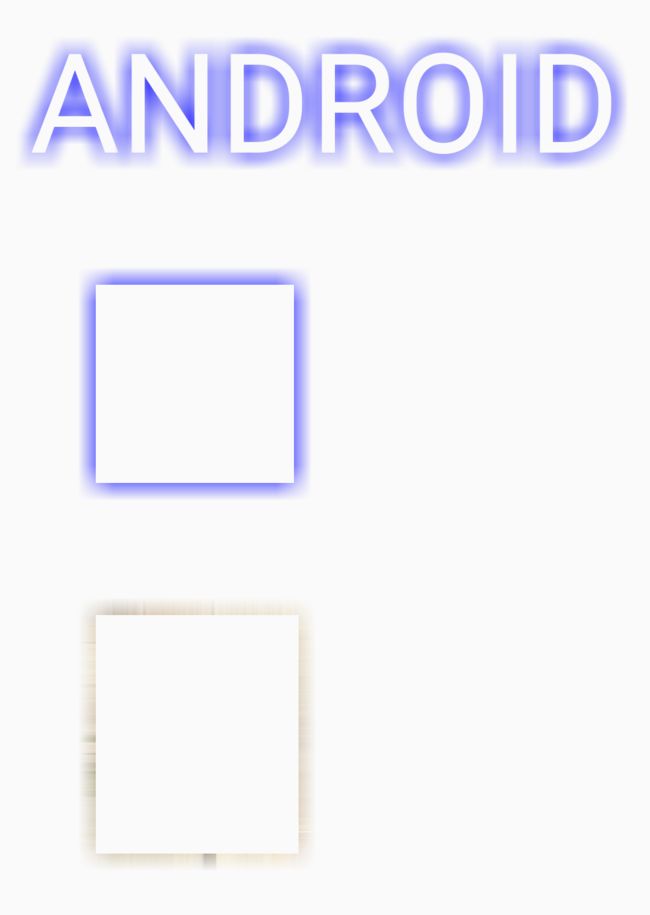
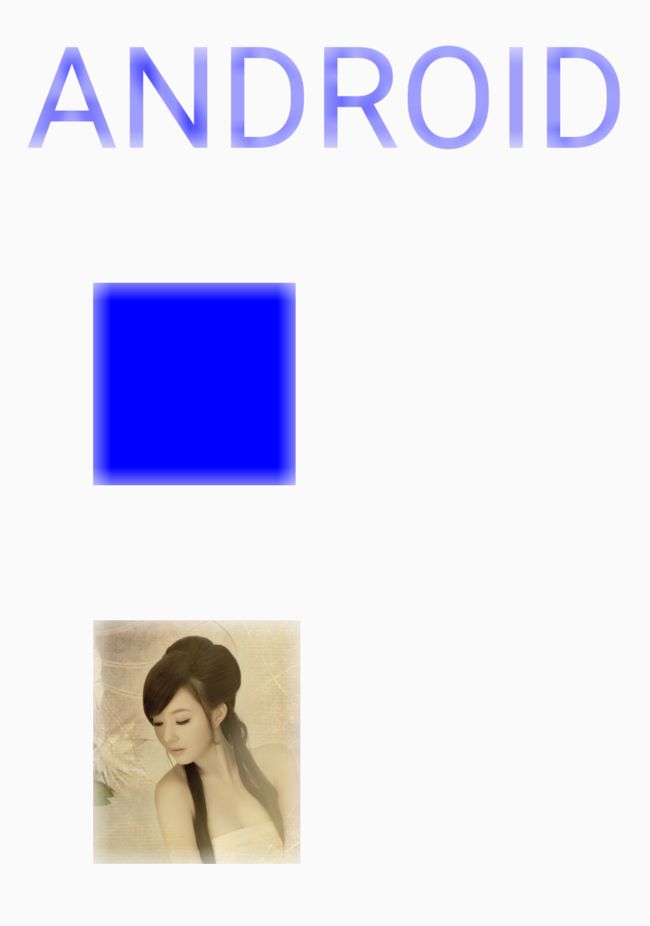
上面是NORMAL类型得到的结果,SOLID、OUTER、INNER的运行截图依次如下:
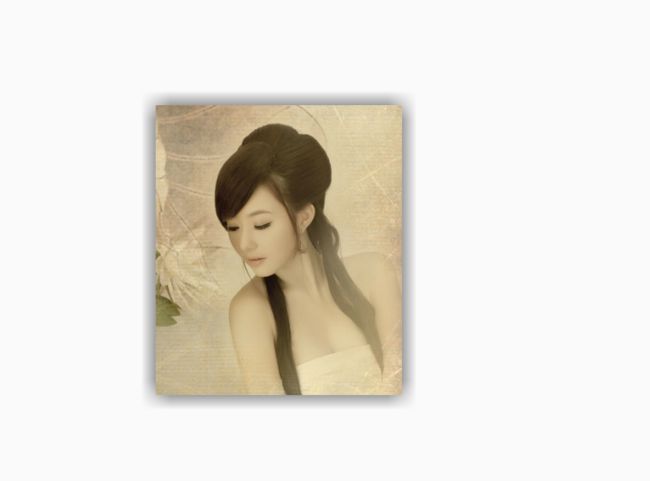
应用 图片的阴影效果
上面说过 MaskFilter是用来在绘制之前变化透明度通道值的基类,因此我们可以先获取到图片的alpha通道值并且对图片的alpha通道值进行模糊处理,然后依次绘制图片的alpha通道值和图片,代码如下:
public class MaskFilterView2 extends View {
    private Paint paint = null;
    private Bitmap alphaBitmap = null;
    private Bitmap bitmap = null;

    public MaskFilterView2(Context context) {
        super(context);
        setLayerType(LAYER_TYPE_SOFTWARE, null);
    }

    public MaskFilterView2(Context context, @Nullable AttributeSet attrs) {
        this(context, attrs, 0);
    }

    public MaskFilterView2(Context context, @Nullable AttributeSet attrs, int defStyleAttr) {
        super(context, attrs, defStyleAttr);
        setLayerType(LAYER_TYPE_SOFTWARE, null);
        paint = new Paint(Paint.ANTI_ALIAS_FLAG | Paint.DITHER_FLAG);
        BlurMaskFilter blurMaskFilter = new BlurMaskFilter(20, BlurMaskFilter.Blur.OUTER);
        paint.setMaskFilter(blurMaskFilter);
        paint.setColor(Color.DKGRAY);
        bitmap = BitmapFactory.decodeResource(getResources(), R.drawable.bitmap_shader);
        alphaBitmap = bitmap.extractAlpha();
    }

    @Override
    protected void onDraw(Canvas canvas) {
        super.onDraw(canvas);
        canvas.translate(200, 200);
        canvas.drawBitmap(alphaBitmap, 0, 0, paint);
        canvas.drawBitmap(bitmap, 0, 0, null);
    }
运行截图如下:
3.2 EmbossMaskFilter(浮雕遮罩过滤器)
先来看看源码:
public class EmbossMaskFilter extends MaskFilter {
    /**
     * Create an emboss maskfilter
     *
     * @param direction  array of 3 scalars [x, y, z] specifying the direction of the light source
     * @param ambient    0...1 amount of ambient light
     * @param specular   coefficient for specular highlights (e.g. 8)
     * @param blurRadius amount to blur before applying lighting (e.g. 3)
     * @return           the emboss maskfilter
     */
    public EmbossMaskFilter(float[] direction, float ambient, float specular, float blurRadius) {
        if (direction.length < 3) {
            throw new ArrayIndexOutOfBoundsException();
        }
        native_instance = nativeConstructor(direction, ambient, specular, blurRadius);
    }

    private static native long nativeConstructor(float[] direction, float ambient, float specular, float blurRadius);
}
由上面的代码可知,EmbossMaskFilter通过指定光源的方向、环境光强度、镜面高亮系数和模糊半径实现来实现浮雕效果。
EmbossMaskFilter是通过构造方法指定上面所说的4个属性,构造方法参数如下:
direction:光源的方向,取值为长度为3的数组[x,y,z]
ambient:环境光的强度,取值范围0...1
specular: 镜面高亮系数
blurRadius:模糊半径
下面举个例子:
public class EmbossFilterView extends View {
    private Paint paint = null;
    private Bitmap bitmap = null;

    public EmbossFilterView(Context context) {
        super(context);
        setLayerType(LAYER_TYPE_SOFTWARE, null);
    }

    public EmbossFilterView(Context context, @Nullable AttributeSet attrs) {
        this(context, attrs, 0);
    }

    public EmbossFilterView(Context context, @Nullable AttributeSet attrs, int defStyleAttr) {
        super(context, attrs, defStyleAttr);
        setLayerType(LAYER_TYPE_SOFTWARE, null);
        paint = new Paint(Paint.ANTI_ALIAS_FLAG | Paint.DITHER_FLAG);
        float[] direction = new float[]{10, 10, 10};
        float ambient = 0.5f;
        float specular = 5;
        float blurRadius = 5;
        EmbossMaskFilter embossMaskFilter = new EmbossMaskFilter(direction, ambient, specular, blurRadius);
        paint.setMaskFilter(embossMaskFilter);
        paint.setColor(Color.BLUE);
        paint.setTextSize(210f);
        bitmap = BitmapFactory.decodeResource(getResources(), R.drawable.bitmap_shader);
    }

    @Override
    protected void onDraw(Canvas canvas) {
        super.onDraw(canvas);
        canvas.drawText("ANDROID", 100, 300, paint);
        canvas.drawRect(200, 500, 500, 800, paint);
        canvas.translate(200, 1000);
        canvas.drawBitmap(bitmap, 0, 0, paint);
    }
}
运行截图如下:
4 setPathEffect
参考Drawable绘制过程源码分析和自定义Drawable实现动画中的2.1
5 setShader
参考Drawable绘制过程源码分析和自定义Drawable实现动画中的2.2
6 setXfermode
用来给Paint设置Xfermode模式,该方法接受一个Xfermode类型的参数,Xfermode的源码如下:
/**
 * Xfermode is the base class for objects that are called to implement custom
 * "transfer-modes" in the drawing pipeline. The static function Create(Modes)
 * can be called to return an instance of any of the predefined subclasses as
 * specified in the Modes enum. When an Xfermode is assigned to an Paint, then
 * objects drawn with that paint have the xfermode applied.
 */
public class Xfermode {

    protected void finalize() throws Throwable {
        try {
            finalizer(native_instance);
            native_instance = 0;
        } finally {
            super.finalize();
        }
    }

    private static native void finalizer(long native_instance);

    long native_instance;
}
可以看到Xfermode并没有具体的实现,因此Xfermode一定有子类去实现一些方法供我们使用:
可以看到Xfermode一共有3个子类,对于AvoidXfermode和PixelXorXfermode这两个类,在API16时被作废,在API24的时候被移除(将targetSdkVersion和compileSdkVersion设置为24或者更高时,AvoidXfermode和PixelXorXfermode是找不到的),因此下面就不会再研究这两个类。
3.1 PorterDuffXfermode
public class PorterDuffXfermode extends Xfermode {
    /**
     * @hide
     */
    public final PorterDuff.Mode mode;

    /**
     * Create an xfermode that uses the specified porter-duff mode.
     *
     * @param mode           The porter-duff mode that is applied
     */
    public PorterDuffXfermode(PorterDuff.Mode mode) {
        this.mode = mode;
        native_instance = nativeCreateXfermode(mode.nativeInt);
    }

    private static native long nativeCreateXfermode(int mode);
}
可以看到PorterDuffXfermode只是提供了一个接受PorterDuff.Mode类型参数的构造方法供我们使用,PorterDuff是由Thomas Porter和Tom Duff两个人的名字组成,其概念最早来自于他们在1984年题为“合成数字图像”的开创性文章中,因为Thomas Porter和Tom Duff的工作只关注 source和destination的alpha通道的影响,所以在原始论文中描述的12种运算在这里被称为alpha合成模式,PorterDuff类还提供了几种混合模式,它们类似地定义了合成source和destination但不限于alpha通道的结果, 这些混合模式不是由Thomas Porter和Tom Duff定义的,但为了方便起见,这些模式已被包括在PorterDuff类中。
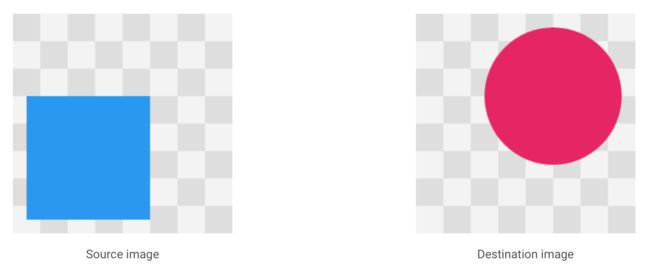
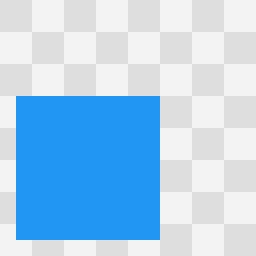
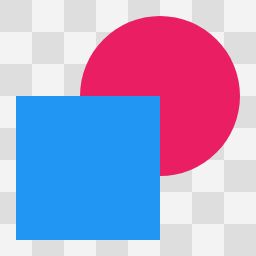
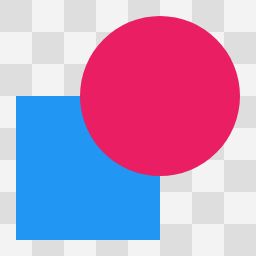
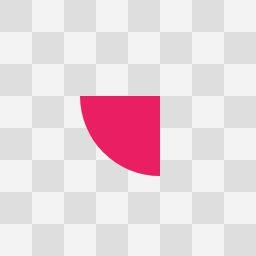
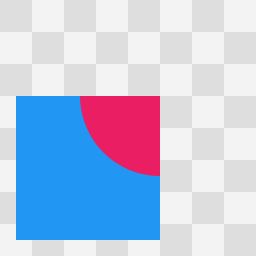
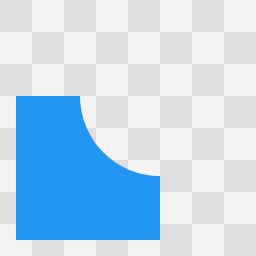
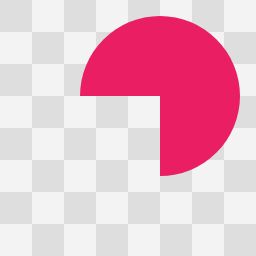
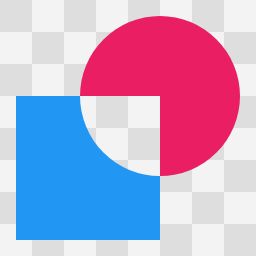
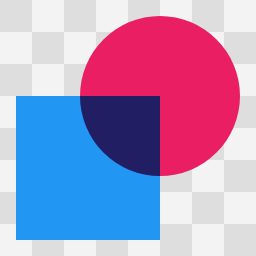
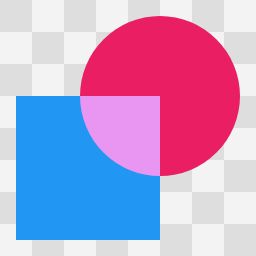
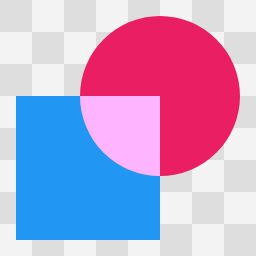
下面展示的所有示例图都使用相同的Source image和Destination image:
下面会依次列举PorterDuff类枚举的18种合成模式的图像表示和计算公式,计算公式中的Sa表示Source image的alpha通道值,Sc表示Source image的颜色值,Da代表Destination image的alpha通道值,Dc代表Destination image的颜色值,Ra代表Result image的alpha通道值,Rc表示Result image的颜色值。
12种alpha合成模式
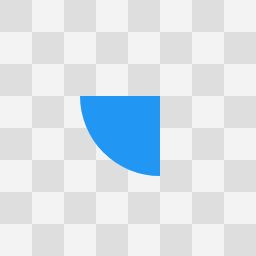
1> SRC
Destination像素被丢弃,使Source完好无损。
[站外图片上传中...(image-94b805-1569758227361)]
2> SRC_OVER
Source像素被绘制在目标像素之上。
[站外图片上传中...(image-cfbe08-1569758227362)] Da\& Rc=Sc+(1-Sa)Dc\end{align*})
3> SRC_IN
保留覆盖Destination像素的Source像素,丢弃剩余的Source和Destination像素。
[图片上传失败...(image-6058fa-1569758227362)]
4> SRC_ATOP
丢弃不和Destination像素重叠的Source像素。 在Destination像素上绘制剩余的Source像素。
[图片上传失败...(image-b6ac84-1569758227362)] Dc\end{align})
5> DST
Source像素被丢弃,使Destination完好无损。
[图片上传失败...(image-9663ba-1569758227362)]
6> DST_OVER
Source像素被绘制在Destination像素之后。
[图片上传失败...(image-ef946b-1569758227362)] Sa\& Rc=Dc+ (1-Da)Sc\end{align*})
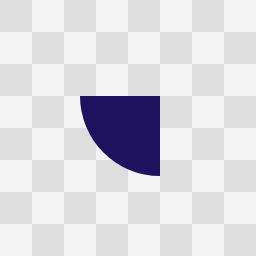
7> DST_IN
保留覆盖Source像素的Destination像素,丢弃剩余的Source和Destination像素。
[图片上传失败...(image-a04f3d-1569758227362)]
8> DST_ATOP
丢弃未被Source像素覆盖的Destination像素。 在Source像素上绘制剩余的Destination像素。
[图片上传失败...(image-eca4b9-1569758227362)] Sc\end{align})
9> CLEAR
[站外图片上传中...(image-8ac303-1569758227362)]
10> SRC_OUT
保留Destination像素未覆盖的Source像素。 舍弃Destination像素覆盖的Source像素。 丢弃所有Destination像素。
[图片上传失败...(image-4ca76-1569758227362)] Sa\& Rc=(1-Da)Sc\end{align*})
11> DST_OUT
保持Source像素未覆盖的Destination像素。 舍弃Source像素覆盖的Destination像素。 丢弃所有Source像素。
[图片上传失败...(image-44fff1-1569758227362)] Da\& Rc=(1-Sa)Dc\end{align*})
12> XOR
丢弃重叠的Source和Destination像素。 绘制剩余的Source和Destination像素。
[图片上传失败...(image-fc65b3-1569758227362)] Sa+(1-Sa)Da\& Rc=(1-Da) Sc+(1-Sa)Dc\end{align*})
除了上面的12种alpha合成模式,PorterDuff类还提供了如下6种合成模式:
13> DARKEN
保留Source和Destination像素的最小组合。
[图片上传失败...(image-d69718-1569758227362)] Sc+(1-Sa)Dc + min(Sc, Dc)\end{align*})
14> LIGHTEN
保留Source和Destination像素的最大组合。
[图片上传失败...(image-eb5c75-1569758227362)] Sc+(1-Sa)Dc + max(Sc, Dc)\end{align*})
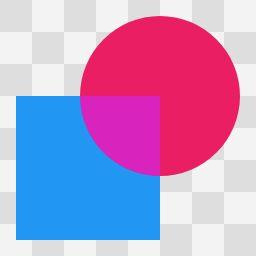
15> MULTIPLY
将Source和Destination像素相乘。
[图片上传失败...(image-34ec90-1569758227362)]
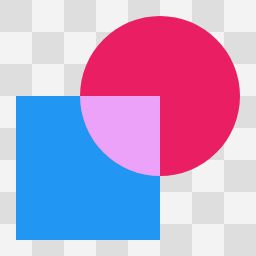
16> SCREEN
添加Source和Destination像素,然后减去与Destination相乘的Source像素。
[图片上传失败...(image-d9561-1569758227362)]
17> OVERLAY
Multiplies or screens the source and destination depending on the destination color.
[图片上传失败...(image-ac2f8b-1569758227362)] (Sa-Dc)&&{otherwise}\end{array}\right.\end{align})
18> ADD
将Source pixels添加到Destination pixels,并使结果饱和。
[图片上传失败...(image-d8fe58-1569758227362)]
3.2 PorterDuffXfermode应用举例
对于开发者来说,我们只需要知道这些模式提供什么样的效果,而对于这些模式对应的计算公式就不需要关心了,感兴趣的同学可以参考Alpha compositing,讲了这么多,PorterDuffXfermode到底有什么用呢:
1> 自定义实现不规则形状的View
具体实现参考 自定义实现不规则形状的View
2>实现橡皮擦的效果
对于这个效果应该用的比较广泛了,最常见的就是刮奖区的效果,首先给大家一个效果图:
运行效果还是很满意的,下面就是实现的源码:
布局代码


//自定义橡皮擦View的代码
public class EraserView extends View {
    private int touchSlop = 8; // 滑动距离阀值:如果在屏幕上滑动距离小于此值则不会绘制
    private int fgColor = 0xFFAAAAAA; // 前景颜色
    private Bitmap fgBitmap = null; // 前景图片
    private Drawable bgDrawable = null; // 背景图片
    private float lastX; // 记录上一个触摸事件的位置坐标
    private float lastY;
    private Path path = null; // 橡皮擦的摩擦路径
    private Paint paint = null; // 模拟橡皮擦的画笔
    private Canvas pathCanvas = null; // 用于绘制橡皮擦路径的canva


    public EraserView(Context context, int bgResId, int fgColorId) {
        super(context);
        if (bgResId < 0) {
            throw new IllegalArgumentException("EraserView args error!");
        }
        Resources resources = context.getResources();
        bgDrawable = resources.getDrawable(bgResId);
        fgColor = resources.getColor(fgColorId);
        if (null == bgDrawable) {
            throw new IllegalArgumentException("EraserView args error!");
        }
        init();
    }

    public EraserView(Context context, @Nullable AttributeSet attrs) {
        this(context, attrs, 0);
    }

    public EraserView(Context context, @Nullable AttributeSet attrs, int defStyleAttr) {
        super(context, attrs, defStyleAttr);
        TypedArray ta = context.obtainStyledAttributes(attrs, R.styleable.EraserView);
        bgDrawable = ta.getDrawable(R.styleable.EraserView_eraser_view_bg);
        fgColor = ta.getColor(R.styleable.EraserView_eraser_view_fg, 0xFFAAAAAA);
        ta.recycle();

        if (null == bgDrawable) {
            throw new IllegalArgumentException("EraserView args error!");
        }
        bgDrawable.setCallback(this);
        init();
    }

    private void init() {

        ViewConfiguration viewConfiguration = ViewConfiguration.get(getContext());
        touchSlop = viewConfiguration.getScaledTouchSlop();

        path = new Path();
        paint = new Paint(Paint.ANTI_ALIAS_FLAG | Paint.DITHER_FLAG);
        paint.setStyle(Paint.Style.STROKE);
        paint.setColor(Color.TRANSPARENT);
        paint.setStrokeWidth(50);
        paint.setStrokeJoin(Paint.Join.ROUND);
        paint.setStrokeCap(Paint.Cap.ROUND);
        paint.setXfermode(new PorterDuffXfermode(PorterDuff.Mode.DST_IN));
        paint.setColor(Color.TRANSPARENT);

    }

    @Override
    protected void onSizeChanged(int w, int h, int oldw, int oldh) {
        super.onSizeChanged(w, h, oldw, oldh);
        if (null != bgDrawable) {
            bgDrawable.setBounds(0, 0, getWidth(), getHeight());
        }
        createFgBitmap();
    }

    private void createFgBitmap() {
        fgBitmap = Bitmap.createBitmap(getWidth(), getHeight(), Bitmap.Config.ARGB_8888);
        pathCanvas = new Canvas(fgBitmap);
        pathCanvas.drawColor(fgColor);
    }

    @Override
    public boolean onTouchEvent(MotionEvent event) {
        float x = event.getX();
        float y = event.getY();
        switch (event.getAction()) {
            case MotionEvent.ACTION_DOWN: {
                lastX = x;
                lastY = y;
                path.reset();
                path.moveTo(x, y);
                break;
            }
            case MotionEvent.ACTION_MOVE: {
                float offsetX = x - lastX;
                float offsetY = y - lastY;
                if (offsetX >= touchSlop || offsetY >= touchSlop) {
                    path.quadTo(lastX, lastY, x, y);
                    lastX = x;
                    lastY = y;
                }
                break;
            }
            case MotionEvent.ACTION_UP: {
                break;
            }
        }
        invalidate();
        return true;
    }

    @Override
    protected void onDraw(Canvas canvas) {
        super.onDraw(canvas);
        bgDrawable.draw(canvas);
        canvas.drawBitmap(fgBitmap, 0, 0, null);
        pathCanvas.drawPath(path, paint);
    }
}
上面的代码很简单,我就不在解释了,写不动了,我要睡了。

