安装MySQL 5.7
CentOS 7上安装
下载地址
1.下载MySQL5.7的yum源:
wget https://dev.mysql.com/get/mysql57-community-release-el7-11.noarch.rpm
2.安装该rpm包:
rpm -ivh mysql57-community-release-el7-11.noarch.rpm
3.再次使用yum来安装mysql-server:
yum install -y mysql-server
4.安装完成后,启动mysqld服务:
systemctl start mysqld
5.查看是否成功启动:
ps aux|grep mysqld
6. 设置mysqld服务开机自启动:
systemctl enable mysqld
7. 使用初始密码登录
由于MySQL从5.7开始不允许首次安装后,使用空密码进行登录,系统会随机生成一个密码以供管理员首次登录使用,这个密码记录在/var/log/mysqld.log文件中,使用下面的命令可以查看此密码:
cat /var/log/mysqld.log|grep 'A temporary password'
2017-11-12T13:35:37.013617Z 1 [Note] A temporary password is generated for root@localhost: bkv,dy,)o7Ss
最后一行冒号后面的部分bkv,dy,)o7Ss就是初始密码。
使用此密码登录MySQL: mysql -u root -p
8. 更改默认密码:
切换数据库: use mysql;
修改root密码: alter user 'root'@'localhost' identified by 'your_password';
这个密码是强密码,要求密码包含大小写字母、数字及标点符号,长度应该在6位以上。
重新使用新的密码登录,如果可以正常登录说明MySQL已经成功安装
*设置简易密码(MySQL5.7已经不支持简易密码,所以需要卸载插件)
卸载插件: uninstall plugin validate_password;
更改密码: update user set authentication_string=password('123abc') where user='root'
Ubuntu 18 上安装
sudo apt-get install mysql-server
等待安装完成之后,执行脚本
sudo mysql_secure_installation
具体如下
chancey@PythonServer:~$ sudo mysql_secure_installation

Securing the MySQL server deployment.

Connecting to MySQL using a blank password.

VALIDATE PASSWORD PLUGIN can be used to test passwords
and improve security. It checks the strength of password
and allows the users to set only those passwords which are
secure enough. Would you like to setup VALIDATE PASSWORD plugin?

Press y|Y for Yes, any other key for No: n
Please set the password for root here.

New password:

Re-enter new password:
By default, a MySQL installation has an anonymous user,
allowing anyone to log into MySQL without having to have
a user account created for them. This is intended only for
testing, and to make the installation go a bit smoother.
You should remove them before moving into a production
environment.

Remove anonymous users? (Press y|Y for Yes, any other key for No) : n

 ... skipping.


Normally, root should only be allowed to connect from
'localhost'. This ensures that someone cannot guess at
the root password from the network.

Disallow root login remotely? (Press y|Y for Yes, any other key for No) : n

 ... skipping.
By default, MySQL comes with a database named 'test' that
anyone can access. This is also intended only for testing,
and should be removed before moving into a production
environment.


Remove test database and access to it? (Press y|Y for Yes, any other key for No) : n

 ... skipping.
Reloading the privilege tables will ensure that all changes
made so far will take effect immediately.

Reload privilege tables now? (Press y|Y for Yes, any other key for No) : y
Success.

All done!
启动服务
sudo systemctl start mysql
Windows上安装
访问地址MySQL下载,选择适合自己版本的MySQL;
运行msi文件
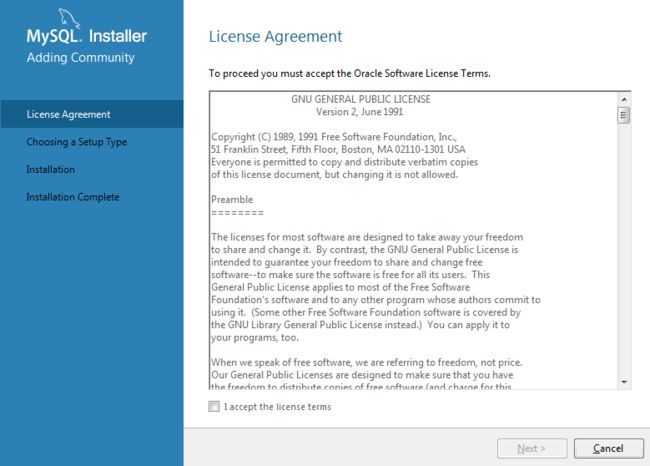
勾选 I accept the license terms 之后下一步
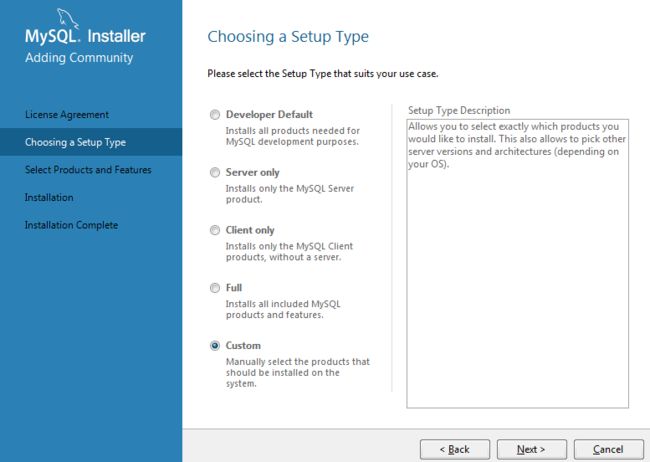
这里选择Custom,即自定义安装
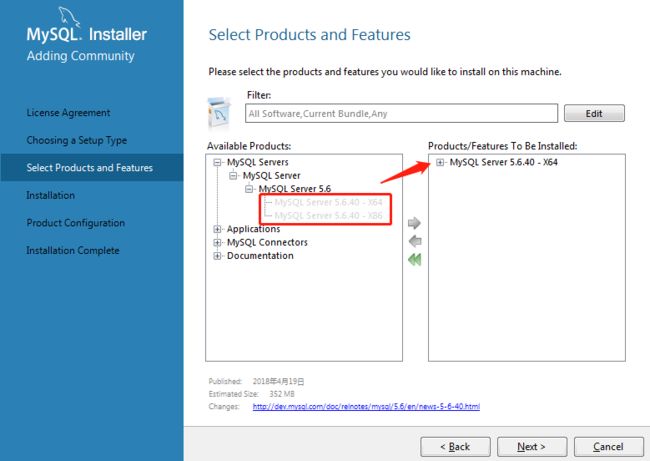
选择合适的版本
安装完毕后配置用户信息
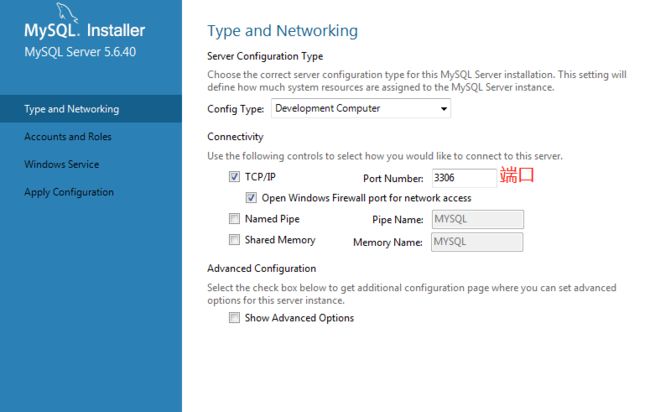
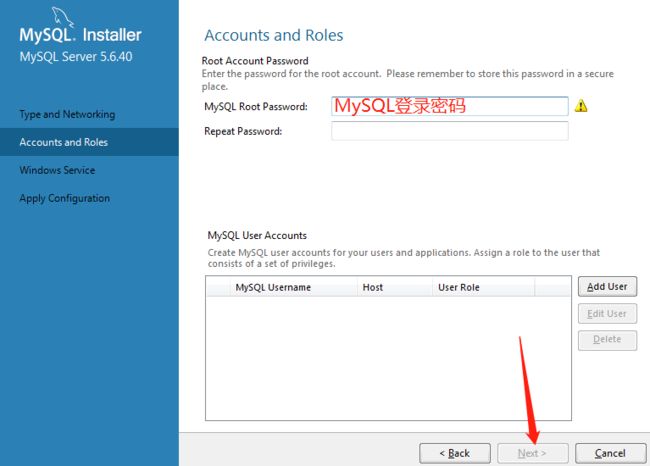
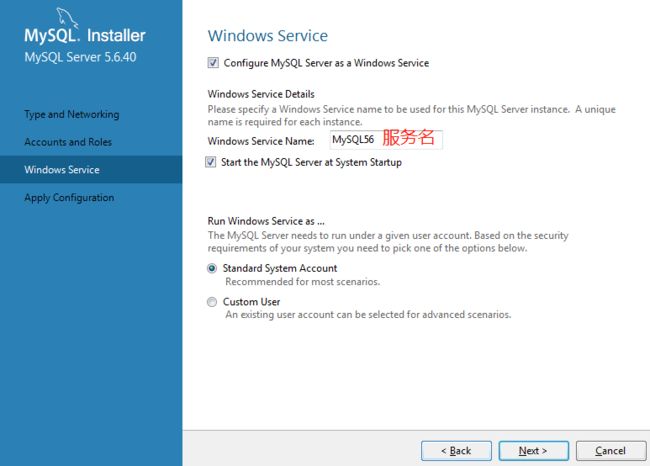
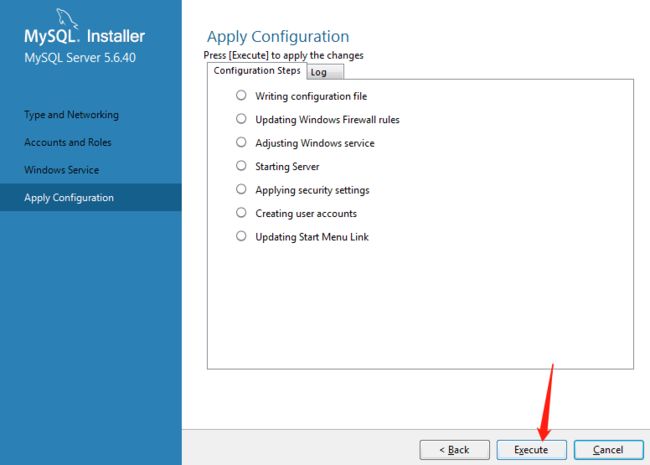
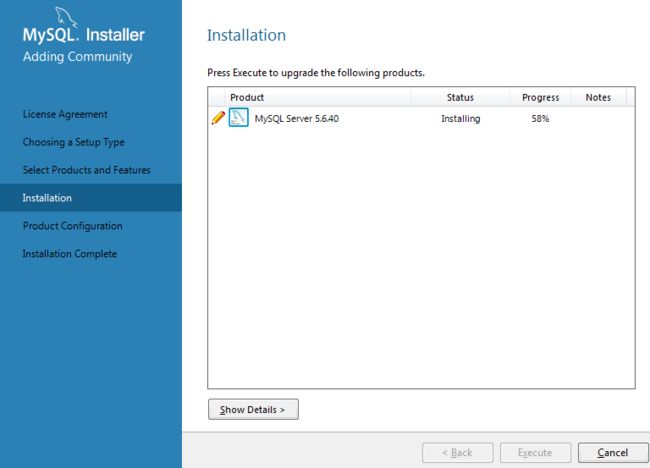
开始配置
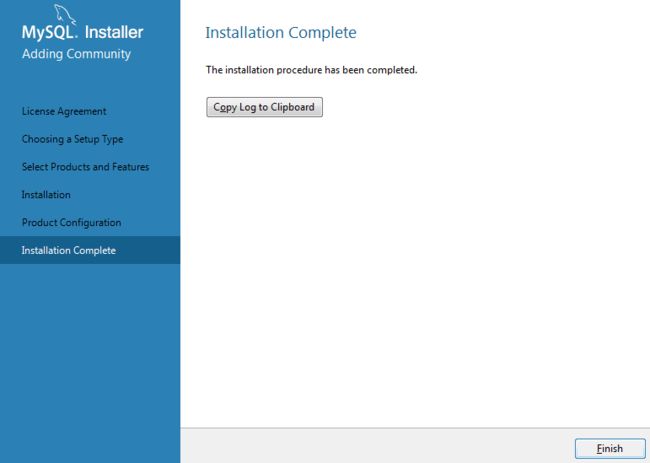
安装完成
******配置环境变量*****
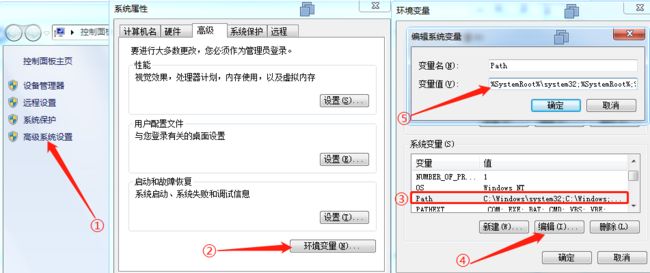
将MySQL的安装路径添加进去,以分号隔开
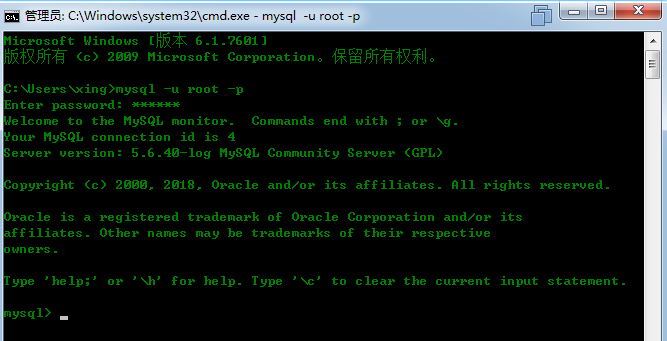
成功访问