This article described how to install and configure a two-node cluster with Oracle Solaris Cluster 4.0 on Oracle Solaris 11.Following figures is my virtual machine's configuration:
Oracle Solaris Cluster 4.0 software Installation:
Before installation,download osc4.0-repo-full.iso file from here and use it to setup a publisher.
The following table lists the primary group packages for the Oracle Solaris Cluster 4.0 software and the principal features that each group package contains. You must install at least the ha-cluster-framework-minimal group package.
I installed ha-cluster-full group package on both of nodes.
Ensure that the rpcbind local_only property set to 'false' on both of nodes.
Oracle Solaris Cluster 4.0 Configuration:
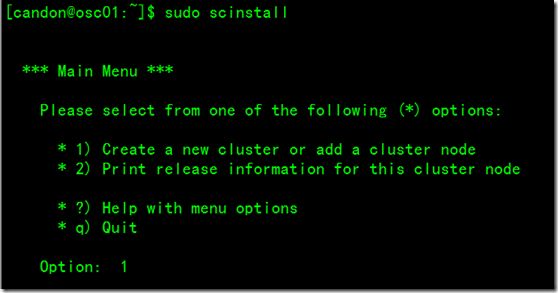
Ensure you have enough privilege to use scinstall command.After do that,select ‘1’go next screen.
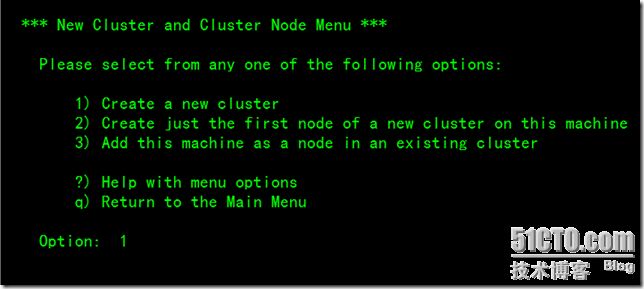
In below screen,select ‘Create a new cluster’ .
Answer the question and enter.
If you can't set rpcbind local_only property to “false”you should get some error information in this screen.
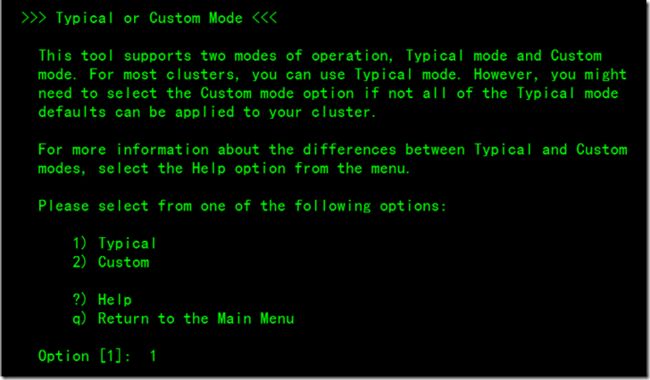
Choose which mode you want to use.
Define a Cluster Name.
Define how many nodes belong to this cluster.
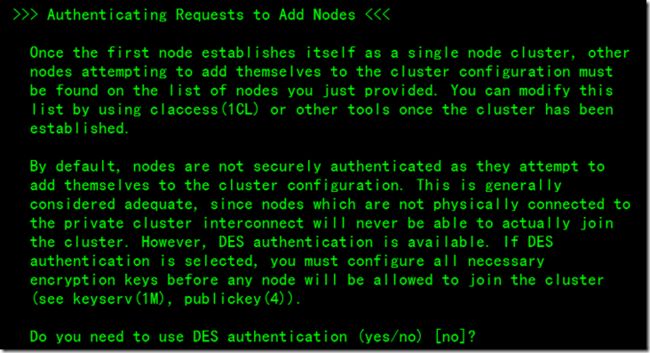
Disable DES authentication.
Ensure this cluster use at least two private networks.
Selecting the Transport Adapters.
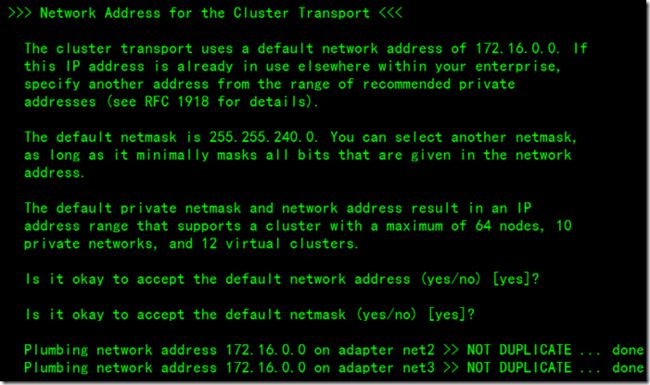
Accept the default network address and netmask.
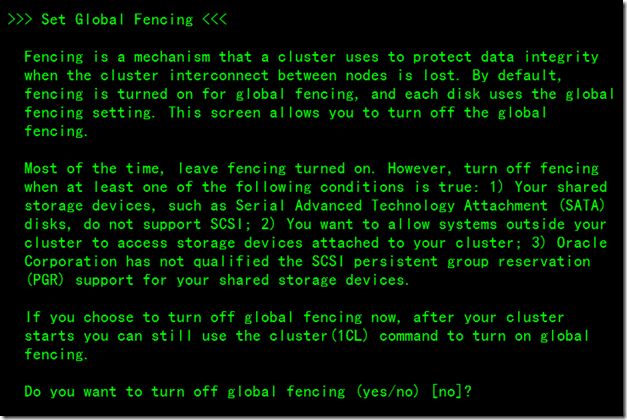
Set global fencing by default.
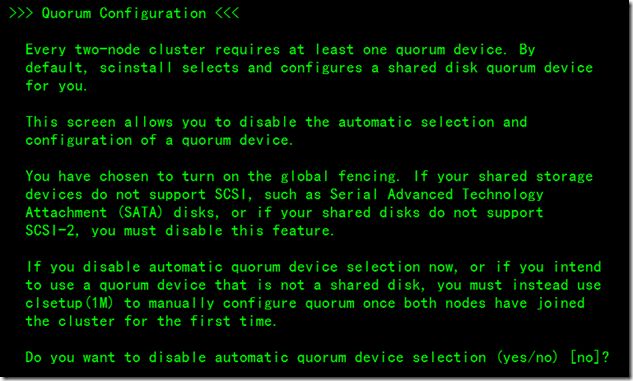
Enable automatic quorum device selection.
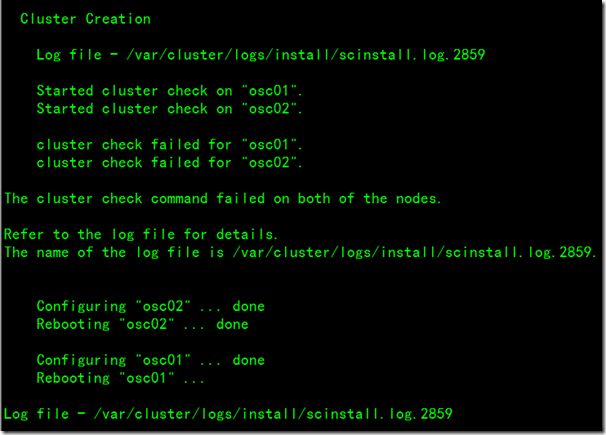
After enter,go ahead…
After creation,check cluster configuration.
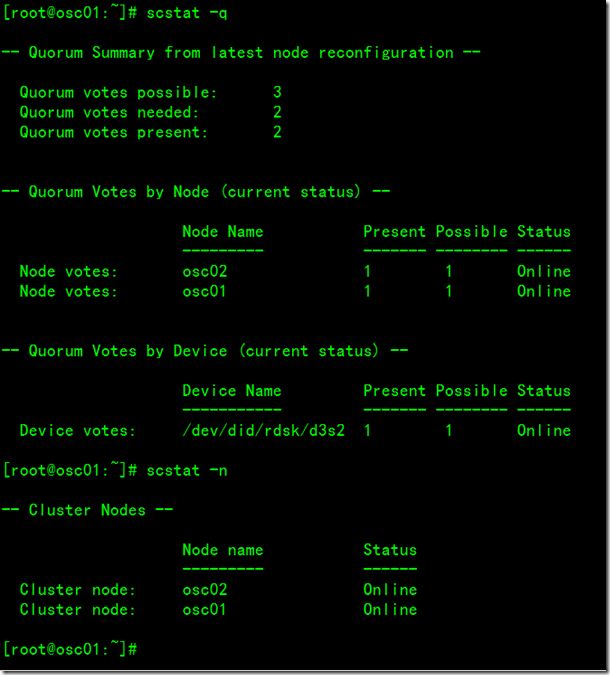
check quorum and cluster node:
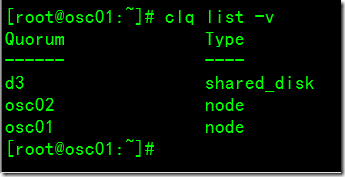
check quorum device type:
check IPMP:
When the scinstall utility finishes, the installation and configuration of the basic Oracle Solaris Cluster software is complete.Now,thr cluster is ready for you to configure highly available applications.
Configuring Data Service
1.Configuring HA for zfs.
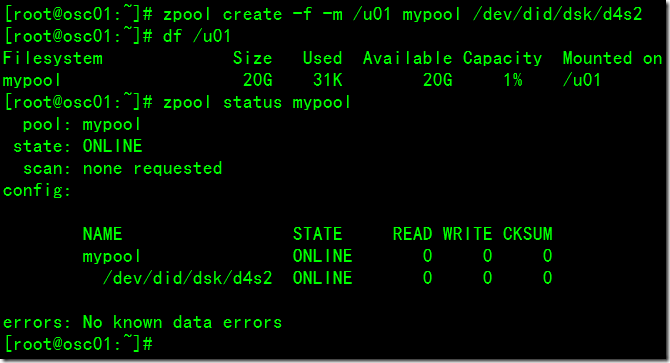
Here i creare a mypool by /dev/did/dsk/d4s2 device.
Following command will be create resource group、register resource type、create reource and bring them online.Ensure that the mypool-lh wrote into /etc/hosts file.
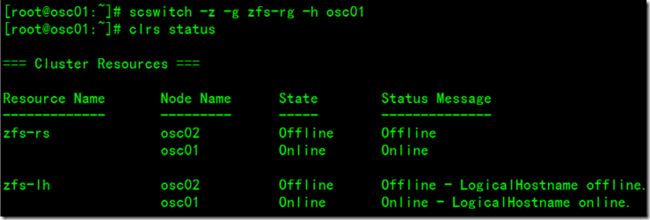
Checking resource group status.
Switching resource group to another node.
2.Configuring HA for Solaris Containers:
Creating resource group and zonefs pool.
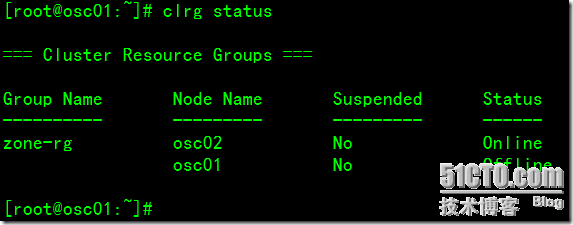
Checking Resource Group status.
Following figture shows zone01's configuration.Setup ip-type is shared,don't enable autoboot.
After created ,check zone information by zoneadm command on both nodes that status is configured.
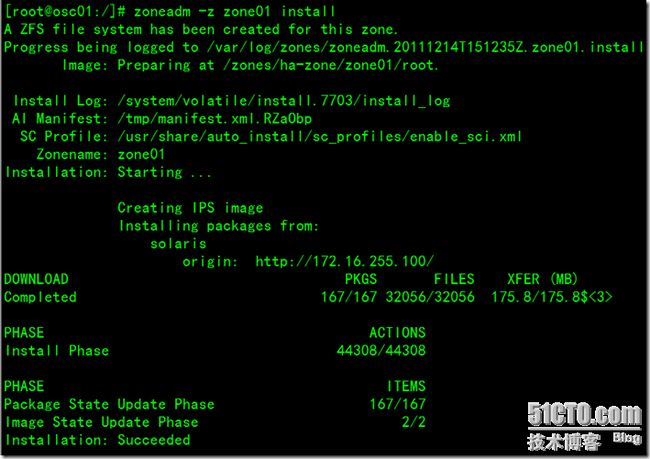
Before installion, ensure that the Package Repositories was correct on global zone.
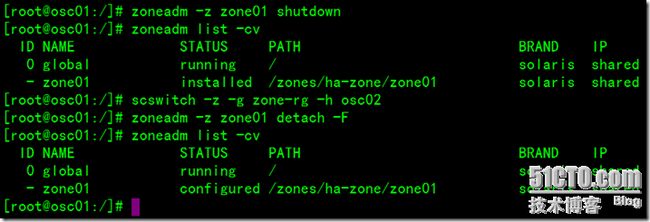
Boot zone01 and setup it by console on osc01.After configuration,shutdown it and switch resource group to osc02.You can't boot zone01 on osc02 directly.Before you boot it on osc02,detach zone01 on osc01 and bring uuid into correspondence with osc02.
Unique identifier for a zone, as assigned by libuuid(3LIB). If this option is present and the argument is a non-empty string, then the zone matching the UUID is selected instead of the one named by the –z option, if such a zone is present.If you want,you can use zfs subcommand to check org.opensolaris.libbe:uuid property.

Use beadm with H option to check root filesystem's uuid.I installed zone01 on osc01,so i must change uuid on osc02.
If you don't change the uuid,you should get following error when you attach zone01 and boot it on osc02:
So,you must keep the uuid was consistent on both of nodes.Following figture show you how to change uuid and attach zone01 on osc02:
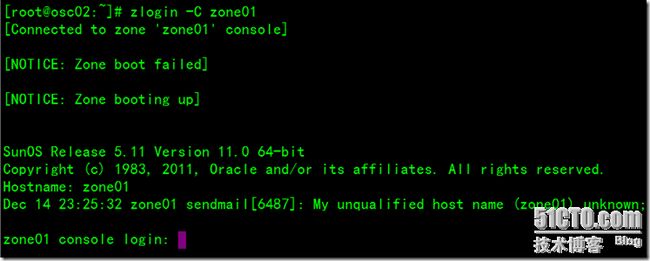
After changed,boot zone01 on osc02.
Check status on osc02 and detach it then you can configure solaris containers HA service.
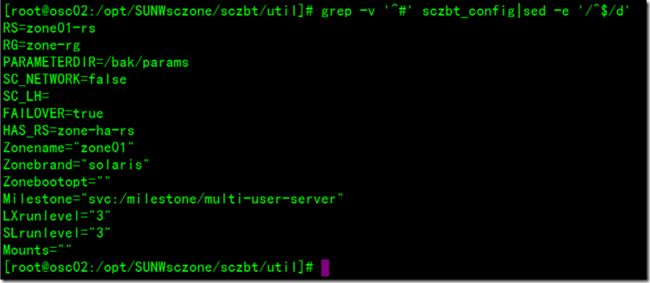
I've already installed date service on both of nodes when i install oracle solaris cluster.Enter /opt/SUNWsczone/sczbt/util directory,do following change:
Using sczbt_register script to register zone01-rs resource to zone-rg resource group.
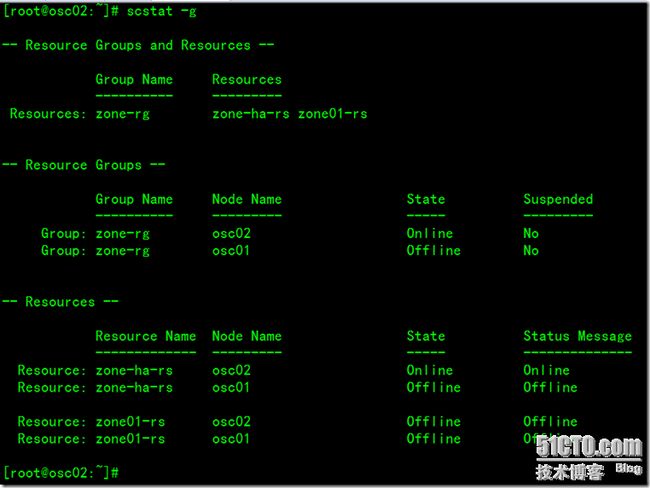
Checking resouce status by scstat with g option.
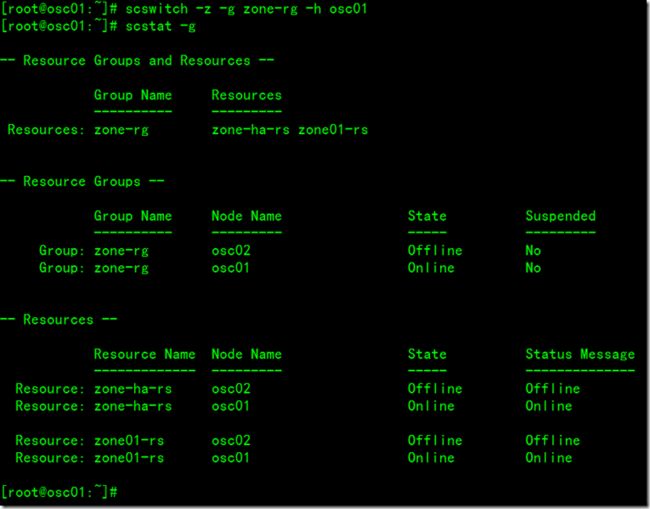
If you setup correctly,you can switch zone-rg service to osc01.
Documentation:
1.Oracle Solaris Cluster Product Documentation
2.Oracle Solaris Cluster How-To Guides


