本文将以Spring Boot Admin 2.0 与 Eureka整合展示Spring Boot Admin 2.0 的使用。
下面我介绍一下使用到的相关应用:
服务 端口 服务说明
ljx-eureka               1025       服务注册与发现中心
ljx-user-service          8083      用户微服务(监控客户端)
ljx-springcloud-sbaserver 8085      spring boot admin监控服务(监控服务端)
这里我主要讲解spring boot admin服务端与客户端的搭建,服务注册发现的搭建不再做赘述。
服务端admin搭建
pom.xml
         de.codecentric
         spring-boot-admin-starter-server
         2.0.4


         org.jolokia
         jolokia-core


         de.codecentric
         spring-boot-admin-server-ui
         2.0.4


         org.springframework.boot
         spring-boot-starter-web


                 spring-boot-starter-tomcat
                 org.springframework.boot


         org.springframework.boot
         spring-boot-starter-undertow


         org.springframework.boot
         spring-boot-starter-security
启动类
@SpringBootApplication
@EnableAdminServer
@EnableEurekaClient
public class SbaServerApplication extends SpringBootServletInitializer {
   @Override
   protected SpringApplicationBuilder configure(SpringApplicationBuilder builder) {
       return builder.sources(SbaServerApplication.class);
   }
   public static void main( String[] args )
   {
       SpringApplication.run(SbaServerApplication.class,args);
   }
}
安全控制
这里我们给springBootAdmin增加一个安全控制,增加登录页面
 /**
     * 安全控制
     */
    @Profile("secure")
    @Configuration
    public static class SecuritySecureConfig extends WebSecurityConfigurerAdapter {
        private final String adminContextPath;

        public SecuritySecureConfig(AdminServerProperties adminServerProperties) {
            this.adminContextPath = adminServerProperties.getContextPath();
        }

        @Override
        protected void configure(HttpSecurity http) throws Exception {
            // @formatter:off
            SavedRequestAwareAuthenticationSuccessHandler successHandler = new SavedRequestAwareAuthenticationSuccessHandler();
            successHandler.setTargetUrlParameter("redirectTo");

            http.authorizeRequests()
                    .antMatchers(adminContextPath + "/assets/**").permitAll()
                    .antMatchers(adminContextPath + "/login").permitAll()
                    .anyRequest().authenticated()
                    .and()
                    .formLogin().loginPage(adminContextPath + "/login").successHandler(successHandler).and()
                    .logout().logoutUrl(adminContextPath + "/logout").and()
                    .httpBasic().and()
                    .csrf().disable();
            // @formatter:on
        }
    }
bootstrap.yml配置
server:
  port: 8085
  servlet:
      context-path: /sbaserver  #给服务增加上下文 前缀
spring:
  application:
    name: ljx-springcloud-sbaserver
  profiles:
    active:
      - secure

# 注册中心配置
eureka:
  instance:
    leaseRenewalIntervalInSeconds: 10 #表示eureka client发送心跳给server端的频率,默认为30秒
    prefer-ip-address: true
    instance-id: ljx-springcloud-sbaserver8085
    health-check-url-path: /sbaserver/actuator/health #健康检查的地址(依赖spring-boot-starter-actuator)
  client:
    registryFetchIntervalSeconds: 5 #表示eureka client间隔多久去拉取服务注册信息,默认为30秒
    service-url:
      defaultZone: http://jiaxing:jiaxing@localhost:1025/eureka/

# 暴露监控端点 springBootAdmin2 只暴露了两个
management:
  endpoints:
    web:
      exposure:
        include: '*'
  endpoint:
    health:
      show-details: ALWAYS  #health endpoint是否必须显示全部细节。默认情况下, /actuator/health 是公开的,并且不显示细节
---
spring:
  profiles: insecure

---
#配置登录名,密码和安全策略
spring:
  profiles: secure
  security:
    user:
      name: 'jiaxing'
      password: 'jiaxing'
eureka:
  instance:
    metadata-map:
      user.name: ${spring.security.user.name}        #These two are needed so that the server
      user.password: ${spring.security.user.password} #can access the protected client endpoints
启动

image.png
由上图可看出服务均已注册到eureka,我们直接点开(localhost:8085/sbaserver)
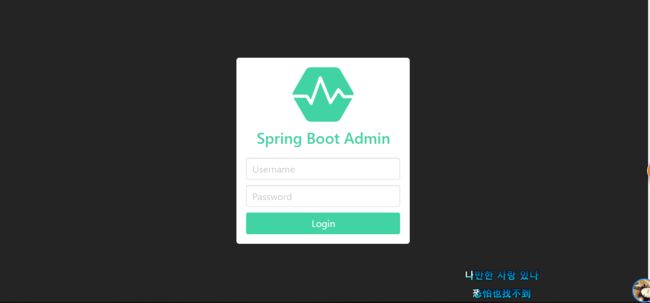
image.png
看到上图说明,服务端已配置成功。
客户端搭建ljx-user-server
pom.xml
            de.codecentric
            spring-boot-admin-starter-client
            2.0.4


            org.springframework.boot
            spring-boot-starter-actuator
bootstrap.yml配置
server:
  port: 8082
spring:
  application:
    name: ljx-user-service
# 注册中心配置
eureka:
  instance:
    metadata-map:
      management:
        context-path: /actuator
    health-check-url: http://localhost:${server.port}/actuator/health
    status-page-url: http://localhost:${server.port}/actuator/info
    home-page-url: http://localhost:${server.port}
    prefer-ip-address: true
    instance-id: ljx-user-service8082
  client:
    service-url:
      defaultZone: http://jiaxing:jiaxing@ljx-eureka:1025/eureka/

info:
  version: 1.0.0

# 暴露监控端点
management:
  endpoints:
    web:
      exposure:
        include: '*'
  endpoint:
    health:
      show-details: ALWAYS
完成上面一系列配置,我们登录后可以看到下面的页面可以说是配置部署成功了
在这里可以看到每个连接的时长,以及版本等
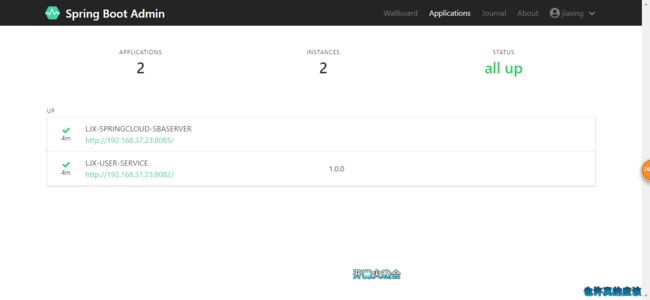
image.png
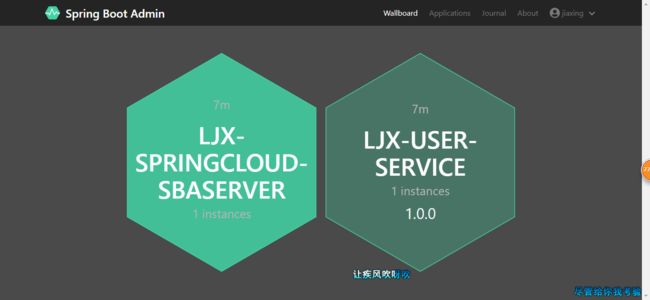
image.png
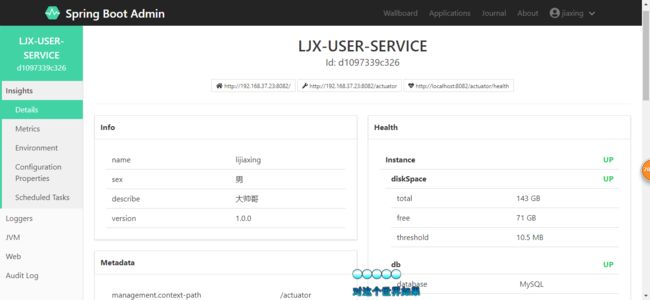
image.png
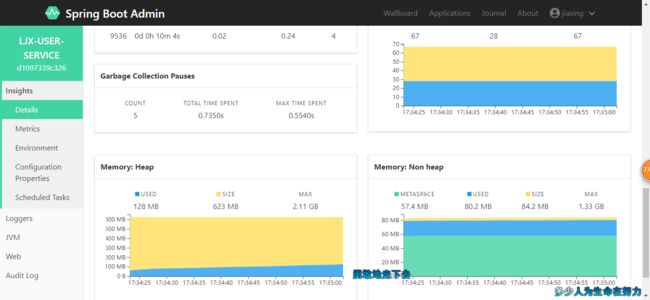
image.png